Imagine trying to untangle a knotted ball of yarn with a pair of garden shears, or slicing through a dense layer cake with your bare hands. You’d likely end up with a mess, not a solution. The same principle applies to dividing your garden perennials. The best way to divide plants by root type isn’t a one-size-fits-all hack; it’s a tailored approach that matches your tool and technique to the plant’s underground architecture. Treating all roots the same is a common beginner’s mistake that can set plants back or even kill them. By learning to identify whether a plant has fibrous, rhizomatous, or crown-forming roots, you can propagate with confidence, prevent damage, and ensure each new division thrives. Think of it less as brute-force gardening and more as a thoughtful conversation with the plant itself.
Here’s how to approach the best way to divide plants by root type: First, identify whether the plant has fibrous, rhizomatous, or crown-forming roots. For fibrous roots, gently tease apart the root ball. For rhizomes, cut sections with at least one growth node. For crowns, use a sharp knife or spade to slice through the central mass, ensuring each division has both roots and shoots. Always use clean tools and replant divisions promptly.
The Root Type Checklist: Identify Before You Divide
Getting the best way to divide plants by root type starts with a quick visual check. Misidentifying the root system is the most common reason a division fails. Before you lift a spade, run through this simple three-point checklist.
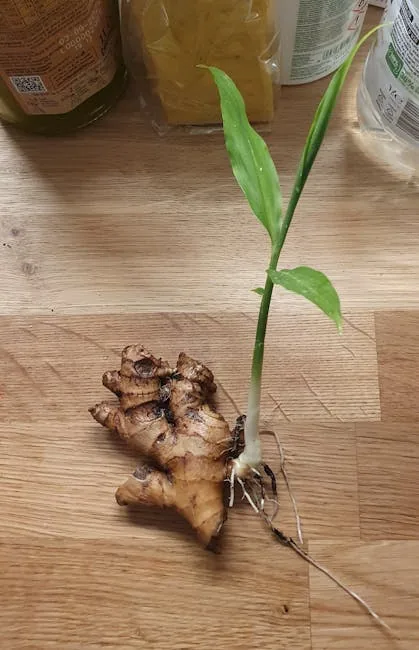
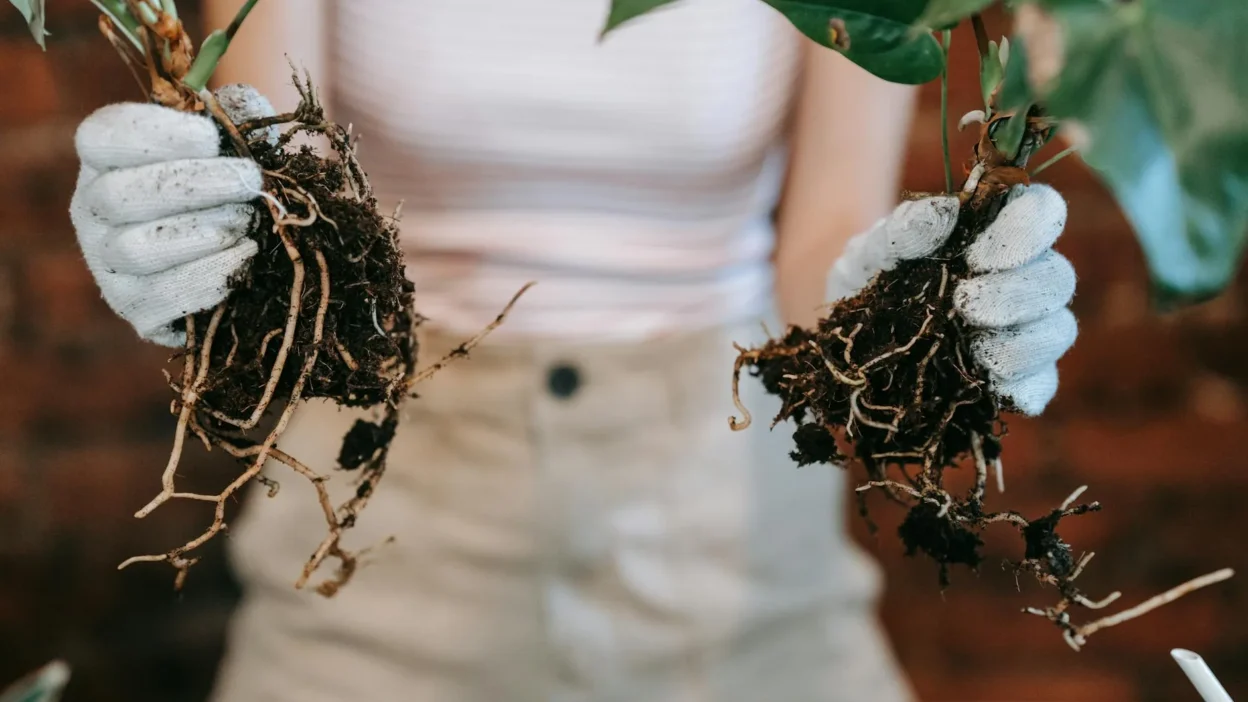
Photo by The DonkeyLord on Pexels
1. Look at the root mass. When you gently lift the plant (or recall its shape), what do you see? A dense, matted web of similar-sized roots all originating from the base? That’s fibrous. Do you see thick, horizontal stems running just under or on the soil surface, sometimes with separate shoots? That’s a rhizome. Is there a single, tough central clump where all stems emerge? That’s a crown.
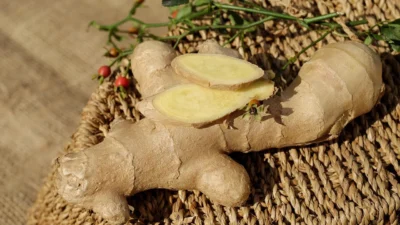
2. Feel the structure. Fibrous roots feel like a tangled ball of yarn or a dense sod—you can often pull them apart with steady pressure. Rhizomes feel like firm, segmented ginger root. Crowns feel like a dense, woody cake that resists pulling.
3. Check for runners or central clumps. This confirms your guess. Plants like bearded iris, canna lilies, and bamboo spread via obvious rhizomes. Classic fibrous-rooted plants include daylilies, ornamental grasses, and Shasta daisies. Crown-forming plants are often long-lived perennials like peonies, astilbe, and hardy geraniums.
Dividing Fibrous Roots: The Gentle Tease
For fibrous root plant division, think “untangle,” not “cut.” These plants form a dense mat where individual growing points are woven together. The goal is to separate these points with minimal root damage, encouraging quick re-establishment.
Timing is Key: The best times are early spring as new growth emerges or early fall, giving roots time to settle before winter. Avoid hot, dry periods.
The Step-by-Step Protocol:
- Lift the entire clump. Use a garden fork to loosen soil in a wide circle around the plant, then lift the whole root ball.
- Expose the roots. Gently shake off loose soil or rinse with a hose to see the root structure clearly.
- Tease sections apart. Start with your hands. For tough clumps, insert two garden forks back-to-back into the center and lever them apart. The aim is to pull natural divisions apart, preserving as many roots as possible.
- Trim and prepare. Use clean pruners to trim any excessively long or damaged roots. Trim back the foliage by about one-third to reduce water stress on the new plant.
- Replant immediately. Plant divisions at the same depth they were growing, water thoroughly, and keep the soil moist for the first few weeks.
Cutting through the mass with a knife or spade should be a last resort for extremely congested plants, as it severs many healthy roots.
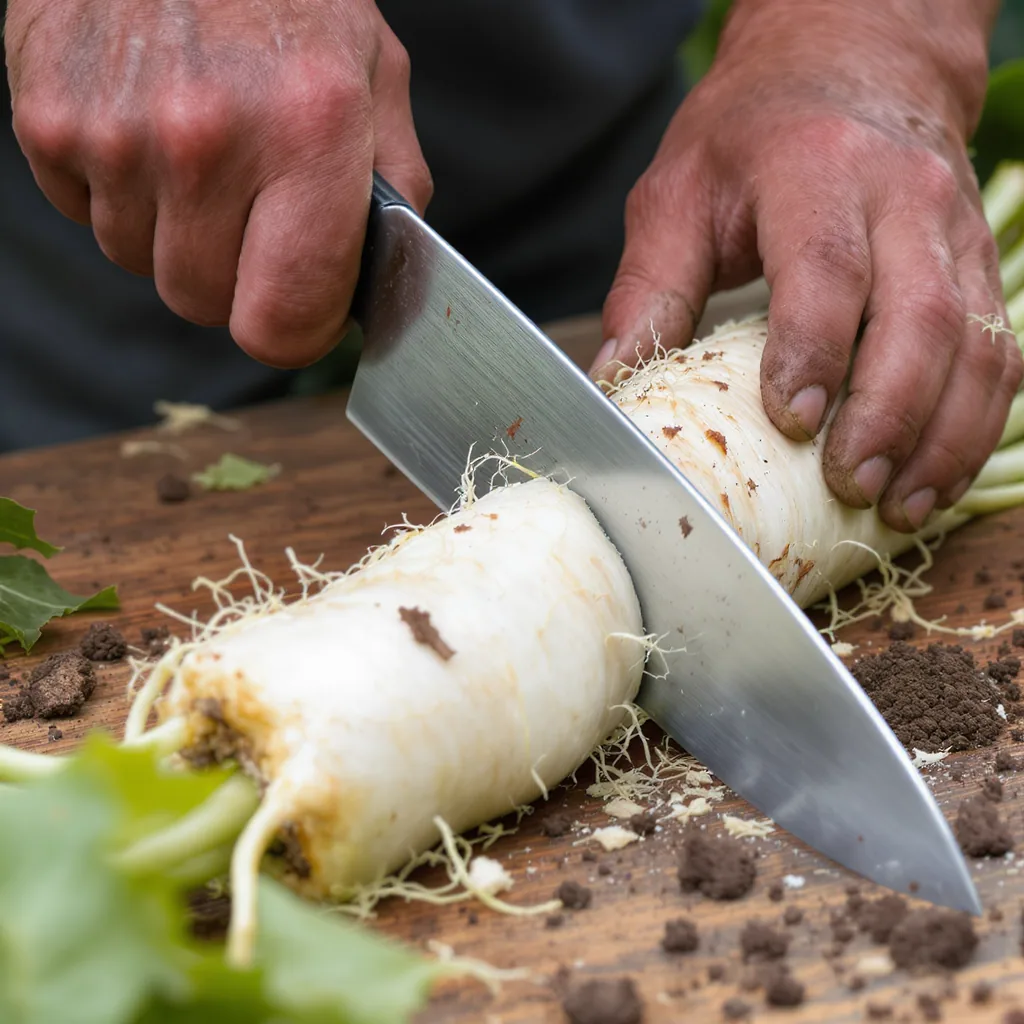
Slicing Rhizomes and Crowns: A Sharper Approach
Unlike fibrous roots, rhizomes and crowns require a clean, surgical cut. Here, precision protects the plant’s growth points, known as nodes or “eyes.” These nodes contain meristematic tissue—the plant’s engine for new shoots and roots. A ragged tear can destroy them.
How to Divide Rhizome Plants
To divide rhizome plants like iris, hosta, or lily-of-the-valley, locate the plump, healthy rhizome sections. Each division needs at least one growth node (a bud or a former leaf fan) and a portion of healthy roots. Using a sharp, sterilized knife, make a clean cut between nodes. Discard any old, woody, or soft sections. Let the cut surface dry for an hour before replanting to prevent rot, setting the rhizome so the node is just at or above the soil surface.
The Crown Division Method
For plants that grow from a central crown, like peonies, you’re essentially slicing a pie. After lifting the plant, wash off the soil to see the structure. Look for obvious “eyes” (pink or white buds) on top of the crown and the thick roots below. Each viable division must have at least 3-5 eyes and a substantial piece of the root system. Use a sharp spade or knife to cut through the tough crown cleanly. Replant with the eyes no more than 2 inches deep.
Common Division Mistakes and How to Avoid Them
Even with the right technique, a few common pitfalls can set your new plants back. Here’s what usually goes wrong and how to steer clear.
Dividing at the Wrong Time
The Mistake: Dividing a plant when it’s in full bloom or during summer heat stress. The plant is expending all its energy on flowers or survival, not root growth.
The Right Way: Stick to the plant’s ideal dormant or early growth periods—typically early spring or early fall. For specific plants, a quick check with a university extension guide can give you the perfect window.
Making Divisions Too Small
The Mistake: Getting overzealous and creating tiny divisions with only one shoot or a few roots. These “eye dropper” divisions often struggle to establish.
The Right Way: Ensure each new piece is substantial—for fibrous plants, a clump the size of a small fist; for rhizomes and crowns, multiple growth nodes. A robust division has the stored energy to bounce back quickly.
Using Dirty or Dull Tools
The Mistake: Cutting with a dirty spade or a dull knife, which can crush plant tissue and introduce disease.
The Right Way: Wipe blades with a disinfectant (rubbing alcohol or a 10% bleach solution) between plants. Keep tools sharp for clean cuts that heal fast.
Neglecting Aftercare
The Mistake: Planting divisions and forgetting them, or conversely, overwatering them into soggy despair.
The Right Way: Water newly planted divisions deeply to settle the soil. Then, maintain consistent, moderate moisture—the soil should feel like a wrung-out sponge, not a swamp. A light layer of mulch can help retain moisture and regulate soil temperature.
Start Simple and Grow Your Confidence
The core principle for propagating plants by root type is simple: match your method to the plant’s architecture. A gentle tease for fibrous mats, a sharp cut for rhizomes and crowns. By taking a moment to identify the root system first, you prevent unnecessary damage and give every division its best shot at thriving.
If you’re new to this, build confidence by starting with a tough, forgiving plant. Daylilies, with their fibrous roots, are famously resilient and respond well to division. Once you’ve mastered the tease, move on to slicing a hosta rhizome. With each success, you’ll not only multiply your garden’s beauty but also deepen your understanding of how plants live and grow beneath the surface.