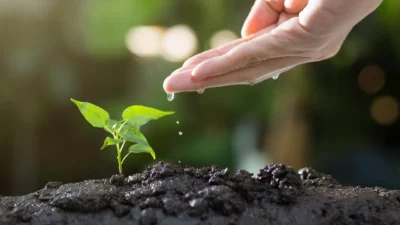
You’ve nurtured your seeds, kept the soil moist, and waited. Now, a hopeful carpet of tiny green sprouts fills your tray or pot. It’s a thrilling sight—until the daunting thought hits: “Now I have to choose which ones to sacrifice.” That moment of hesitation is completely normal, but it’s also where many gardeners go wrong. Thinning seedlings isn’t a cruel chore; it’s a critical, compassionate act of selection. The best way to thin seedlings isn’t a one-size-fits-all snip. It depends entirely on your container, and using the right technique is the difference between fostering robust plants and accidentally dooming them all. This guide will walk you through the simple, container-specific methods that protect your keepers and turn that crowded patch into a thriving garden.
The best way to thin seedlings depends on your container. For cell trays, snip the weakest at the soil line. In open flats, gently pull extras, leaving the sturdiest. For small pots, use tweezers for precision. Always thin when seedlings have their first true leaves, and water the soil first to make removal easier. This prevents root disturbance and gives the keepers room to thrive.
Why Thinning Isn’t Cruel—It’s Essential
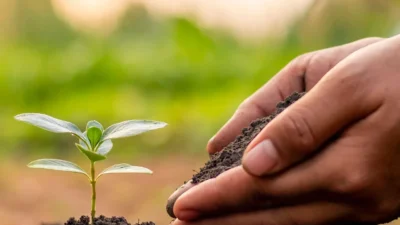
That dense carpet of sprouts might look like a sign of success, but it’s actually a race for survival that none of your seedlings can win. Proper seedling thinning is the gardener’s act of selection, not destruction. By removing the extras, you give the chosen plants unimpeded access to the three things they need most: light, water, and nutrients from the soil.
If you skip this step, the consequences are predictable. Crowded seedlings stretch desperately for light, becoming weak and “leggy.” Their roots become hopelessly tangled, competing for every drop of moisture and bit of food. This stress makes them far more susceptible to damping-off and other diseases that thrive in stagnant, humid air. Thinning crowded seedlings is how you proactively choose strength and health over a tangled mess of mediocrity.
Your Thinning Toolkit: Simple Tools for Every Job
You don’t need specialized gear for effective seedling thinning techniques. A few common household or gardening items will make the job clean and precise, minimizing damage to the keepers.
- Small, sharp scissors: The MVP of thinning. A clean snip is the best way to remove unwanted seedlings without disturbing their neighbors’ roots. Nail scissors or precision snips work perfectly.
- Tweezers: Ideal for the most delicate work in tiny pots or for plucking out the tiniest of sprouts with surgical precision.
- A small stick, toothpick, or dibber: Use this to gently loosen the soil around a seedling’s base if you plan to carefully pull it, rather than snip it.
- A spray bottle: Moisten the soil surface before you begin. Damp soil holds together better, making it easier to remove seedlings without pulling up half the potting mix. It’s also a good idea to clean your tools with a little rubbing alcohol before starting to prevent spreading any potential disease.
The Right Technique for Your Container
The ideal method depends entirely on where your seeds were sown. Here’s the container-specific routine to follow for thinning seedlings without damage.
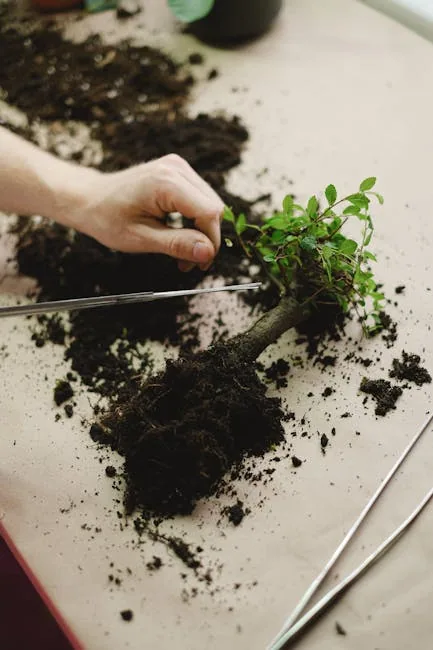
Photo by Anna Shvets on Pexels
1. For Multi-cell Seed Trays
This is the simplest scenario. The goal is one strong plant per cell. First, wait until the seedlings have their first set of true leaves (the leaves that appear after the initial seed leaves). Identify the sturdiest, healthiest-looking seedling in the cell—the one with the thickest stem and best color. Then, using your small scissors, snip all the other seedlings in that cell at the soil line. Do not pull them. This method of thinning seedlings in trays leaves the roots of your chosen plant completely undisturbed.
2. For Open Flats or Community Pots
Here, multiple seeds are sown in one large container. Your job is to create proper seedling spacing after germination. After the true leaves appear, assess the flat. Choose the strongest seedlings as “keepers,” aiming for even spacing—usually 1 to 2 inches apart, but check your seed packet. For the extras, you have two options. If the seedlings are still very small and the soil is moist, you can gently pull them, wiggling slightly to minimize root disturbance to neighbors. For larger seedlings or drier soil, snipping at the base is safer.
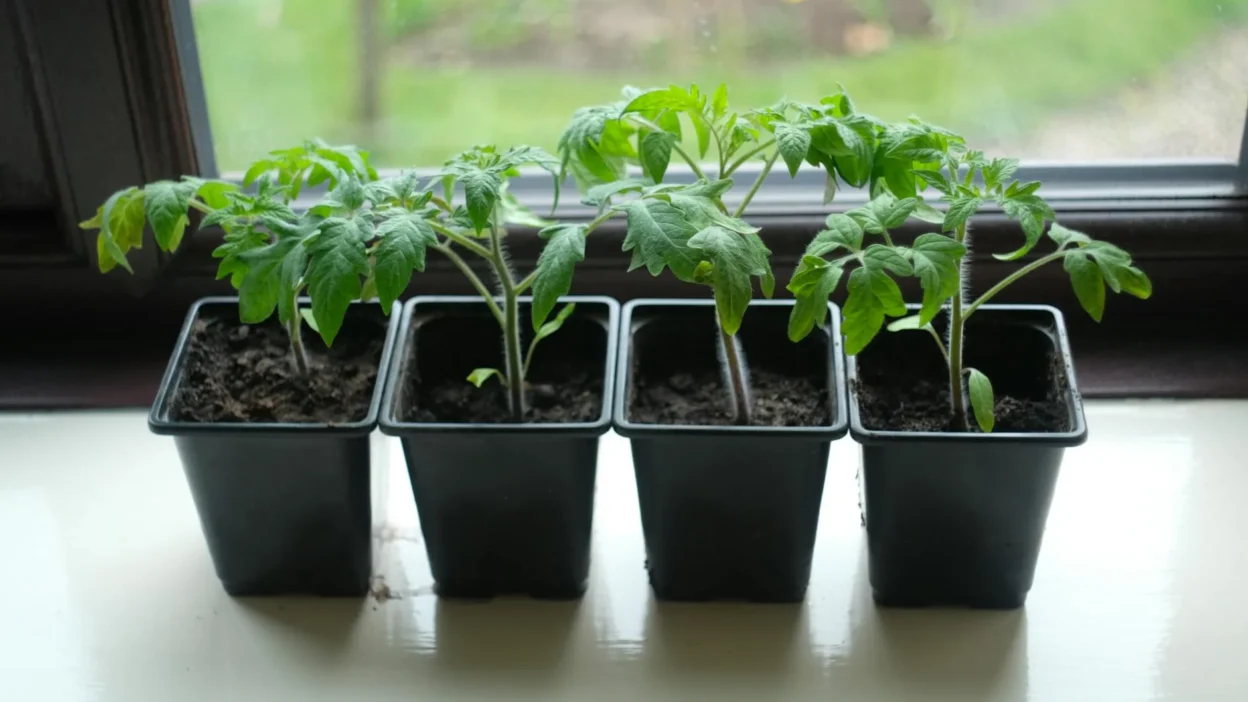
3. For Small Individual Pots or Recycled Containers
When you’ve sown a few seeds in a small pot “just in case,” precision is key. Use your tweezers to grasp the stem of the unwanted seedling at the soil line and give a gentle, steady pull. The confined space makes scissors tricky, but the tweezers allow you to remove the seedling without bumping or damaging the keeper. If the roots resist, use a toothpick to loosen the surrounding soil first.
Common Thinning Mistakes (And How to Avoid Them)
Even with the best intentions, it’s easy to make a misstep. Here are the most frequent errors and how to fix them.
Mistake: Thinning too late. Fix: Thin when the first true leaves are fully open. This gives you a clear view of the strongest contenders before competition causes permanent damage.
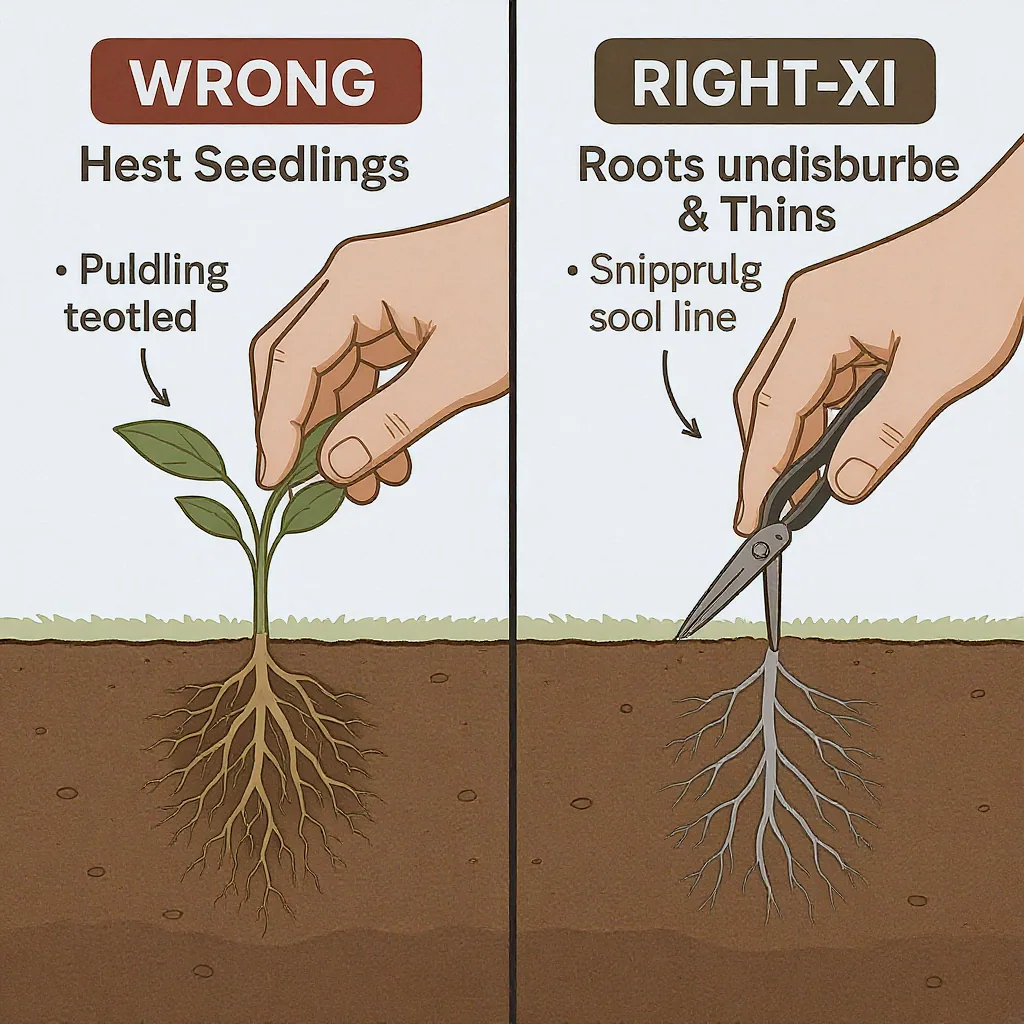
Mistake: Pulling instead of snipping. Fix: Almost always, snip. Pulling can yank on and damage the delicate roots of the seedling you want to keep. Reserve pulling for very young sprouts in moist, loose soil.
Mistake: Thinning when the soil is bone dry. Fix: Lightly water or mist the soil surface about an hour before you start. Damp soil holds together, allowing for cleaner removal.
Mistake: Being too timid. Fix: Commit to your spacing. If two strong seedlings are almost touching, one must go. Leaving them too close defeats the entire purpose of thinning.
Mistake: Forgetting aftercare. Fix: After thinning, give the remaining seedlings a gentle drink to settle any disturbed soil around their roots and help them recover from the minor stress.
Aftercare: Helping Your Seedlings Recover and Grow
Once the hard choices are made, your seedlings need a little support. Water them gently to settle the soil, taking care not to blast the tender stems. Ensure they are getting plenty of bright, direct light to encourage strong, compact growth—this is especially important now that they have the space to bush out. Hold off on fertilizing for a week or so; let them focus on root establishment first. You’ll likely see a noticeable surge in growth within a few days as the selected plants finally get the resources they need. This positive response is your reward for doing the necessary work of proper seedling thinning.
Embrace the Selector’s Role
Returning to that tray of hopeful green, you now see it not with dread, but with the eye of a cultivator. Thinning is a fundamental gardening skill, a proactive choice that transforms potential into robust, harvest-ready plants. It gets easier with each tray and pot you tend. So go check on your seedlings. With your simple toolkit and container-smart technique, you’re ready to give your best plants their best chance.