If you think grafting and budding are skills reserved for orchard masters with decades of experience, you’re missing out on one of the most creative and practical “hacks” in the home gardener’s toolkit. Far from being an arcane art, these propagation techniques are fundamentally about problem-solving: they let you combine the best traits of two plants into one. Imagine a single apple tree yielding three different varieties to extend your harvest, a prized heirloom tomato thriving on a disease-resistant rootstock, or salvaging a beloved tree damaged by a storm. Mastering the basics of grafting and budding unlocks this potential, turning your garden into a more productive, resilient, and personalized space. It’s a learnable skill that feels like plant surgery but operates on a simple, biological principle—and with the right guidance, any dedicated gardener can succeed.
Grafting and budding are propagation techniques where a piece of one plant (the scion) is joined to the root system of another (the rootstock) so they grow as a single plant. For home gardeners, this means you can combine the best traits of different plants, like a hardy rootstock with a delicious fruit variety, right in your backyard. The immediate benefits are tangible: creating custom multi-variety trees for small spaces, preserving cherished heirloom plants, and even repairing damaged trees you thought were lost.
Why Bother? The Superpowers Grafting Gives Your Garden
So, you can grow a plant from a seed or a cutting. Why learn what seems like plant surgery? Because grafting and budding basics for home gardeners unlock capabilities that other propagation methods simply can’t match. It’s less about making more plants and more about making better, more customized ones. Think of it as the ultimate problem-solving tool for your backyard.
For starters, it lets you combine the best traits of two plants. You can pair a delicious but disease-prone heirloom apple variety (the scion) with the roots of a hardy, pest-resistant tree (the rootstock). This is the core principle behind most commercial fruit trees, and you can do it too. It’s also the secret to the “fruit salad” tree—multiple varieties of apples, peaches, or pears all growing on a single trunk, a perfect space-saver for small gardens.
Beyond creation, grafting is a repair tool. A prized tree damaged by a lawnmower or storm can often be saved by bridge grafting over the wound. It also allows you to propagate plants that are notoriously difficult to root from cuttings, like many Japanese maples or specific fig cultivars. By understanding these plant propagation techniques, you gain control, resilience, and creativity in your garden that goes far beyond the seed packet. For a deeper dive into rootstock benefits, resources from institutions like University of Minnesota Extension are invaluable.
Grafting vs. Budding: Choosing Your Technique
At its heart, both grafting and budding do the same thing: fuse plant tissues. The difference is in the “piece” you’re moving. This choice is your first strategic decision in plant grafting for beginners.
Grafting uses a shoot section with several buds, called a scion. You’re essentially replacing the entire top of a rootstock with a new branch system. It’s often done in late winter or early spring when plants are dormant. The whip and tongue or cleft grafts are classic examples. Grafting is fantastic for grafting fruit trees from scratch, top-working an older tree to a new variety, or making repairs. It gives you a larger union and can establish a new canopy relatively quickly.
Budding, on the other hand, uses just a single bud slipped under the bark of the rootstock. T-budding and chip budding are the most common methods. This is typically a summer technique, when the bark “slips” or separates easily from the wood. The major advantage of budding propagation basics is efficiency: you use very little scion wood (one bud can create a new plant) and it often has a higher success rate because the smaller wound heals faster. It’s the preferred method for propagating roses and many ornamental trees.

In short, think of grafting as a major renovation and budding as a precise, minimally invasive implant. For your first attempts, starting with a dormant whip and tongue graft is a solid, forgiving choice.
The Home Gardener’s Grafting Toolkit (It’s Simpler Than You Think)
You don’t need a shed full of specialized gear. Success in grafting for beginners hinges on a few key items, with sharpness and cleanliness being non-negotiable.
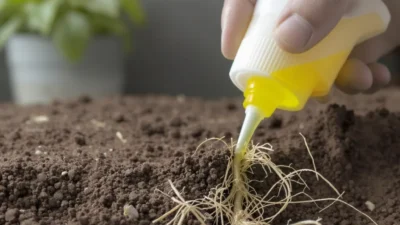
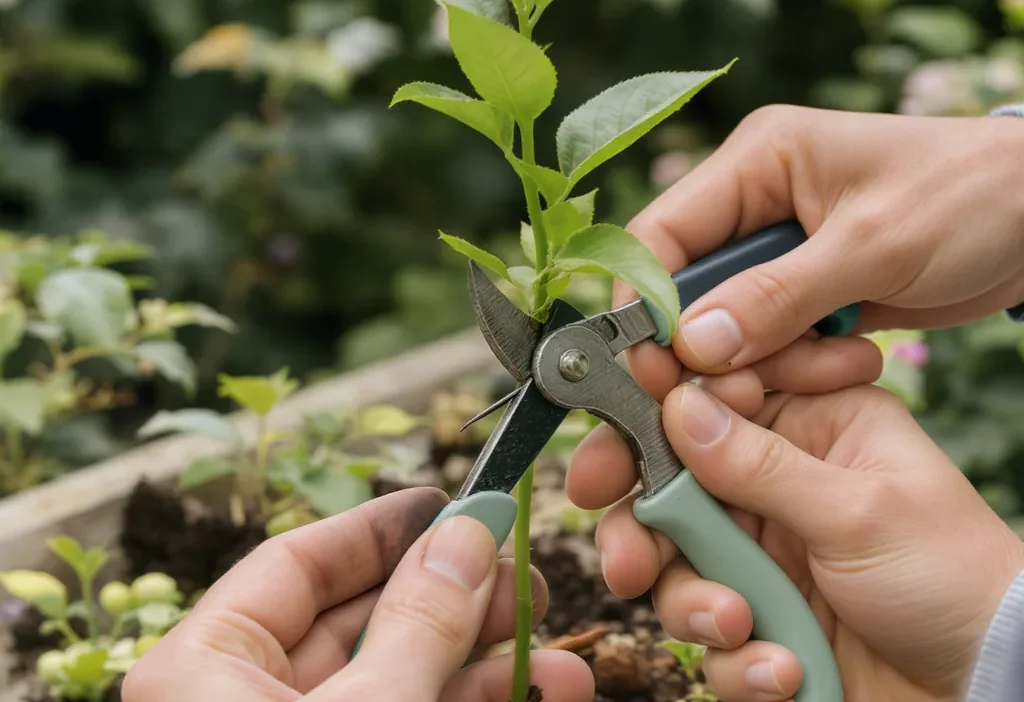
The absolute essentials are a very sharp knife and a way to sterilize it. A dedicated grafting knife or a high-quality, sharp pocket knife works. Dull blades crush plant cells instead of slicing them, dooming the graft. Wipe the blade with isopropyl alcohol between cuts to prevent spreading disease. Next, you need grafting tape or rubber bands to hold the union tightly together. Finally, a grafting sealant (wax, paste, or asphalt-based compound) is crucial to keep the cut surfaces from drying out before they heal.
Optional but helpful tools include a grafting tool that makes matching V-cuts for whip and tongue grafts, and labeling materials. It’s easy to forget what you grafted where!
The Non-Negotiables for Success
- Razor-Sharp Blade: Crushed cells won’t fuse. Test it on paper; it should slice cleanly.
- Impeccable Hygiene: Sterilize with alcohol between every graft, especially when moving between plants.
- Snug, But Not Strangling, Wrap: The tape must hold cambium layers in contact without cutting into the swelling stem.
- Complete Moisture Seal: Any exposed cut wood is a point of desiccation. Cover every part of the graft except the buds.
Your First Graft: A Step-by-Step Walkthrough of the Whip & Tongue
Let’s translate theory into action with the whip and tongue graft, a classic and reliable method for uniting scion and rootstock of similar diameter. Follow this walkthrough alongside the core 6-step protocol.
1. Selection & Prep: Choose a healthy, pencil-thick rootstock and a matching scion from last year’s growth. Both should be dormant. Your scion wood should have 3-4 plump buds.
2. The Matching Cuts: This is where precision pays. On both the rootstock and scion, make a long, smooth, sloping cut about 1.5 inches long. Then, make a second downward cut into the face of that slope, creating a “tongue.” The goal is to create interlocking pieces that won’t slip apart.
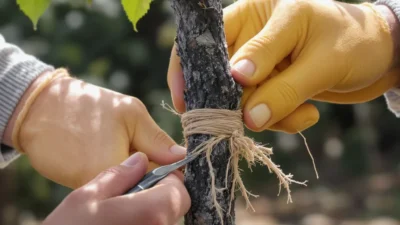
3. Joining & Alignment: Fit the tongues together, interlocking the pieces. This is the critical moment. The cambium layers—the thin green growing tissue just under the bark—must make contact on at least one side. This is where the new vascular tissue will form.
4. Sealing the Union: Wrap the entire graft joint tightly with grafting tape, starting below the union and finishing above it. Then, carefully apply grafting wax or sealant over all cut surfaces, including the tip of the scion. This step is non-negotiable for preventing drying.

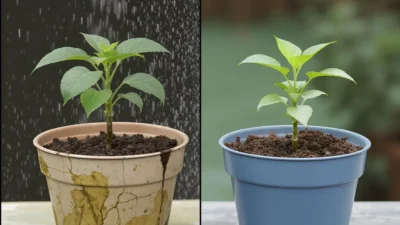
5. Aftercare & Monitoring: Place the grafted plant in a sheltered spot with indirect light. The key is consistent moisture but not soggy soil. In 2-4 weeks, you should see the buds on your scion begin to swell—your first sign of success. Resist the urge to poke and prod!
Troubleshooting Your Grafts: Reading the Signs
Not every graft takes, and that’s okay. The goal is to learn from the outcome. Here’s how to diagnose what happened.
Signs of Success: The clearest signal is bud swell and new shoot growth from the scion. You might also see a visible callus (a bumpy, healing tissue) forming around the union. The scion will remain firm and green under the bark if you gently scratch it with a thumbnail.
Signs of Failure & Likely Causes:
Scion is black, shriveled, and dry: This is almost always due to the graft drying out. The seal was incomplete, the tape was too loose, or the aftercare environment was too arid. The cambium layers died before they could connect.
Scion buds start to swell, then suddenly die: Often called “damping off,” this can be due to a fungal issue encouraged by overly wet conditions or poor air circulation. It can also happen if the rootstock isn’t actively growing to support the new top.
Rootstock sprouts vigorously, scion does nothing: The rootstock is alive, but the union failed. The cambium layers likely didn’t align, or the scion was inserted upside down. The rootstock will always try to grow, so you must rub off these sprouts to direct energy to the scion—if the scion is still alive.
Remember, grafting is a biological process, not an instant fix. Patience and observation are your best tools. If a graft fails, clean your tools and try again—each attempt deepens your understanding of these budding basics and plant physiology.
Common Mistakes to Avoid (And How to Fix Them)
Knowing what not to do is half the battle. Here are the pitfalls that trip up most beginners and how to steer clear.
Using a Dull or Dirty Knife: This is the #1 cause of graft failure. A dull blade mashes the vascular tissues, preventing them from knitting together. A dirty blade spreads pathogens. The Fix: Invest in a good knife, keep it razor-sharp, and sterilize it with alcohol before every cut and between different plants.
Mismatching the Cambium Layers: Simply pushing a scion into a rootstock isn’t enough. If the green cambium layers aren’t in direct contact, the plants won’t fuse. The Fix: Take your time aligning the cuts. Even a small section of cambium contact can lead to success, but aim for perfect alignment on at least one side.
Grafting at the Wrong Time: Dormant grafting (late winter) and budding (late summer) work because the plant’s energy is in the right place. Grafting during a flush of spring growth often fails. The Fix: Follow the seasonal calendar for your chosen technique and plant type.
Improper or Incomplete Sealing: Any exposed wood will lose moisture and die. Parafilm tape that stretches can help, but for larger cuts, a dedicated sealant is a must. The Fix: Cover every cut surface on both the scion and rootstock, including the very tip of the scion. Check the seal a few days later for cracks.
Neglecting Aftercare: Tying the graft and walking away is a recipe for disappointment. The Fix: Monitor moisture, provide shelter from harsh sun and wind, and remove any suckers from the rootstock that rob energy from the scion. Remember to loosen or cut the grafting tape once the union is strong to prevent girdling.
Your Garden, Remastered
Every expert grafter you admire started right where you are now, with a sharp knife, a steady hand, and likely a few grafts that didn’t take. That’s not failure; it’s data. The true reward of learning grafting and budding basics isn’t just in the trees you create, but in the profound connection you build with your plants. You move from being a caretaker to a co-creator.
Start simple. Practice the whip and tongue cut on some willow branches (which root and callus easily). Then, try it on a forgiving apple or pear variety. The skills are transferable. Before long, you’ll look at your garden not just as a collection of plants, but as a set of compatible parts waiting to be combined in new, resilient, and delicious ways. You’ve got this.
Mastering grafting and budding boils down to a few immutable principles. Success requires a sharp, clean cut to expose healthy cambium layers, precise alignment of those layers for the plants to fuse, an airtight seal to prevent drying, and patient aftercare. The whip and tongue graft is a superb first technique for dormant grafting, while T-budding is the go-to for summer propagation of roses and fruit trees. Remember, you’re not just sticking plants together; you’re facilitating a biological partnership.