You’re holding a sharp knife and two plant stems, the pressure mounting to get this single cut and wrap perfect on the first try. It’s a familiar moment for any gardener venturing into grafting, where success hinges on a precise, 15-minute protocol. This isn’t about complex theory; it’s about a reliable, step-by-play checklist. A successful graft is built on three pillars: meticulous preparation with the right grafting tools and tape, executing a clean and perfectly matched cut, and committing to vigilant aftercare. Miss one, and the union fails. Follow them in order, and you transform that moment of pressure into a moment of craftsmanship. This guide strips away the fluff to give you that essential, actionable grafting preparation protocol, from your pre-work setup to the critical first weeks of care.
A successful graft hinges on a simple, three-phase checklist: precise preparation of tools and stock, executing a clean, matching cut, and securing the union with proper wrapping followed by vigilant aftercare. Focus on cleanliness, cambium alignment, and consistent moisture. First, gather sterile, sharp tools and compatible plant material. Next, make clean, matching cuts (like a whip-and-tongue graft) and align the cambium layers precisely. Finally, secure the union tightly with appropriate tape and provide immediate, consistent aftercare with humidity and protection.
Phase 1: The Pre-Grafting Setup (Your Toolkit)
Before you even think about making a cut, your entire focus should be on preparation. A successful graft is won or lost in these first few minutes of setup. Think of this as your surgical tray—everything must be clean, sharp, and within arm’s reach.
Photo by Lukas Blazek on Pexels
Here’s your non-negotiable grafting supplies list:
- Cutting Tools: A razor-sharp grafting knife or a fresh, sterile single-edge razor blade. Dull blades crush plant tissue.
- Sterilization: Isopropyl alcohol (70% or higher) and clean cloths or wipes to disinfect your blade and hands between cuts.
- Grafting Tape: This is critical. Parafilm or budding rubber bands are ideal—they stretch as the graft grows and eventually degrade. Avoid standard electrical or duct tape.
- Plant Material: Healthy, disease-free scion wood (the top part) and rootstock (the bottom part). They must be botanically compatible and of similar diameter for best results.
- Labels & Marker: To note the date and graft type. You will forget.
- Clean Workspace: A stable, well-lit table. Have a damp cloth handy to keep scion wood from drying out.
Timing matters, too. For most deciduous trees, the ideal grafting preparation involves collecting scion wood while it’s fully dormant (late winter) and grafting onto rootstock just as it begins to wake up in early spring.
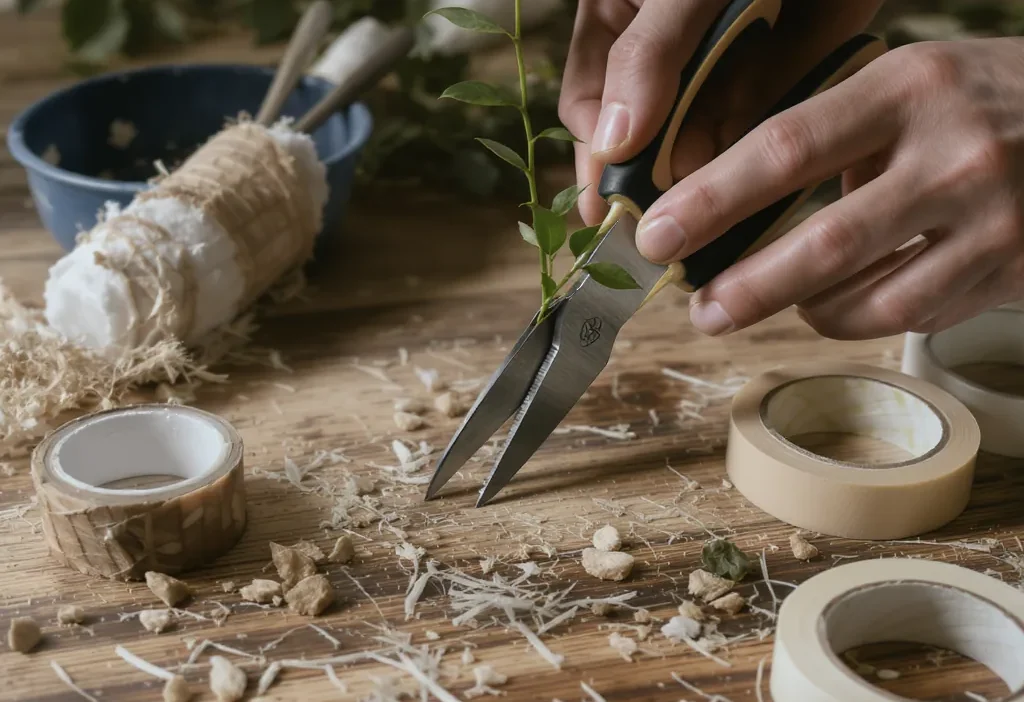
Phase 2: The Critical Cut & Wrap Protocol
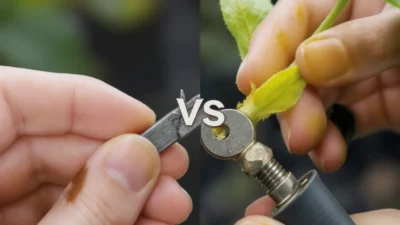
This is the 60-second sequence where your grafting prep checklist becomes action. For beginners, the whip-and-tongue graft is a great starting point because it offers a large surface area and mechanical stability.
Step 1: Make the Matching Cuts
On both the scion and rootstock, make a long, smooth, sloping cut about 1 to 1.5 inches long. The goal is a single, flawless stroke—no sawing. Then, make a second downward “tongue” cut into the face of each slope. For clear diagrams of this and other grafting technique basics, resources like your local university extension service website are invaluable.
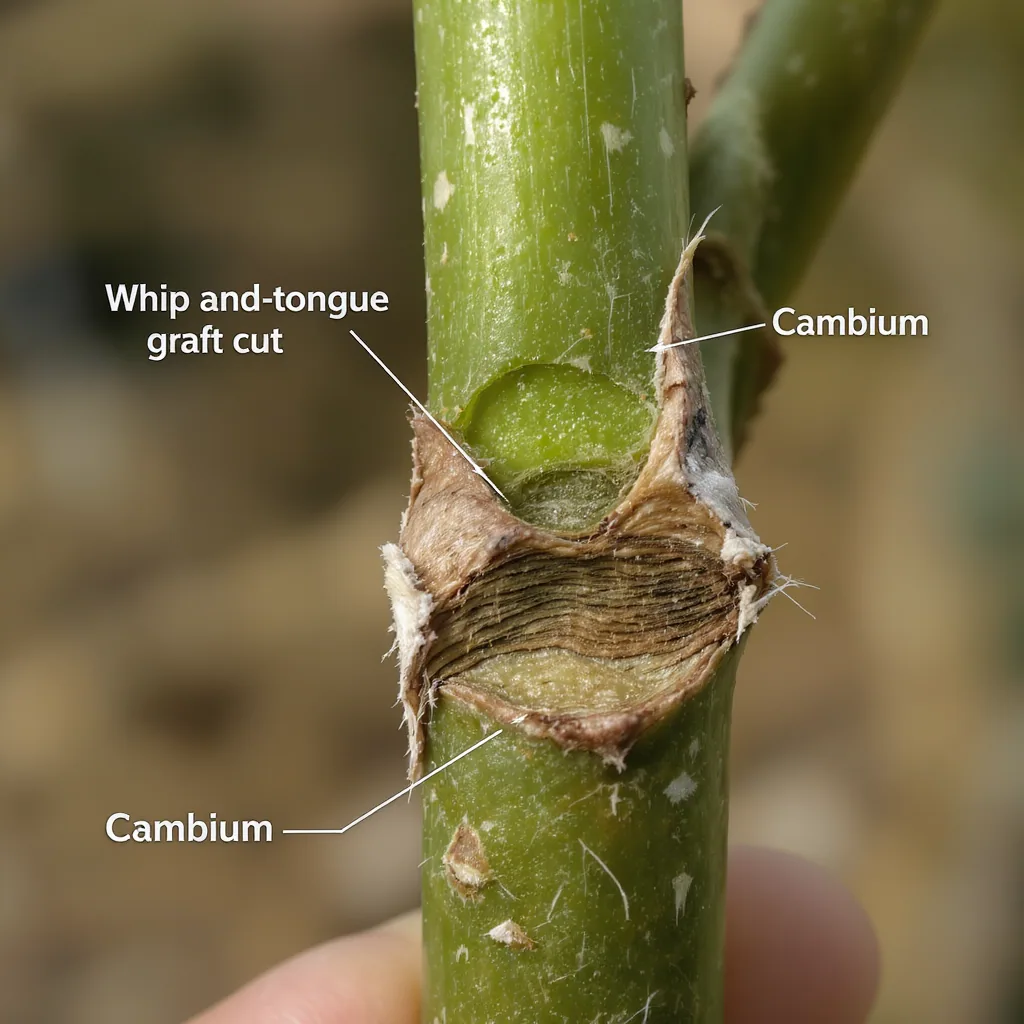
Step 2: Align the Cambium (The Golden Rule)
Inside the thin bark is the cambium layer—a ring of actively dividing cells. This is where the magic happens. Your sole job now is to match the cambium layers of the scion and rootstock on at least one side. Even a millimeter of misalignment here is the number one reason grafts fail.
Step 3: Secure the Union
Immediately after aligning, wrap the union with your chosen grafting tools and tape. Start below the graft and wrap upward with consistent, firm tension—tight enough to hold everything immobile and seal out air, but not so tight that you cut into the bark. Overlap each turn by about half the tape’s width. The entire cut surface should be covered.
Phase 3: The Non-Negotiable Aftercare Basics
You’ve made the cut and wrapped it. Now, the real work begins. Your graft aftercare guide is simple but strict for the first 4-6 weeks. Treat this like a patient in recovery.
Do:
- Label it immediately. Trust me.
- Provide humidity. For tender grafts, slip a clear plastic bag loosely over the scion to create a mini-greenhouse and prevent desiccation.
- Place in indirect light. Bright but no direct, scorching sun. A cold frame or shaded patio is perfect.
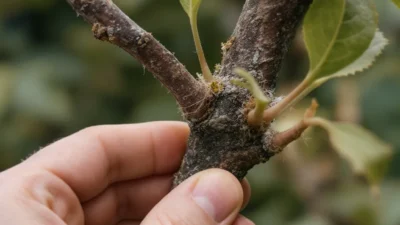
- Monitor for callus. In a few weeks, you should see a swollen, healed look at the graft union. New growth from the scion is your ultimate success signal.
Don’t:
- Let it dry out. Check the bag for condensation; the scion wood must stay hydrated.
- Expose to stress. No direct sun, wind, or frost. Keep it stable.
- Fiddle with the wrap. Do not adjust or peek underneath. Leave it alone for the season.
- Fertilize heavily. A gentle, balanced feed is fine later, but initial energy should go to healing, not pushing leafy growth.
Common Grafting Prep Mistakes (And How to Avoid Them)
Everyone makes mistakes, especially the first few times. Knowing these common pitfalls will fast-track your success.
- Mistake 1: Dull or Dirty Tools. A crushed cut won’t heal. It also invites disease. The Fix: Sterilize your blade with alcohol before the first cut and between different plants. Hone or replace blades often.
- Mistake 2: Poor Cambium Alignment. This isn’t just “getting the pieces close.” It’s precise cellular matchmaking. The Fix: Take an extra second to visually line up the greenish inner layers before you wrap. If diameters don’t match, align one side perfectly.
- Mistake 3: Over-Tightening the Wrap. Strangulation kills the vascular flow you’re trying to create. The Fix: Wrap with firm, even pressure. The tape should be snug but still have a tiny bit of give.
- Mistake 4: Letting the Scion Dry. The cut surface can begin to oxidize and die in minutes. The Fix: Have your tape ready and make your final cuts just before wrapping. Use that damp cloth to cover pieces you’re not actively working on.
- Mistake 5: Neglecting Aftercare Humidity. A dry scion in full sun is a dead scion. The Fix: Bag it. This single step dramatically increases success rates for beginners.
Your Path to Grafting Success
Grafting isn’t a mysterious art reserved for experts; it’s a mechanical skill built on a reliable, repeatable protocol. By breaking the process down into this three-phase system—meticulous setup, precise execution, and vigilant aftercare—you remove the guesswork. You’ve now got a clear grafting prep checklist to follow for that critical window of work.
The pressure you might feel holding that knife and two stems? That’s normal. It lessens with each attempt. So, before you graft that prized heirloom apple variety, grab some willow or poplar branches from the yard and run through this entire process a few times. You’ll build muscle memory for the cuts and the wrap, and your confidence will grow right along with your first successful graft union.