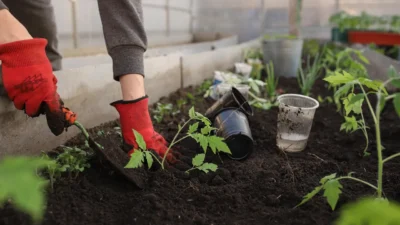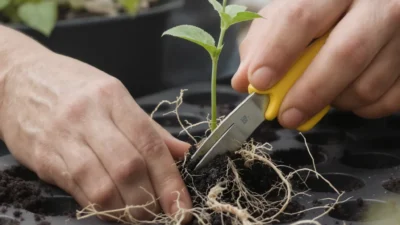
You’ve carefully snipped a stem, placed it in water or soil, and now you’re faced with a critical choice: where do you put it for the best chance to root? The instinct for many plant lovers is to give their new cuttings as much bright light as possible, thinking it will fuel fast growth. But here’s the counterintuitive truth that separates successful propagators from the frustrated: when it comes to light for plant propagation cuttings, more is not better. In fact, blasting your vulnerable cuttings with direct sun is one of the fastest ways to kill them. The real goal isn’t to force growth with brute light, but to provide a careful balance of energy and signals. An unrooted cutting is in a physiological tightrope walk—it needs light for photosynthesis to create the energy for root development, but without roots, it can’t replace the water it loses. Getting the propagation light requirements right means understanding this delicate dance, providing just enough gentle, consistent energy to support the unseen work happening below the surface.
Here’s how to provide the right light for plant propagation cuttings: Start by placing them in bright, indirect light—never direct sun. The goal is to provide enough energy for photosynthesis to support root development without causing water stress or burning the tender, unrooted stems. A north-facing window or a spot a few feet back from a sunny one is ideal. For consistent results, consider a simple LED grow light placed 12-18 inches above the cuttings, set for 12-16 hours a day.
Why Light Matters for Cuttings (It’s Not What You Think)
It’s easy to assume a cutting needs a sunny spot to “grow,” but that thinking can lead to failure. For an unrooted cutting, light isn’t just food—it’s a critical signal and a limited energy source that must be managed with care. The core challenge is this: a cutting needs light for photosynthesis to create the carbohydrates (energy) required to build new roots. However, it lacks a root system to take up water to replace what it loses through its leaves.
This creates a delicate balancing act. Too little light, and the cutting can’t produce enough energy to fuel root development. Too much light, however, drives excessive transpiration (water loss) and can scorch tender tissues, causing the cutting to wilt and die before it ever has a chance to root. Your goal is to provide enough gentle energy to keep the cutting’s internal processes humming along without pushing it into water debt. For a deeper dive into this plant physiology, resources like the University of Minnesota Extension’s guide to propagation explain the foundational science well.
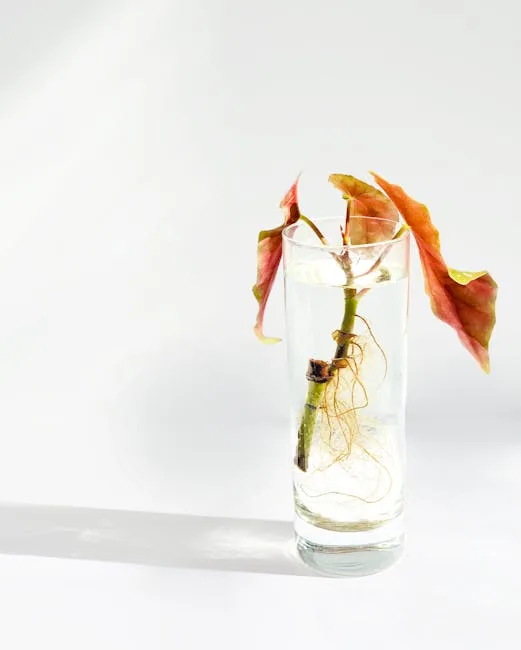
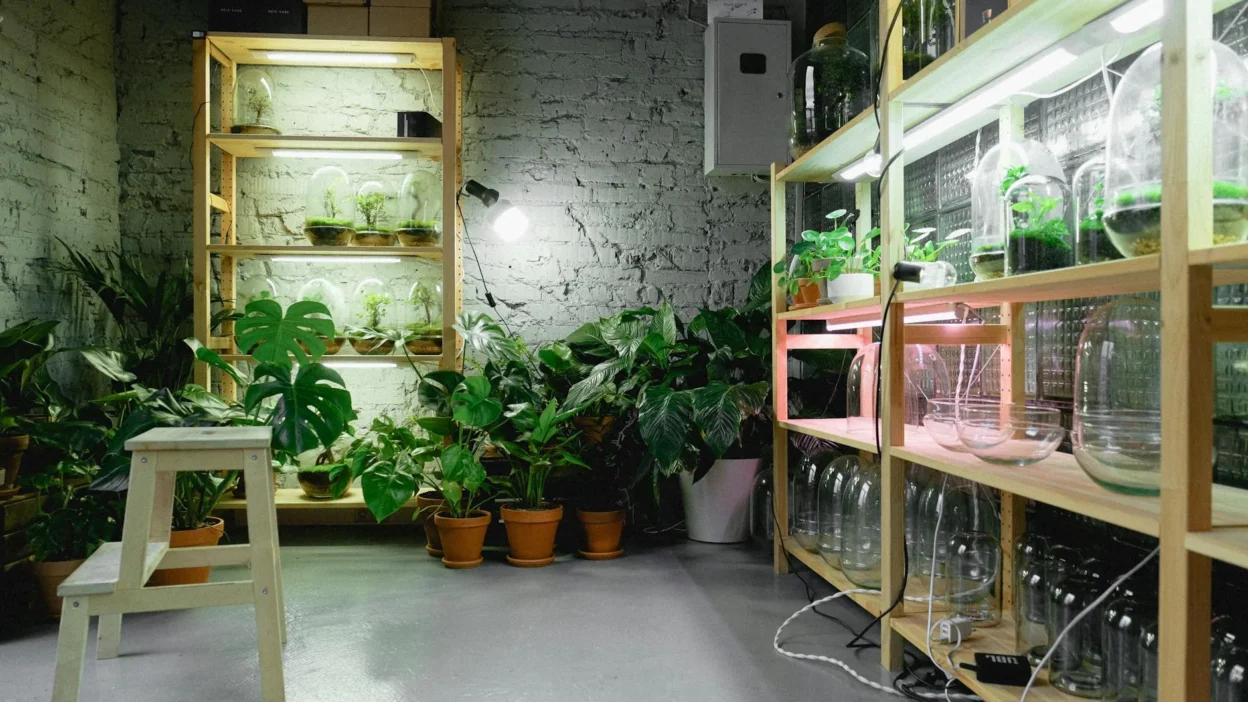
Photo by Kulbir on Pexels
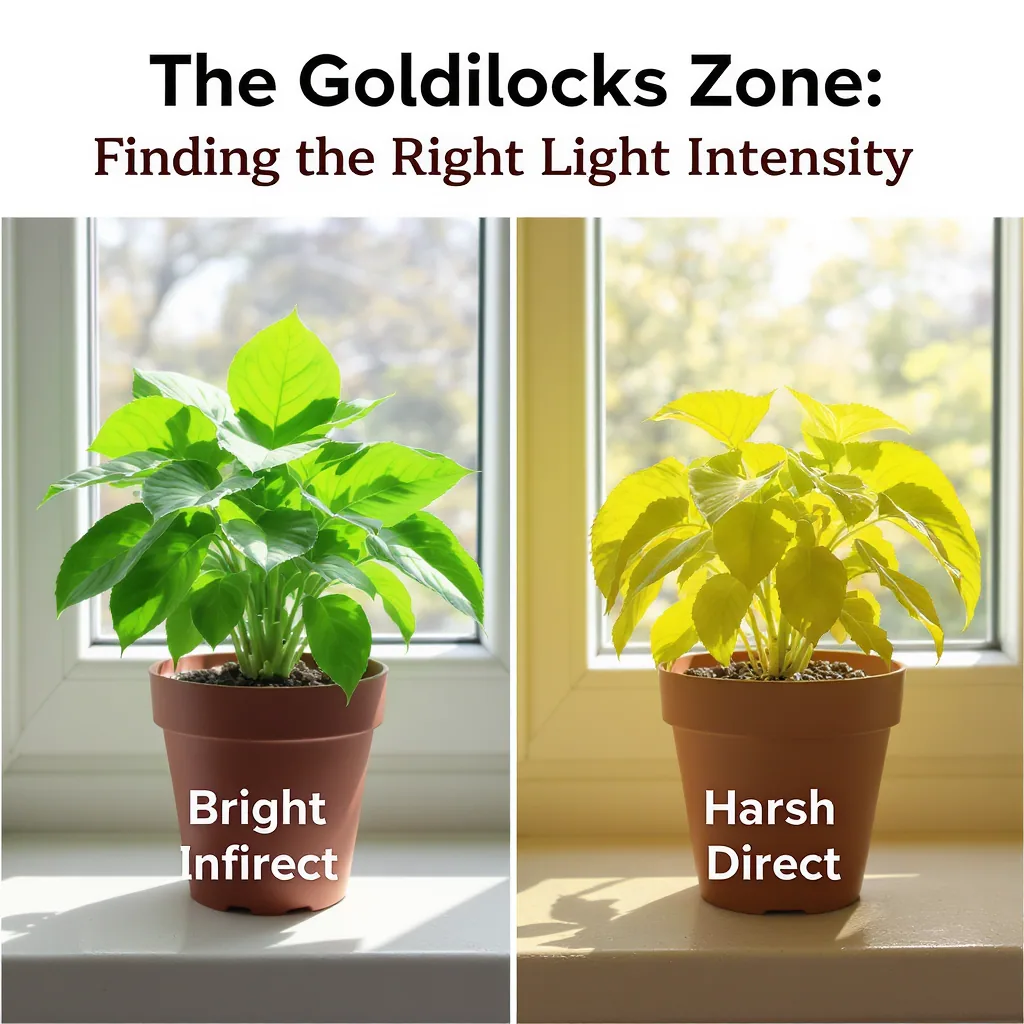
The Goldilocks Zone: Finding the Right Light Intensity
So, what does “bright, indirect light” actually look like for your propagation setup? This is the sweet spot—the Goldilocks zone—where light is plentiful but never harsh. Direct sunlight, especially through a south or west-facing window, is almost always too intense, generating heat and causing rapid moisture loss.
Instead, aim for a spot where the sun never directly hits the leaves. A north-facing window is a classic choice. An east-facing window that gets gentle morning sun can also work, but monitor for any signs of stress. If you only have a sunny window, place your cuttings a few feet back from the glass or use a sheer curtain to diffuse the light. A simple test: hold your hand a foot above the cuttings at the brightest time of day. If the shadow cast is soft-edged and fuzzy, you’re in the right zone. A sharp, defined shadow means the light is too direct.
For ultimate consistency, or if your home is naturally dim, a simple LED grow light is a fantastic solution. It removes the guesswork from your propagation light requirements and provides a steady, gentle source of energy perfect for encouraging roots.
What Works: A Simple Guide to Propagation Lighting
Let’s translate the theory into clear, actionable steps. Following these simple do’s and don’ts will set your cuttings up for success by meeting their core light needs for new cuttings.
What You Should Do
- Do start with bright, indirect light. This is the default, safest position for almost all leafy cuttings, providing the ideal lighting conditions for successful rooting.
- Do use a timer for grow lights. Set it for 12-16 hours a day to mimic a long summer day, which encourages root growth without a 24-hour stress cycle.
- Do adjust light levels as roots develop. Once you see new root growth (usually after a few weeks), you can gradually move the cutting to a slightly brighter spot to support new leaf growth.
- Do provide slightly brighter light for variegated cuttings. The white or yellow sections have less chlorophyll, so they need more overall light to sustain themselves.
What You Should Avoid
- Don’t place cuttings in direct sun. A hot windowsill is a fast track to dehydrated, cooked cuttings.
- Don’t use dark heat mats without light. Bottom heat can speed rooting, but only if paired with adequate light. Heat in the dark accelerates energy consumption without production.
- Don’t forget about duration. While 24/7 light might seem helpful, plants need a dark period for respiration. Stick to a daily cycle.
- Don’t set and forget. Observe your cuttings. If they are stretching weakly (etiolating), they need more light. If they are bleaching or wilting, they need less.
Common Lighting Mistakes That Kill Your Cuttings
Even with the best intentions, it’s easy to stumble. Here are the most frequent lighting errors and why they lead to failure.
1. Baking in Direct Sun: This is the number one killer. The intense light and heat cause massive water loss through the leaves. Since there are no roots to replace it, the cutting rapidly desiccates, often within a day. What looks like a “sunny spot” to you is a desert to an unrooted stem.
2. The “Dark Cupboard” Myth: The opposite extreme is just as bad. Sticking cuttings in a dark corner “to focus on roots” denies them the energy needed to build those roots. They’ll slowly exhaust their stored energy, become weak and pale (etiolated), and eventually rot in the damp, low-light environment.
3. Inconsistent Light Causing Stress: Moving cuttings from a bright spot to a dim one every other day, or having a grow light cycle that’s erratic, forces the plant to constantly adapt. This wasted energy slows down rooting. Consistency is key for steady progress.
4. Not Adjusting Light Post-Rooting: Once a cutting has a healthy set of new roots, its needs change. It can now take up water efficiently. If you leave it in its starter indirect light for cuttings spot forever, it may become leggy as it searches for more resources. Gradually acclimate it to the light level its mature form prefers.
Master the Light, Master Propagation
Getting the light right isn’t a minor detail—it’s the single biggest factor you can control to improve your propagation success. It’s not about finding the brightest spot, but the smartest one: a place of consistent, gentle energy that supports your cutting’s delicate work. Take a moment to look at your current propagation station. Does it fit the Goldilocks zone you now understand? If not, a simple shift—a few feet back from the window, or a basic LED light on a timer—can make all the difference. Consistent, thoughtful light wins over brute force every time.