You lift the dome on your propagation tray, heart full of hope for the new cuttings nestled inside. But instead of the expected signs of life, you’re met with a confusing patch of white fuzz. A wave of panic hits—is this mold, silently killing your precious plants? Or could it be a sign they’re actually healing and preparing to root? This moment of confusion is a universal rite of passage for plant propagators, but the puzzle is solvable. Distinguishing between harmful mold, beneficial callus tissue, and the first delicate root hairs boils down to a few simple visual and tactile clues rooted in basic plant biology. Getting this diagnosis right means the difference between saving your propagation project and accidentally discarding a perfectly healthy cutting.
Here’s how to diagnose propagation tray growth: Mold is a fuzzy, web-like surface growth that spreads quickly and smells musty. Callus is a smooth, hard, often white or tan bump that forms at the cut end. Root hairs are fine, hair-like, translucent extensions emerging directly from the stem or callus, indicating successful rooting. The key is location, texture, and speed of growth.
The Biology Behind What You See
That mysterious growth in your propagation tray isn’t random. It’s the result of three distinct biological processes, and understanding the “why” makes the “what” much clearer. Let’s break down the science simply.
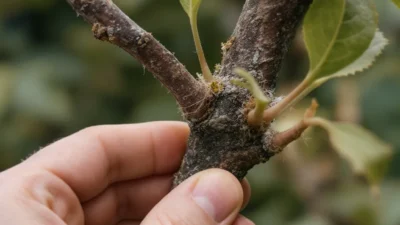
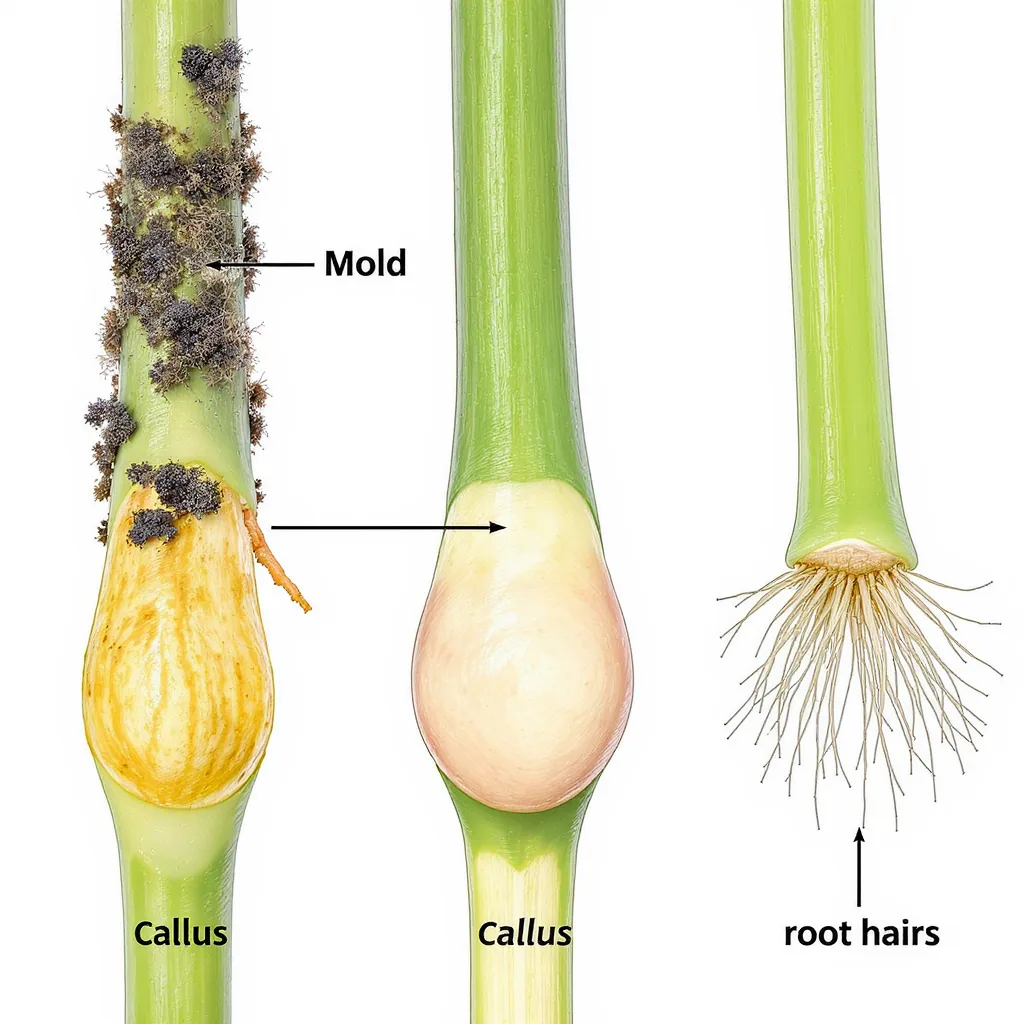
Callus formation is your plant’s healing response. When you make a clean cut, the plant directs energy to the wound site, producing a mass of undifferentiated cells called a callus. Think of it as a protective scab. This smooth, hard bump seals the wound and is often the crucial first step before roots can emerge. It’s a sign of a healthy, active cutting gearing up for the next phase.
Root hairs are the real goal. These are delicate, specialized extensions that grow from the stem or callus tissue. Their job is to dramatically increase surface area for absorbing water and nutrients once the cutting is potted. They are a definitive healthy rooting sign, indicating your propagation efforts are succeeding.
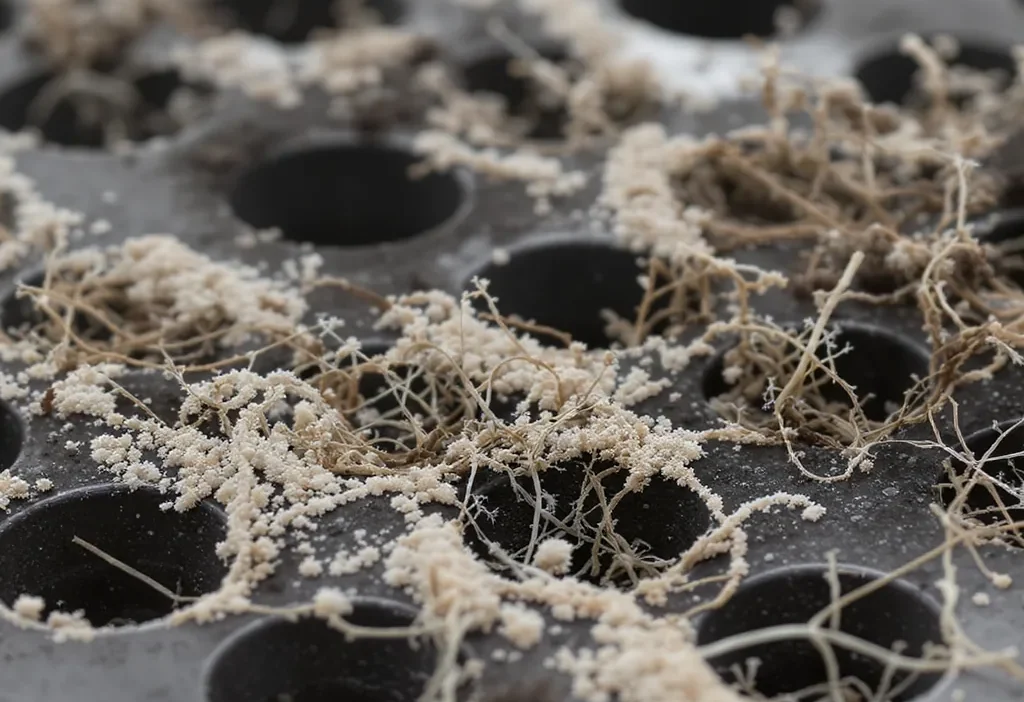
Mold or fungus is an external decomposer. It feeds on dead or decaying organic matter in a damp environment—sometimes a bit of leftover leaf debris in the tray, or unfortunately, a failing cutting itself. It doesn’t benefit the plant; it competes with it and can lead to rot. The classic propagation tray white fuzz is often a saprophytic mold thriving in stagnant, humid conditions.
Side-by-Side Visual Diagnosis
Now, let’s translate that biology into a practical, at-a-glance guide. When you’re doing a propagation tray diagnosis, focus on these key characteristics.
Location & Texture: Mold sits on the surface of the medium or the cutting, often looking dusty or web-like. Callus is part of the cutting itself—a solidified bump at the cut end. Root hairs are attached directly to the stem or callus, looking like a fine, transparent fringe.
Color & Pattern: Mold can be white, grey, green, or even black, and it spreads outward to new surfaces. Callus is typically white, tan, or pale green and remains localized. Root hairs are almost always translucent or white and grow in a concentrated zone where roots are forming.
The Sniff Test & Speed: A musty, dank smell is a dead giveaway for harmful mold. Callus and root hairs have no smell. Also, observe growth speed: mold colonies can expand noticeably in a day or two, while callus forms over several days to a week, and root hairs develop slowly after that.
Here’s your quick-reference mini-checklist for diagnosing mold vs callus vs root hairs propagation issues:
- If it’s fuzzy, sits on top, and spreads quickly = Likely Mold.
- If it’s a smooth, hard, localized bump on the stem = Healthy Callus.
- If it’s made of fine, hair-like extensions attached to the stem = Root Hairs (Success!).

What to Do Next: Action Based on Diagnosis
Your correct diagnosis dictates your action. Misidentifying rooting signs vs mold can lead you to discard a healthy cutting or ignore a real problem.
If it’s Mold: First, improve airflow immediately. Open the humidity dome more often or use a small fan on low. Reduce watering frequency so the surface of the medium can dry slightly between mistings. Remove any visibly moldy cuttings or debris with tweezers. For persistent cases, a light spray of a diluted hydrogen peroxide solution (1 part 3% peroxide to 4 parts water) can help. The goal is to change the environmental conditions that allowed the mold to thrive.
If it’s Callus: Do nothing but wait and maintain stable conditions. This is not a problem to fix! Keep humidity high and light bright but indirect. The callus is doing its job. Patience is key here, as pushing a cutting to root before it’s ready can backfire.
If it’s Root Hairs: Celebrate! This is the transition point. You can begin to acclimate the cutting to less humid air by propping open the dome for longer periods each day. Once a network of true roots (thicker, white roots) develops behind the hairs, it’s time to pot it up into a well-draining soil mix.
A quick note: Some powdered rooting hormones contain a beneficial fungus (mycelium) that can appear as a thin, white fuzz. It’s usually harmless and confined to the stem. When in doubt, the smell test and checking if the cutting itself is still healthy are your best guides.
Pro Tips to Tilt the Odds in Your Favor
The best cure for propagation panic is prevention. A good setup encourages callus and roots while discouraging mold from the start.
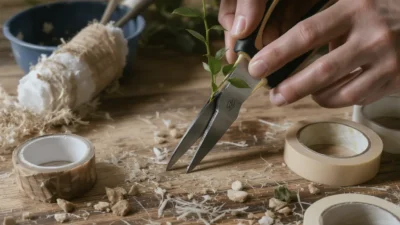
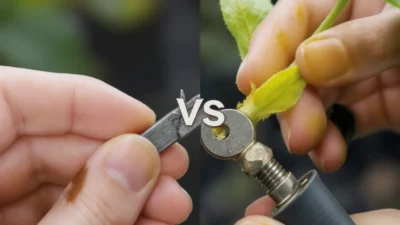
Hygiene is Fundamental: Start clean. Wash trays and domes with soapy water or a mild bleach solution between uses. Use a sharp, sterilized blade (wipe with rubbing alcohol) for taking cuttings to create a clean wound that heals into callus quickly.
Master Moisture & Airflow: This is the balancing act. Your medium should be moist, not soggy. Water from the bottom if possible, and let the top layer dry slightly. Ensure your humidity dome has vents or open it for at least 30 minutes daily to prevent stagnant, mold-friendly air. Good circulation is a powerful tool to prevent mold in propagation.
Provide the Right Light: Place trays in bright, indirect light. Direct sun can cook cuttings under a dome, while too little light stresses them, making them susceptible to disease. The right light fuels the plant’s energy for callus and root development.
Remember, a completely sterile environment isn’t necessary or practical for home gardeners. The goal is to tip the ecological balance in favor of your plant’s natural healing and growth processes, making it harder for decomposers like mold to get a foothold.
Grow With Confidence
That moment of uncertainty when you peer into your propagation tray is now a moment of opportunity. You have the lens to distinguish between a threat, a healing sign, and a triumph. Use this diagnostic knowledge not just to react, but to observe and understand your plants’ language.
Your decisive next step is simple: go check your trays. Look closely, feel the texture, and trust your new understanding. Confusion is a normal part of the learning process, and accurate diagnosis is the first, most powerful step toward consistent propagation success. Now, you’re not just waiting and hoping—you’re actively guiding your plants from cutting to rooted plant.
Q: Can root hairs look fuzzy like mold?
A: Up close, they are distinct. Root hairs are individual, hair-like projections that are translucent and attached directly to the stem. Mold is a matted, web-like surface growth that sits on top of the stem or soil and often spreads. If you gently touch it with a toothpick, root hairs are part of the plant; mold will wipe away.
Q: Is white fuzz always bad on cuttings?
A: Not always. While often a sign of mold, white fuzz can also be harmless mycelium from some organic rooting hormones or even the early, dense growth of root hairs in some species. The key is to diagnose using the other clues: location, smell, and the overall health of the cutting.
Q: How long does it take for callus to form?
A: Callus formation typically begins within 3 to 7 days for most common houseplants and herbaceous cuttings, but it can take up to two weeks for woodier species. Factors like temperature, humidity, and plant variety affect the speed. A stable, warm environment encourages faster callusing.
Q: Should I remove mold from a propagation tray?
A: Yes, but carefully. First, remove any severely affected cuttings to prevent spread. For surface mold on the medium, gently scrape it off and increase air circulation. Avoid disturbing healthy cuttings. Treating the environment (less moisture, more airflow) is more important than just removing the visible mold.