If you’ve ever snipped a piece of a plant, stuck it in water, and waited for roots that never came, you’re not alone. The common belief is disarmingly simple: cut a stem, give it water, and it will root. Yet, for many home gardeners, this process ends in a jar of murky water and a wilted, rotting stem. The hidden variable that separates success from failure isn’t magic—it’s biology, specifically the precise placement of your cut relative to a node. This tiny, often overlooked bump on the stem is the sole factory for new roots, and getting its placement wrong is the most frequent reason for stem cutting node placement mistakes. This article will bust the myths and pinpoint the exact node propagation errors that cause rooting failure, turning your frustrating guesses into reliable, green-thumbed success.
Stem cuttings fail to root most often because of node placement mistakes. Roots only emerge from the nodal tissue, so a cutting must include at least one healthy, undamaged node positioned correctly in the propagation medium. The critical errors are cutting too far from a node, damaging the node with a dull blade, or submerging or burying the node incorrectly. Correcting your where to cut plant node technique is the single most effective fix for propagation woes.
The Node: Your Cutting’s Root Factory
To understand why your cuttings fail, you first need to know what a node actually is. It’s not just a bump or a scar on the stem. At a cellular level, a node is a region packed with meristematic tissue—undifferentiated cells that have the potential to become new growth, including roots. Think of it as the plant’s built-in nursery for new organs. This tissue contains dormant root initials, ready to activate when given the right signal (like being submerged in water or buried in soil).
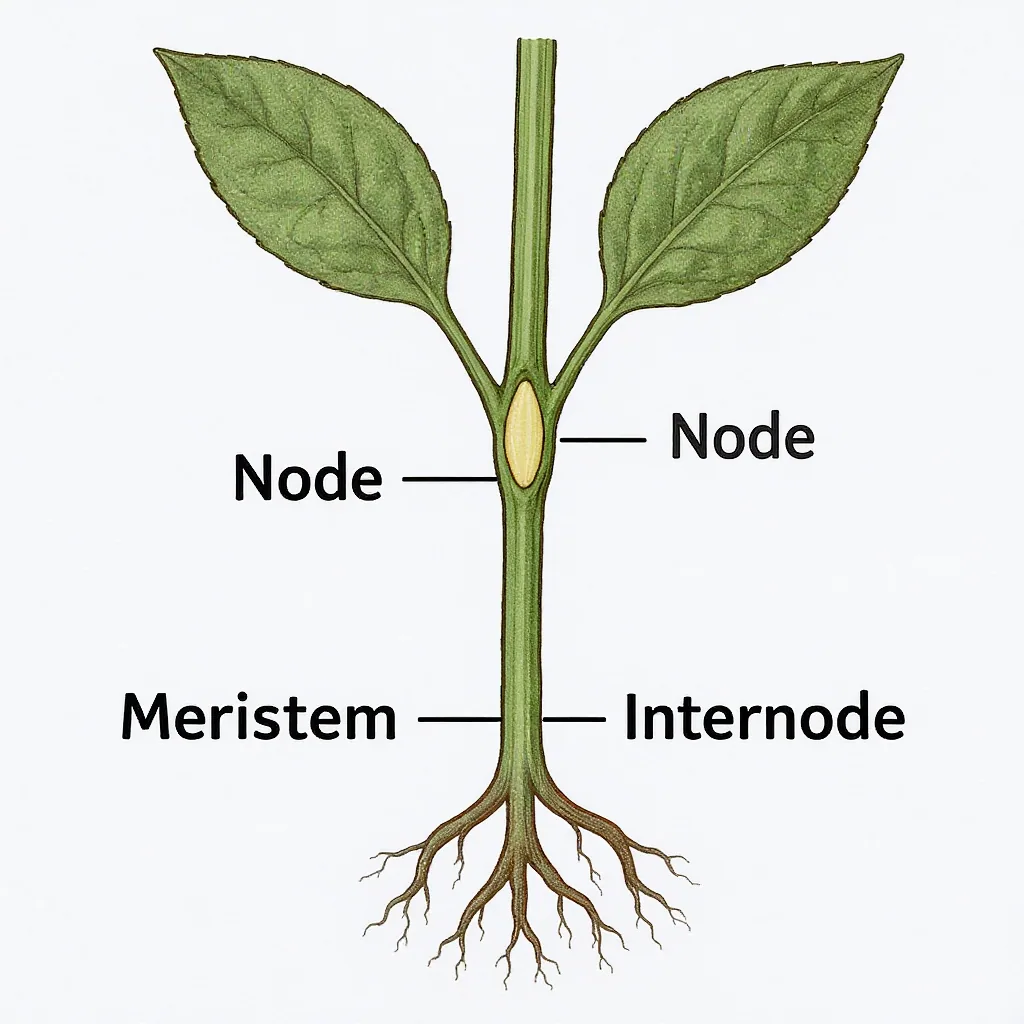
The long, smooth stretch between nodes is called the internode. It’s primarily made of vascular tissue for transport and structural cells. Crucially, it lacks this concentrated meristematic tissue. This is the core biological reason your stem cutting node placement matters so much: roots almost exclusively form from the nodal tissue. If your cutting doesn’t include a node, or if the node is damaged, the plant has no biological machinery to create roots. You’re essentially asking a pipe to sprout a new branch, which it can’t do. For a deeper dive into this anatomy, resources like the Encyclopædia Britannica’s entry on meristems explain the science behind this growth potential.
Myth vs. Fact: Where to Make the Cut
Many propagation failures stem from following well-intentioned but flawed advice. Let’s clear up some common misconceptions about where to cut plant node for propagation.

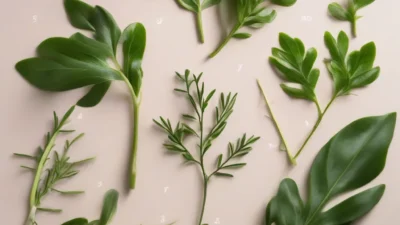
Photo by alleksana on Pexels
Myth: “You can cut anywhere along a green, healthy stem.”
Fact: The cut’s location is non-negotiable. You must cut just below a node. Cutting in the middle of an internode leaves you with a segment that has no root-generating cells, dooming it from the start.
Myth: “Cutting just below a leaf is the same as cutting below a node.”
Fact: Not always. While nodes often occur at leaf junctions, some plants have alternate leaf patterns or bare stems with visible nodes. The node itself is the target, not the leaf. Always identify the swollen or ringed area of the stem itself.
Myth: “Taking a longer cutting with multiple leaves gives it more energy to root.”
Fact: Excess stem and leaves can actually be a liability. A long internode section below the node in water will simply rot. Too many leaves increase transpiration, causing the cutting to wilt before it can root. A shorter cutting with 1-2 nodes and 2-4 leaves is often more successful.
The Top 3 Node Placement Blunders
Even when you know a node is needed, subtle errors in execution can lead to rooting failure due to node placement. Here are the three most frequent blunders.
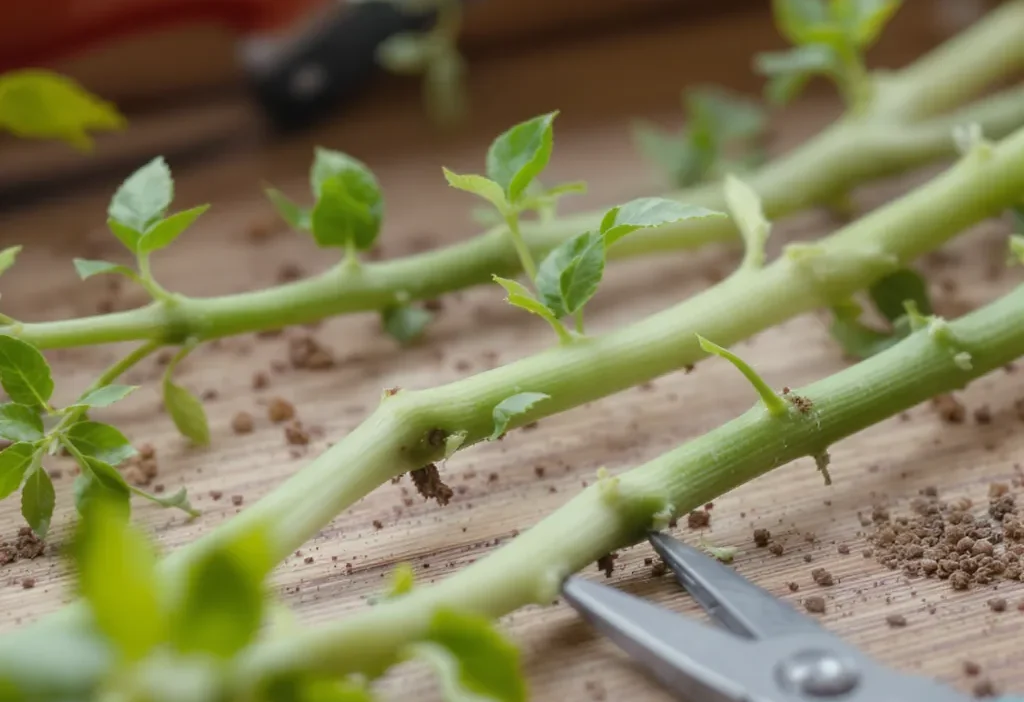
1. The Floating Node (or Buried Internode)
This is the classic water propagation error. You place the cutting in a jar, but the node isn’t submerged—it’s sitting in the air. Meanwhile, the cut end of the internode is in the water. Since roots can’t form from the internode, the stem simply rots. The reverse happens in soil: you bury the internode too deep, leaving the node above the soil line where it stays dry and inactive.
2. Crushing or Mangling the Node
Using dull scissors or pruners doesn’t make a clean cut; it crushes the stem, damaging the delicate vascular bundles and meristematic tissue at the node. This physical trauma prevents the node from properly callusing and initiating roots. It also creates a large wound area prone to rot. A clean, sharp blade is non-negotiable for healthy node propagation.
3. Cutting Too Far From the Node
You aim for “just below,” but leave a long stump of internode (e.g., half an inch) between the cut and the node. This dead tissue has no function and becomes a highway for pathogens to travel straight to the node, causing rot before roots can form. That stump is sacrificial and harmful. The goal is to minimize the amount of non-nodal tissue on your cutting.
Getting It Right: A Node-Centric Protocol
Now that we’ve identified the pitfalls, let’s focus on the correct protocol. Success hinges on treating the node as the star of the show. Follow these node propagation tips to transform your success rate.
First, always identify your node(s) before you even pick up your shears. Look for the slight swelling, a ring around the stem, or the point where leaves, buds, or aerial roots emerge. Your cutting should include at least one healthy node, and ideally a second one as a backup.
For water propagation: Make a clean, angled cut about a quarter-inch below your chosen node. Remove any leaves that would sit below the water line. Place the cutting in your vessel so that the node is fully submerged while any remaining leaves stay well above the water.
For soil propagation: Make your clean cut just below a node. You can dip the cut end (including the node) in rooting hormone if desired. Then, insert the cutting into a moist, well-draining mix so that the node is either at the soil surface or just barely buried. The key is ensuring the nodal tissue is in contact with the moist medium to receive the humidity and signals it needs to root.
The golden rule? Position the node in the “rooting zone” (water or moist soil) and keep the rest of the stem out of trouble. This simple shift in focus from the “cut end” to the “node” is the most important correction you can make.
Your Key to Propagation Success
The difference between a jar of rotten stems and a thriving new plant often comes down to a few millimeters of stem. By understanding that the node is the sole source of new roots, you can move from hopeful guessing to confident propagation. The most effective preventive step you can take is to pause before every cut and ask, “Where is the node?” Make that question a habit, and you’ll eliminate the majority of stem cutting node position errors before they happen. Reframe your thinking: you’re not just cutting a stem; you’re carefully harvesting a node with a bit of stem attached. That subtle shift in perspective is your fundamental key to unlocking consistent success.