Staring at your favorite plant and wondering how to get more of it for free, but paralyzed by all the different advice online? You’re not alone. The world of plant propagation methods can seem like a confusing maze of technical terms and conflicting instructions. But here’s the secret: multiplying your plants isn’t a complex science reserved for experts with green thumbs. It’s simply a series of logical, natural choices based on what you have and what you want to achieve. This guide cuts through the noise. Instead of presenting a daunting encyclopedia of every technique under the sun, we’ll give you a clear, practical framework—a light decision tree—to confidently match the right way to propagate plants to your specific situation. Whether you’re a houseplant enthusiast looking to expand your collection or a garden beginner hoping to save money, you’ll learn how to choose a method that works with your plant’s biology, your schedule, and your patience level, turning anxiety into action.
The best plant propagation method for you isn’t one-size-fits-all; it’s a match between your plant’s biology, your available time, and the tools you have on hand. Start by identifying your plant type, then choose from seed sowing, stem cuttings, division, or layering. For a quick, reliable start, stem cuttings in water or soil are often the most versatile and rewarding choice for beginners.
Your Propagation Toolkit: The 4 Core Methods Explained
Think of plant propagation methods as a gardener’s basic toolkit. You don’t need to master them all at once, but knowing what each tool does helps you pick the right one for the job. For beginners, understanding these four core ways to propagate plants is the first step to success.
1. Seed Propagation (Starting from Scratch)
This is the classic method: sowing seeds to grow entirely new plants. It’s perfect for annual flowers, vegetables, and many perennials. The vibe here is patience and planning—you’re playing the long game, watching life begin from a tiny package of potential. It’s rewarding but requires attention to moisture, light, and temperature.
2. Stem & Leaf Cuttings (Cloning Your Favorites)
This is arguably the most popular technique for plant propagation for beginners, especially with houseplants. You take a piece of stem or a leaf, encourage it to grow roots, and—voilà—you have a genetic clone of the parent. It’s relatively fast and lets you multiply your favorite plants exactly. Stem cuttings work for herbs like mint and woody plants like rosemary, while leaf cuttings are magic for succulents and snake plants.
3. Division (Instant Gratification)
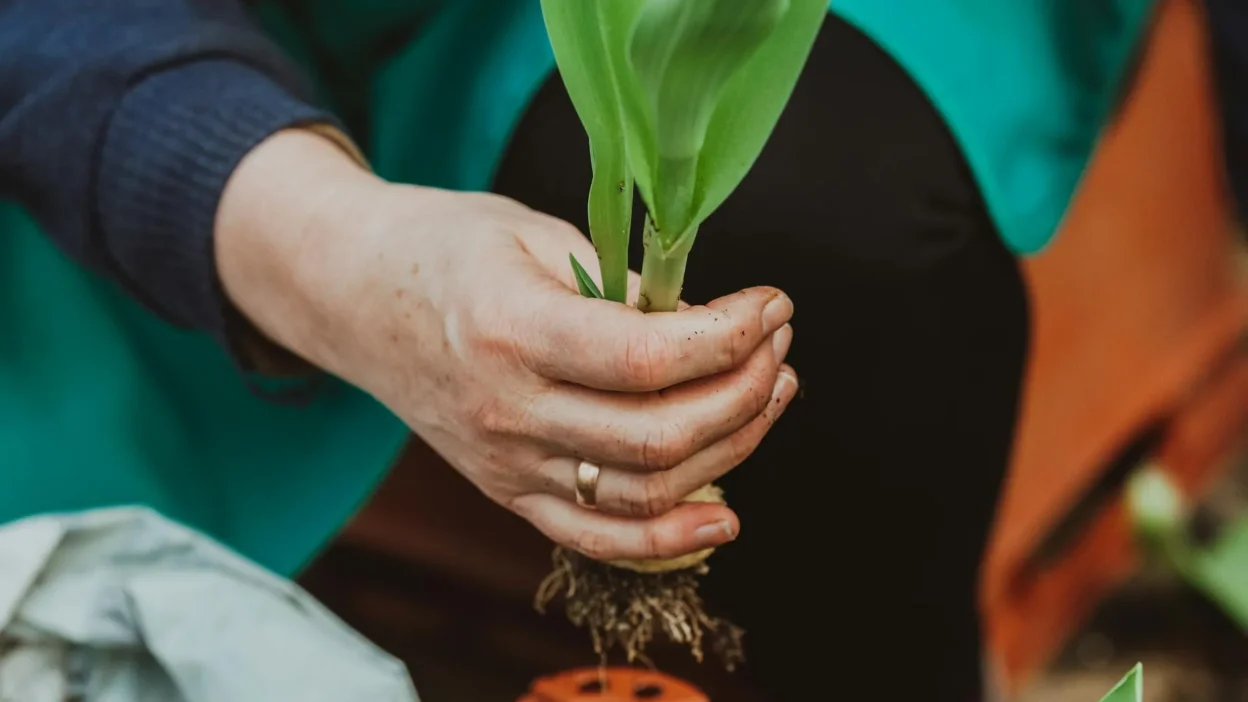
When a plant grows in a clump or produces offsets (like hostas, daylilies, or spider plants), division is your best friend. You literally divide the root ball into two or more sections, each with its own stems and roots. It’s the fastest way to get a new, sizeable plant, as you’re not waiting for roots to form—they’re already there.
4. Layering (Letting the Plant Do the Work)
Layering is a clever, low-stress technique where you encourage a stem to root while it’s still attached to the mother plant. Once roots develop, you sever the connection. Methods like simple layering (bending a stem to the soil) or air layering (wrapping a moist medium around a stem) are fantastic for plants that are stubborn to root from cuttings, like many woody shrubs and trees.

To make choosing easier, here’s a quick comparison of the main plant propagation techniques:
| Method | Best For Plant Types | Difficulty | Time to New Plant | Key Tools Needed |
|---|---|---|---|---|
| Seed | Annuals, vegetables, many perennials | Beginner | Weeks to months | Seed trays, seed-starting mix |
| Stem Cutting | Pothos, herbs, coleus, many houseplants | Beginner | 2-8 weeks | Sharp scissors, water/soil, pot |
| Leaf Cutting | Succulents, snake plant, begonia | Beginner | 1-3 months | Leaf, dry soil |
| Division | Clumping perennials (hosta, ornamental grass), spider plant | Beginner | Immediate | Hands or spade, pot |
| Layering | Shrubs, climbing plants, rubber tree | Intermediate | 1-3 months | Soil, twist ties, sphagnum moss (for air layering) |
The Plant Propagation Decision Matrix: What to Choose and When
Now, let’s translate that toolkit into action. Choosing the right technique isn’t about memorizing rules—it’s about asking a few simple questions about your plant and your goal. Follow this logic to find your best match.
First, identify your plant’s growth habit:
- If it’s a herbaceous plant (soft stems) like a pothos, mint, or coleus, then stem cuttings are usually your easiest and fastest bet.
- If it’s a woody plant like a rose, hydrangea, or lemon tree, then your options narrow. Stem cuttings can work but may need more care. Layering is often a more reliable choice for beginners propagating woody plants.
- If it grows in a obvious clump or produces “pups” and offsets like a snake plant, hosta, or spider plant, then division is your instant-win button. It’s the most straightforward of the ways to propagate plants in this category.
Next, consider your goal:
- Do you need an exact clone? If you love everything about your specific plant, avoid seeds. Use cuttings, division, or layering to get a genetic copy.
- Are you propagating in spring or early summer? This is prime time for most methods, as plants are in active growth. Fall is good for division of many perennials. Late winter is for seeds indoors.
- What’s your patience level? For quick results, choose division. For a balance of speed and simplicity, go for stem cuttings in water. For a project and the joy of watching life begin, try seeds.
Remember, this is an educational guide to help you make an informed choice. If you’re ever unsure, a quick search for your specific plant name plus “propagation” will often reveal the most common and successful method used by other gardeners.
Step-by-Step: Your First Successful Propagation Project
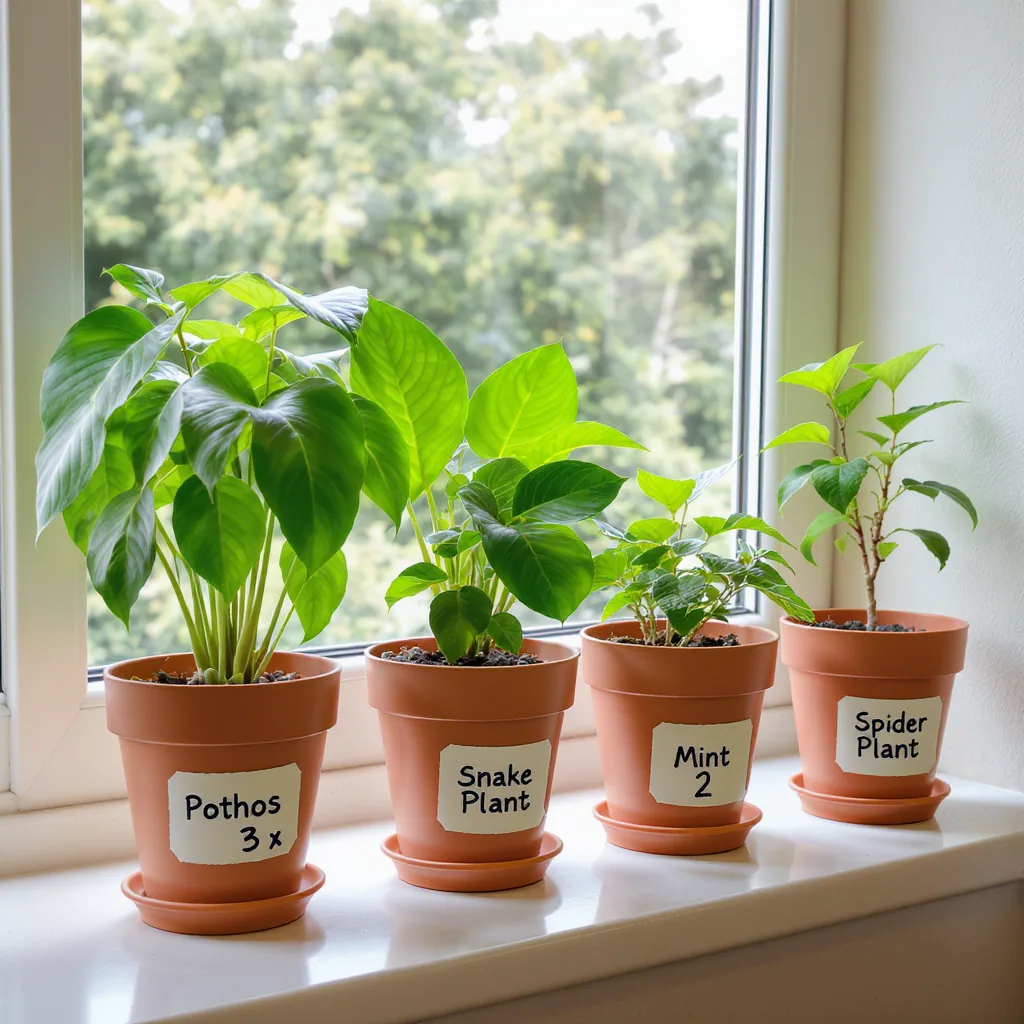
Let’s make your first win almost guaranteed. Propagating a Pothos (Devil’s Ivy) or a Spider Plant in water is the perfect entry point for plant propagation for beginners. It’s visual, fast, and teaches you the core principles.
Your Propagation Starter Kit
Before you start, gather these simple supplies. You likely have most at home:
- A healthy parent plant: Choose a vine with several leaves.
- Sharp, clean scissors or pruners: Clean with rubbing alcohol to prevent disease transfer.
- A clear glass or jar: This lets you watch the roots grow!
- Room-temperature water: Tap water is fine; let it sit out for a day if it’s heavily chlorinated.
- Optional: A bright spot with indirect light (no direct sun).
The Simple Process
1. Take Your Cutting: On your Pothos, find a section of stem with at least one “node”—that’s the little brown bump where a leaf meets the stem. Roots grow from nodes. Make a clean cut about a quarter-inch below a node.
2. Place in Water: Remove any leaves that would be submerged. Place the cutting in your jar so the node is under water, but the leaves are above.
3. Wait and Refresh: Put the jar in bright, indirect light. Change the water every 5-7 days to keep it fresh. In 1-3 weeks, you should see tiny white roots emerging from the node.
4. Pot Up: Once the roots are an inch or two long, your new plant is ready for soil! Gently plant it in a small pot with well-draining potting mix, water it in, and treat it like a delicate new seedling.
Matching Methods to Popular Houseplants and Garden Favorites
Theory is great, but let’s get specific. Here’s how to apply the decision matrix to some common plants you might have at home.
Scenario: You have a Monstera Deliciosa (Swiss Cheese Plant).
This popular houseplant is a prime candidate for air layering (for a large, rooted section) or stem cuttings with a node. For cuttings, you can root them in water or directly in a chunky, well-draining soil mix.
Scenario: You have a Hosta or an Ornamental Grass.
These garden workhorses grow in clumps. The absolute best and easiest method is division. In early spring or fall, dig up the plant and use a sharp spade or even your hands to pull or cut the root ball into smaller sections, each with some leaves and roots. Replant immediately.
Scenario: You have Basil or Mint.
Herbs are wonderfully generous. You can grow them from seed, but for a quicker clone of your favorite plant, take stem cuttings. Snip a 4-inch tip, remove the lower leaves, and place in water. Roots appear quickly, and you’ll have a new plant ready for the kitchen window.
Scenario: You have a Snake Plant (Sansevieria).
You have two great options. For a perfect clone, use division to separate a pup from the mother plant. For a fun experiment, you can use leaf cuttings: cut a leaf into sections, let the cuts dry for a day, then plant them upright in soil. (Note: leaf cuttings of variegated types may revert to all-green plants).
The Waiting Game: Aftercare for Your New Plant Babies
You’ve executed the technique—congratulations! Now, the most critical phase begins: aftercare. Propagated plants are vulnerable. Think of them as seedlings or cuttings, not established plants, and adjust your care accordingly.

Photo by Jan Kopřiva on Pexels
Do:
- Provide bright, indirect light: Direct sun can scorch tender new growth and dry out cuttings.
- Maintain consistent moisture—not sogginess: For cuttings in soil, keep the medium lightly damp. For newly potted water-propagated plants, the soil should be moist as their roots transition from water to soil.
- Boost humidity if possible: A clear plastic bag tented over the pot (with a stick to hold it up) or a humidity dome creates a mini-greenhouse, reducing stress. Just air it out daily.
- Be patient: Root growth happens underground and out of sight. No news is often good news.
Don’t:
- Overwater: This is the #1 killer. Soggy soil suffocates new roots and leads to rot.
- Fertilize: New roots are easily burned. Wait until you see significant new top growth (a month or more) before using a very diluted fertilizer.
- Expose to drafts or extreme temperatures: Keep your propagations in a stable, warm environment.
- Pot into a huge container: A small pot dries out more evenly and encourages roots to fill the space, reducing the risk of overwatering.
Common Propagation Pitfalls and How to Sidestep Them
Even with the best plans, things can go sideways. Recognizing these common issues will save you time and heartache. Most are easily preventable.
Rot (Mushy, Black Stems or Leaves): This is almost always caused by overwatering or a lack of oxygen. For cuttings in soil, ensure your mix is well-draining (add perlite!). For water propagation, change the water weekly. Always use clean tools and containers.
Drying Out: The cutting or seed tray simply shrivels up. This is usually due to insufficient humidity or not keeping the growing medium consistently (but lightly) moist. That plastic bag tent is a lifesaver here.
Using Unhealthy Material: You can’t get a healthy baby from a sick parent. Always take cuttings from vigorous, pest-free growth. Avoid flowering stems, as the plant’s energy is going into blooms, not roots.
Wrong Season: Trying to take cuttings from a dormant plant in winter is an uphill battle. Stick to the plant’s active growing season (spring/early summer) for the highest success rate.
Impatience: Constantly pulling up a cutting to check for roots damages the delicate root initials. Trust the process. If the stem is still firm and green, it’s likely still working.
I once left a tray of succulent leaf cuttings in a spot that got a few hours of direct afternoon sun. The soil dried out too fast, and the tiny new roots shriveled before they could establish. The fix was simple: I moved them to a spot with only bright, indirect light and was more attentive to light moisture. It was a good reminder that even sun-loving plants need gentler conditions when they’re just starting out.
Leveling Up: When to Experiment with Advanced Techniques
Once you’ve mastered a few rounds of cuttings and division, you might feel the itch to try something more complex. These advanced plant propagation techniques are for enthusiasts looking for a challenge or a specific result.
Grafting: This involves physically joining the tissues of two plants so they grow as one. It’s commonly used in fruit tree cultivation to combine a hardy rootstock with a delicious fruit-bearing scion (the top part). It requires precision, clean cuts, and specific timing.
Tissue Culture (Micropropagation): This is the high-tech, laboratory method of propagating plants from tiny pieces of tissue in a sterile, nutrient-rich gel. It’s how millions of identical orchids or houseplants are produced commercially. While home kits exist, it’s a complex hobby requiring sterile technique.
Complex Layering: Beyond simple layering, techniques like serpentine layering (rooting multiple sections of one long stem) or mound layering are used for specific shrubs and vines.
View these methods as fascinating next chapters in your gardening journey, not as necessary steps. They are powerful tools for plant breeders, orchardists, and serious hobbyists. For now, celebrate the incredible ability to create new plants using the simple, effective methods in your beginner’s toolkit.
You’re Ready to Grow Your Plant Family
Choosing the right plant propagation method ultimately comes down to a simple match: your plant’s biology meets your goals and patience level. There’s no single “best” way, only the most suitable one for your specific situation. Remember, every expert gardener once made their first cutting, nervously watched a jar for roots, or divided their first clump.
Start with a simple stem cutting in water—that first glimpse of tiny white roots is a thrill that never gets old. Celebrate your successes, and view any setbacks not as failures, but as valuable lessons in what your plants need. Propagation is a deeply rewarding skill that connects you to the cycle of growth and gives you the power to multiply beauty, share with friends, and fill your space with life—all for free. You’ve got this.
To choose the right propagation technique, remember these key takeaways:
- Match the method to the plant: Use cuttings for vining houseplants and herbs, division for clump-formers, seeds for vegetables and annuals, and layering for stubborn woody plants.
- Stem cuttings in water are the ultimate beginner’s project: They’re visual, simple, and have a high success rate for plants like Pothos, Philodendron, and many herbs.
- Timing and aftercare are crucial: Propagate during active growth seasons (spring/summer) and provide consistent moisture, bright indirect light, and patience.
- The goal is a healthy new plant, not perfection: Start simple, learn from each attempt, and enjoy the process of creating new growth.
Q: Can you propagate any plant?
A: While most plants can be propagated, the ease and method vary wildly. Some, like many annuals, are best grown from seed. Others, like certain hybrid cultivars, may only be reliably propagated through specific techniques like cuttings or tissue culture to maintain their traits. It’s always worth researching your specific plant.
Q: What is the fastest way to propagate a plant?
A: For an immediate, mature plant, division is the fastest method. You get a full-sized plant right away.