You’ve carefully selected your stem, made a clean cut just below a node, and nestled it into a perfect, moist medium. For a few days, everything looks promising. Then, the signs appear: leaves begin to wilt and soften, a fuzzy gray mold creeps across the soil surface, or weeks pass with absolutely no sign of roots. This moment of propagation panic is a universal rite of passage for plant enthusiasts. The instinct is often to do *something*—water more, mist constantly, move it into direct sun—but these reactions can seal the cutting’s fate. Instead, successful recovery hinges on a calm, systematic diagnosis. This propagation troubleshooting checklist is designed to move you from frantic guesswork to targeted action, helping you decode what your struggling cutting is actually telling you and providing the clear recovery clues you need to turn the situation around.
A quick diagnosis for propagation problems starts by isolating the issue to its source—environment, the cutting itself, or the rooting medium. Check humidity, light, and temperature first, then inspect the stem and nodes for rot or damage before adjusting your setup. This systematic approach allows you to address the root cause, whether it’s a wilt from low humidity, mold from stagnant air, or slow roots from incorrect node placement, rather than just treating the symptom.
The Quick-Diagnosis Mindset: Stop, Look, Isolate
When a cutting shows signs of distress, the instinct is to act immediately—more water, less water, a different spot. Resist it. Successful propagation troubleshooting starts with a systematic pause. Your goal is to isolate the problem to one of three core areas: the environment you’ve created, the health of the cutting itself, or the condition of the rooting medium. Jumping to solutions without this diagnosis often worsens the issue.
Think of it as a process of elimination. First, observe without touching. Is there condensation on the dome? Is the stem discolored? Is the medium soggy or bone dry? This initial observation is the most critical step in your propagation troubleshooting process. By methodically checking each area, you move from guesswork to targeted action. Remember, this guide provides educational strategies based on common horticultural practices, not a guaranteed cure for every scenario. For foundational principles, resources like the University of Minnesota Extension’s guide on cuttings offer excellent baseline knowledge.
Symptom Decoder: What Your Cutting is Telling You
Your cutting’s symptoms are clues. This section maps those clues to their most likely causes, creating a direct line from what you see to what you should check next. Use this as your primary diagnostic flow.

1. Symptom: Slow or No Root Development
Your cutting is alive but stagnant, showing no signs of new growth. The usual suspects here are related to the cutting’s physiology or its ambient conditions.
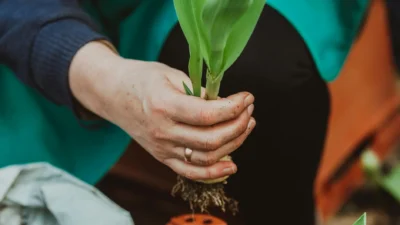
- Check the nodes: Are the nodes (the bumpy areas where leaves and roots emerge) buried in the medium? Roots only form from nodal tissue.
- Check temperature: Rooting is a biochemical process that slows to a crawl if the medium is too cold. Most plants prefer a rooting zone between 65-75°F (18-24°C).
- Check light: Is it getting bright, indirect light? Too little light starves the cutting of energy; too much direct sun can cook it or cause excessive transpiration.
2. Symptom: Cutting Wilt After Propagation
This is the classic sign of stress, where leaves droop or stems go limp. Cutting wilt after propagation typically points to a water balance issue—either too much is leaving or not enough is coming in.
- Check humidity: For leafy cuttings, a lack of high ambient humidity is the top cause of wilt. Without roots, they lose water faster than they can replace it.
- Check the stem base: Gently remove the cutting. Is the submerged part of the stem mushy, black, or brown? This is stem rot, often from overwatering, and it blocks water uptake.
- Check transpiration: Is the cutting in a hot, dry, or drafty location? High air movement or heat accelerates water loss.
3. Symptom: Mold or Fungus in the Setup
White, fuzzy growth on the medium or gray fuzz on leaves and stems signals excess moisture and stagnant air. Mold in a propagation setup is an environmental problem, not necessarily a death sentence for the cutting.
- Check airflow: Is the humidity dome permanently sealed? Fungal spores thrive in still, moist air.
- Check moisture: Is the medium constantly wet, and are you misting the leaves directly? Surface moisture encourages mold.
- Check sanitation: Were your tools, container, or medium not clean? Introducing organic debris or pathogens creates a breeding ground.
Your Recovery Action Plan
Diagnosis complete? Now for the rescue mission. These are your targeted actions based on the symptoms you identified.
For the Wilted Cutting
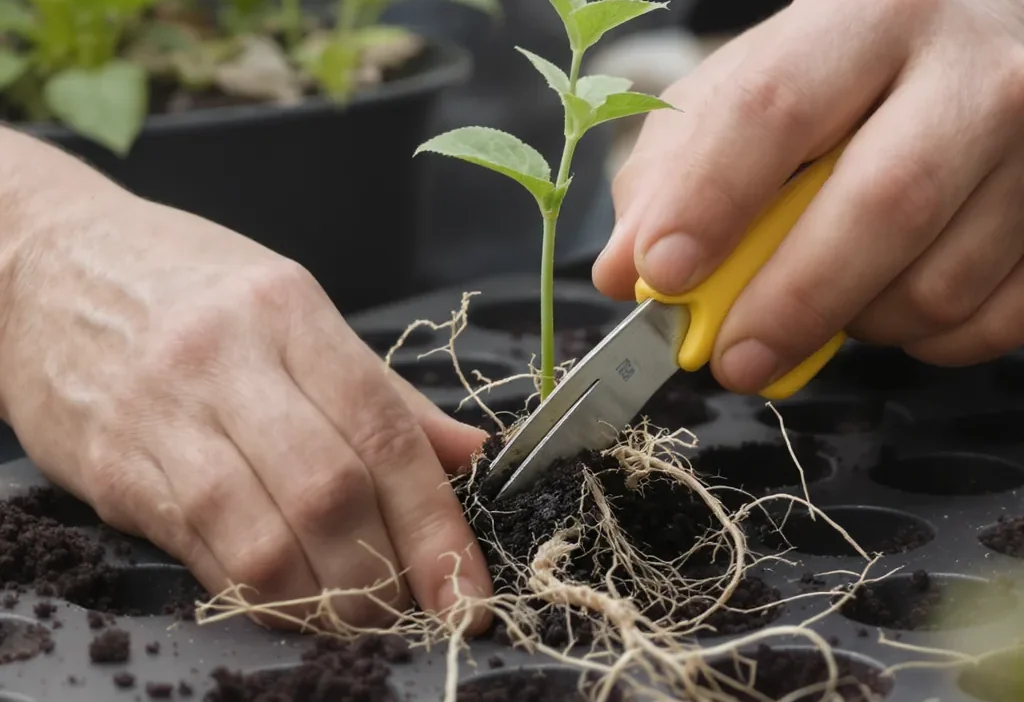
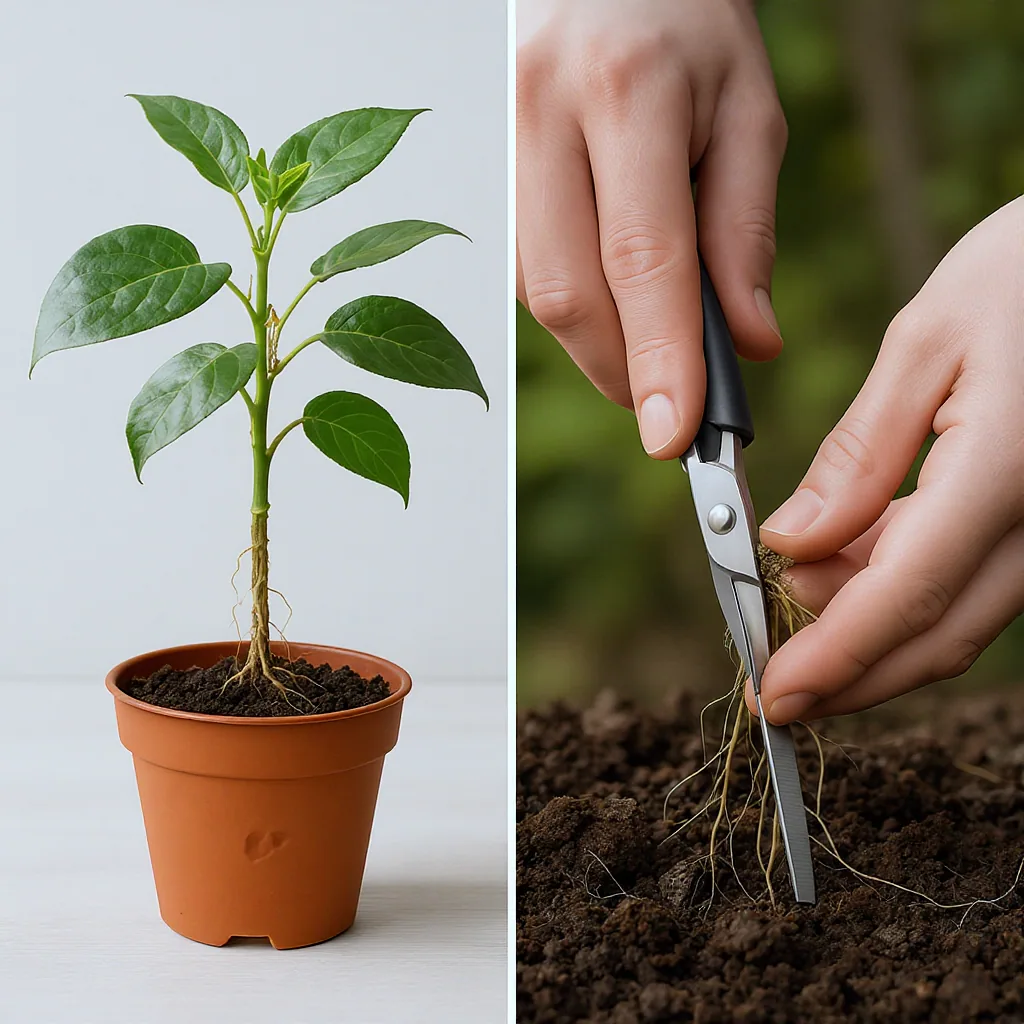
- Re-cut: If the stem shows any rot, use a sterile blade to cut about half an inch above the damaged area, just below a node.
- Re-hydrate: Place the re-cut stem in a glass of clean, room-temperature water for 1-2 hours to allow it to drink.
- Adjust the environment: Re-plant in fresh, lightly moist medium and ensure high humidity (use a dome or bag), venting it for an hour daily.
For Mold and Fungus
- Remove affected material: Carefully scrape off any mold on the medium surface. If mold is on the cutting itself, gently wipe it with a cotton swab dipped in diluted isopropyl alcohol.
- Improve air circulation: Remove the humidity dome for several hours each day, or prop it open permanently. A small fan on low in the room can help.
- Sanitize and dry: Avoid misting. Let the surface of the rooting medium dry out slightly between waterings. Ensure your tools are clean for future work.
For Encouraging Stubborn Roots
- Apply bottom warmth: Place your propagation tray on a seedling heat mat set to a gentle temperature. Warmth at the root zone stimulates growth.
- Consider rooting hormone: If you didn’t use it initially, re-cut the stem (if possible) and dip it in a rooting hormone powder or gel before re-inserting it into the medium.
- Verify light conditions: Move the setup to a location with consistent, bright indirect light—a north or east-facing windowsill is often ideal.
Common Propagation Pitfalls to Avoid
Often, propagation problems stem from a few repeated mistakes. Learning to recognize and avoid these pitfalls can prevent most issues before they start.
- Keeping the Dome Sealed 24/7: While high humidity is crucial, no airflow invites mold and rot. Vent your dome daily to exchange air.
- Using Non-Sterile Medium or Garden Soil: Garden soil compacts and harbors pathogens. Always use a light, sterile mix like perlite, vermiculite, or a dedicated seed-starting blend.
- Taking Cuttings from Weak or Unhealthy Growth: The best cuttings come from vigorous, pest-free parent plants. Soft, new growth (softwood cuttings) often roots faster than old, woody stems.
- Over-Misting or Watering: The goal is a consistently lightly moist medium, not a wet one. Soggy conditions suffocate stem tissue and cause rot.
- Impatience with Root Development: Constantly pulling a cutting to check for roots damages delicate new root hairs. Trust the process, and look for top growth as a sign of success below.
Turning Setbacks into Success
Propagation is less about having a green thumb and more about developing a diagnostic eye. Every instance of cutting wilt after propagation or patch of mold in your propagation setup is a lesson in the delicate balance these tiny plants need. By applying the stop-look-isolate framework, you move from reactive panic to confident problem-solving.
Your decisive next step is clear: apply this diagnostic checklist to your struggling cuttings today. Choose one symptom, trace it through the likely causes, and implement a single corrective action. View any recovery not as a lucky save, but as proof that your observational skills are growing right along with your plants.