Ever brought home a plant cutting, only to realize you’re scrambling for a jar and hoping for the best? That moment of improvisation is where many propagation journeys falter. The difference between a thriving new plant and a disappointing, rotting stem often comes down to preparation. A dedicated plant propagation setup checklist transforms a haphazard experiment into a reliable, repeatable process. This guide breaks down the three pillars of success: having the right propagation tools, selecting appropriate containers, and establishing a clean, methodical workflow. By setting up a proper propagation station from the start, you empower yourself to nurture cuttings with confidence, turning your windowsill into a nursery of future growth.
The best way to ensure propagation success is to prepare a dedicated station with sharp, clean cutting tools, clear containers for monitoring root growth, and a workflow that prioritizes cleanliness to prevent rot and disease. A successful propagation setup hinges on having the right cutting tools, appropriate containers for water or soil, and maintaining a sterile workflow. It’s about preparation, not improvisation, which dramatically increases your chances of healthy, rooted plants.
The Essential Propagation Toolkit
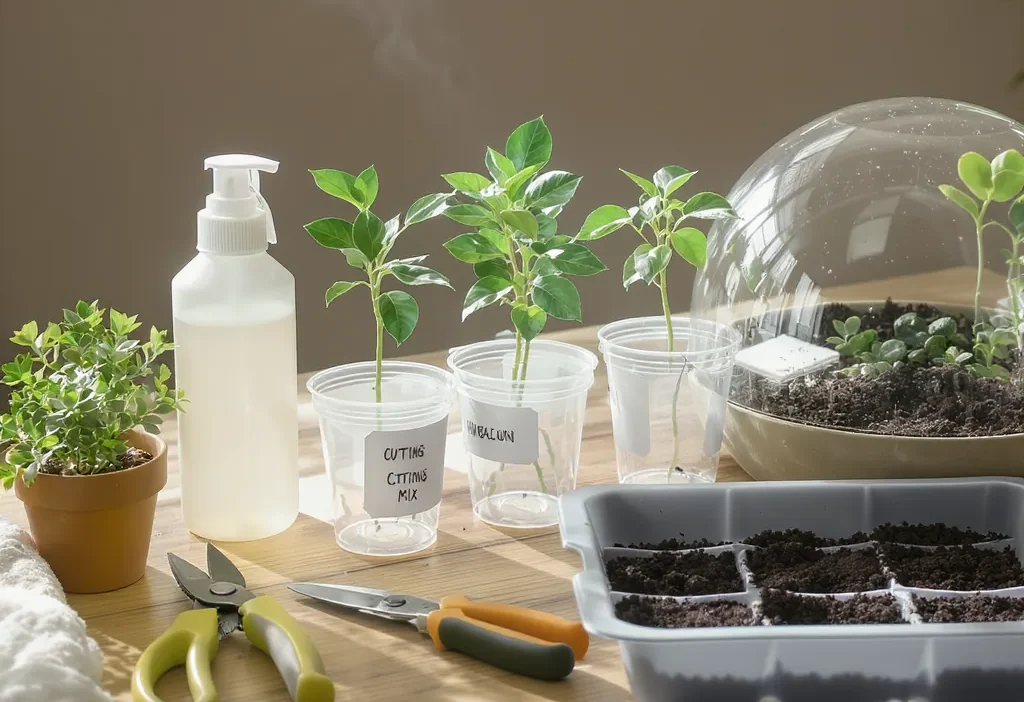
Think of your propagation tools list as a surgeon’s kit: each item has a specific purpose, and cleanliness is non-negotiable. Having these essentials gathered before you make your first cut transforms a haphazard experiment into a repeatable, successful process. Here’s what you need:
- Sharp Cutting Tool: This is your most critical item. Use sterilized, razor-sharp pruning shears, a scalpel, or floral snips. A clean, precise cut minimizes damage to the plant tissue, allowing it to heal and root faster. Dull or dirty tools crush stems and introduce pathogens, a leading cause of failure.
- Rooting Hormone (Optional but Recommended): Available as a powder, gel, or liquid, rooting hormone contains growth regulators that encourage root development and can protect the cutting from fungal infections. For beginners, a gel is often easiest to apply evenly. Store it in a cool, dry place and replace it annually for best results.
- Clean Spray Bottle: Fill with distilled or filtered water. You’ll use this to lightly mist soil-propagated cuttings to maintain humidity without overwatering, and to keep cuttings hydrated while you work.
- Labels and a Waterproof Marker: It’s astonishing how quickly you can forget what you’ve propagated. Label every cutting with the plant name and date. This simple step is a cornerstone of an organized propagation station setup.
- Fine Tweezers or Chopsticks: For handling delicate cuttings, positioning them in soil, or gently removing them from water vessels without damaging new, fragile roots.
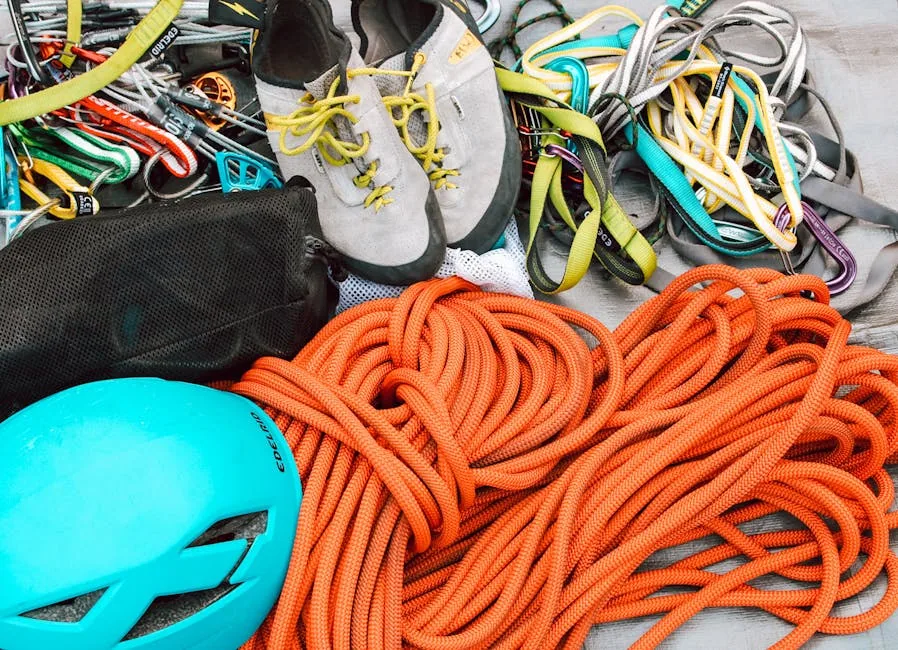
Photo by Gaelyn Salome on Pexels
Choosing Your Propagation Vessels
Your container choice directly impacts your ability to monitor progress and provide the right environment. The right vessel supports your method, whether you’re rooting in water or a soil-like medium. Here’s a protocol for selecting the best option.
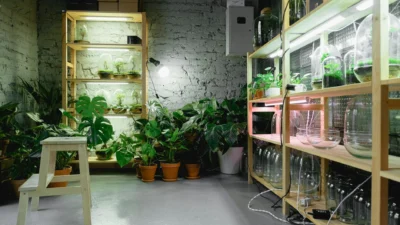
For water propagation, transparency is key. You need to see root development and monitor water clarity. Clear glass jars, old spice bottles, or dedicated test tubes work perfectly. The narrow neck of a bottle can help support the cutting, keeping its leaves out of the water. For a more organized look, consider a multi-vial propagation station.
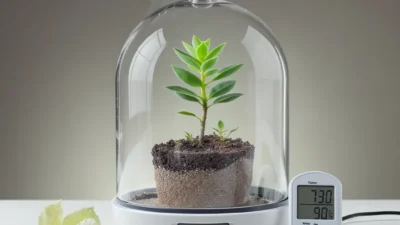
For soil or soilless mix propagation, drainage is non-negotiable. Use small nursery pots, seedling trays, or even repurposed yogurt cups with holes punched in the bottom. To maintain high humidity around these cuttings—which is crucial for many tropical plants—place them inside a clear plastic storage box or under a humidity dome.
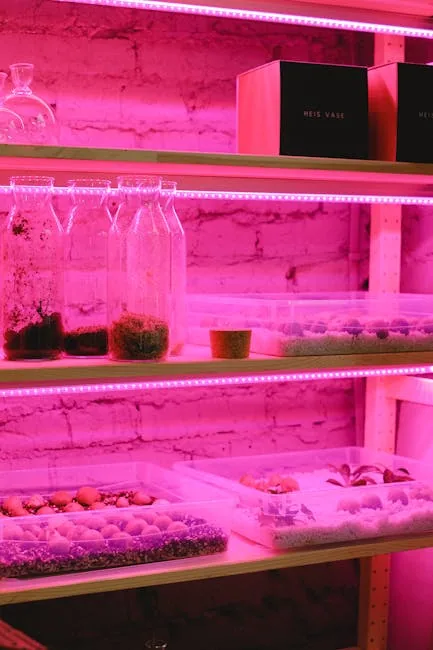
Photo by Anna Shvets on Pexels
Do: Use clear containers for water props to monitor root growth and algae. Don’t: Use containers without drainage holes for soil propagation, as this leads to soggy media and rot. The goal is to match the vessel to the method for a clean propagation workflow.
Executing a Clean Propagation Workflow
This is where your preparation pays off. A sterile, methodical sequence is your best defense against rot and disease. Follow this protocol to turn your tools and containers into a successful propagation station setup.
- Sanitize First: Wipe down your work surface with isopropyl alcohol. Clean your cutting tools with the same alcohol or a 10% bleach solution and let them air dry.
- Prepare Your Stations: Fill your water vessels with room-temperature water or pre-moisten your potting mix and fill your drainage-having containers. Have your labels and marker ready.
- Take Cuttings Swiftly: Identify a healthy stem or leaf node. Make your confident, angled cut with your sterilized tool. The less time the cutting spends wilting in the air, the better.
- Apply Hormone (If Using): Dip the cut end into rooting hormone, tapping off any excess. Do not contaminate your main hormone supply by dipping the cutting directly into it; pour a small amount into a separate dish.
- Place in Medium: Immediately insert the cutting into water or soil. For soil, use a chopstick to make a pilot hole to avoid wiping off the hormone.
- Label Immediately: Before you move on to the next cutting, write your label and place it. This ritual prevents the all-too-common “mystery plant” phenomenon.
- Clean Up: Dispose of plant debris, wash tools, and put everything away. A tidy workspace is a sign of a controlled, repeatable process.
Common Propagation Setup Pitfalls (And How to Avoid Them)
Even with the right supplies, small oversights in your setup can derail success. Here are the most frequent missteps and how to sidestep them with your new checklist in hand.
Pitfall: Using Dull or Dirty Tools. A crushed stem is an open invitation for bacteria and fungi. Solution: Keep a dedicated pair of sharp shears for propagation only, and make sterilizing them the first step in your workflow, every single time.
Pitfall: Choosing the Wrong Container. An opaque mug for water propagation hides root rot; a jar without holes for soil drowns cuttings. Solution: Match the vessel to the method: clear for water, drainage for soil. This is a core part of your propagation station setup.
Pitfall: Skipping the Label. You swear you’ll remember… but you won’t. This makes it impossible to track what’s working. Solution: Treat labeling as a non-negotiable step in your protocol, as essential as making the cut itself.
Pitfall: A Cluttered, Unclean Workspace. Working on a dirty table with soil everywhere increases cross-contamination risk. Solution: Start and end each session with a quick sanitization of your space. A clean propagation workflow is a successful one.
Your Path to Propagation Confidence
Assembling a dedicated propagation setup isn’t about buying expensive gear; it’s about investing a small amount of time in preparation. This proactive approach—having your sharp tools ready, your clear containers lined up, and your sterile workflow practiced—prevents the vast majority of common failures before they even have a chance to start.
The heartbreak of a rotted cutting is almost always traceable back to a skipped step in the setup. By following this plant propagation setup checklist, you shift the odds dramatically in your favor. You’re not just hoping for roots; you’re engineering the ideal conditions for them to thrive. Now, gather your kit, find a healthy candidate, and put your new, organized station to work. Your future plant babies are waiting.