How can you be absolutely sure your cuttings are ready for the next step? That gap between hopeful rooting and confident potting is where many propagations fail, lost to guesswork, impatience, or simple uncertainty. This guide isn’t another list of rooting methods; it’s your verification system. We’re moving beyond just “seeing roots” to a clear, actionable propagation success checklist that bridges that gap. By focusing on definitive signs of readiness and a gentle transition protocol, you’ll transform that fragile cutting into a robust, independent plant with significantly less stress—for both you and the plant.
Your propagation is ready for potting when roots are at least 1-2 inches long, white or light-colored, and numerous enough to hold soil, and the cutting shows signs of new leaf or stem growth. This rooting success guide centers on verifying these key benchmarks before you ever touch a pot. Once confirmed, the process involves a gentle transition into a well-draining mix, followed by critical propagation aftercare steps like bright indirect light and consistent moisture to ensure the plant establishes successfully.
The Root Readiness Verification (Your First Checkpoint)
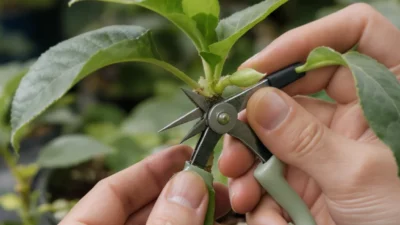
Seeing the first tiny root is exciting, but it’s not the green light for potting. Moving a cutting too early is a classic mistake. This first checkpoint in your propagation verification list moves you from hopeful guessing to confident action. You need to confirm three specific criteria before even thinking about a pot.
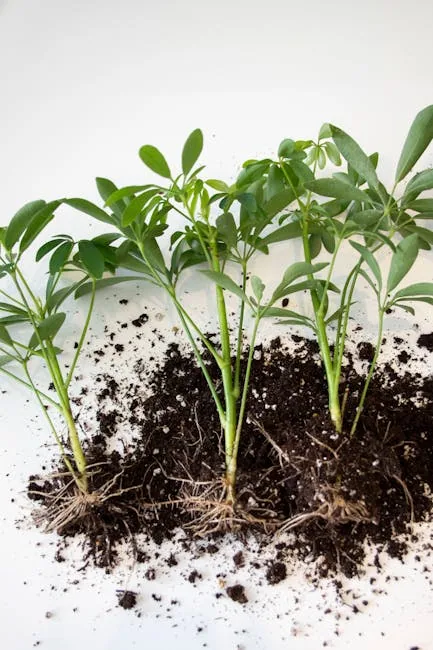
Photo by Prathyusha Mettupalle on Pexels
Your rooting success guide hinges on this mini-checklist:
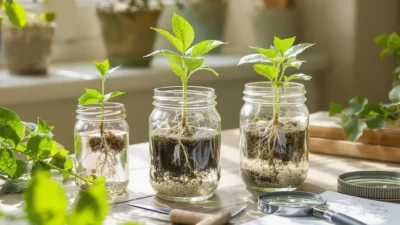
- Root Length (The 1-2 Inch Rule): A single, wispy root isn’t enough. Wait until you have several roots that are at least 1 to 2 inches long. This length indicates the root system has enough substance to start seeking moisture and nutrients from soil.
- Root Color & Health (White or Light = Right): Healthy roots are typically white, cream, or light tan and feel firm to the touch. Dark brown, black, or mushy roots signal rot, often from stagnant water. If you see rot, trim it back to healthy tissue and refresh the water before continuing your root development monitoring.
- Root Density (The “Soil Hold” Test): Imagine gently placing these roots into a loose potting mix. Are there enough of them to loosely hold onto the soil particles? A dense, fibrous cluster is ideal. Two or three long, lonely roots often can’t anchor the plant or absorb water efficiently, leading to transplant shock.
Only when your cutting meets all three of these conditions is it truly ready for the next phase. This is your definitive answer for when to pot up rooted cuttings.
Top Growth: The Secondary Signal of Success
Here’s a common scenario: your cutting has a decent set of roots, but the original leaves look the same, or maybe one has yellowed. It’s stuck. While roots are the primary goal, new top growth—a fresh leaf, a budding node, or even just a perceptible swelling of the stem tip—is a crucial secondary signal.
This growth tells you the plant has shifted from survival mode (using stored energy to make roots) to active growth mode. It’s now producing its own energy through photosynthesis, which fuels further root and leaf development. For fast-growing plants like Pothos or Tradescantia, new leaves often appear alongside roots. For slower growers like some succulents or Monsteras, you might just see a plump, green growth point. Either sign confirms vitality and is a great indicator that your cutting will handle the transition stress of potting.
If you have roots but no top growth after a long wait, the cutting might still be okay, but it’s a sign to proceed with extra care during the potting-up and propagation aftercare steps. The plant is still in a fragile state.
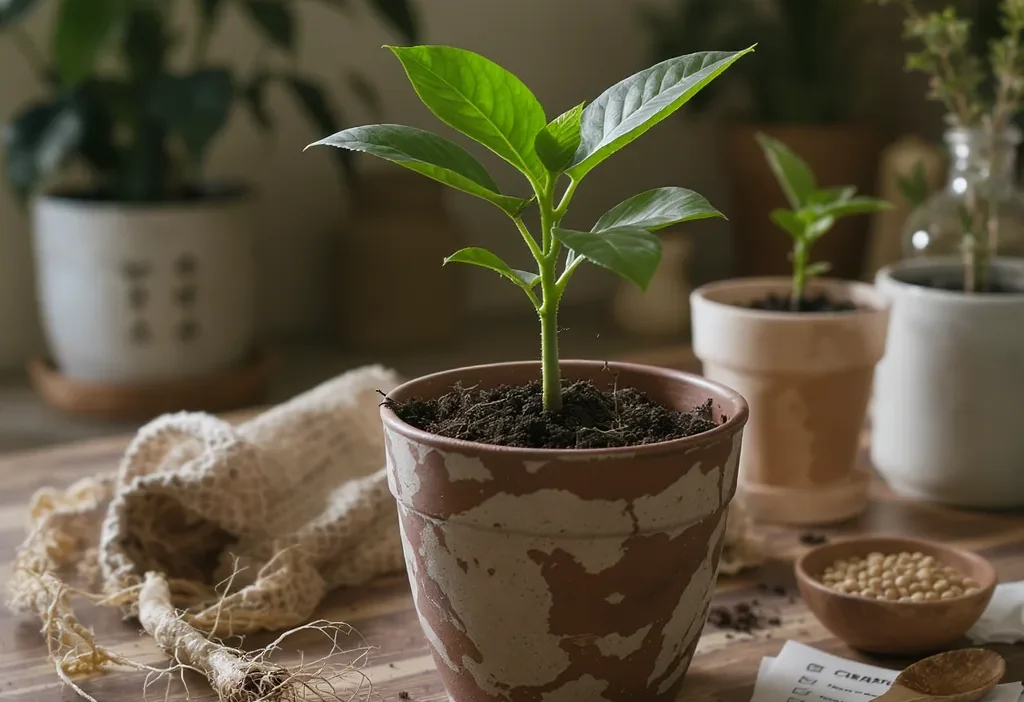
The Potting-Up Protocol: A Gentle Transition
Your cutting has passed the verification tests. Now, the goal is to move it from its cozy propagation station to its first real home with minimal shock. This protocol is all about gentleness and setting the right foundation.
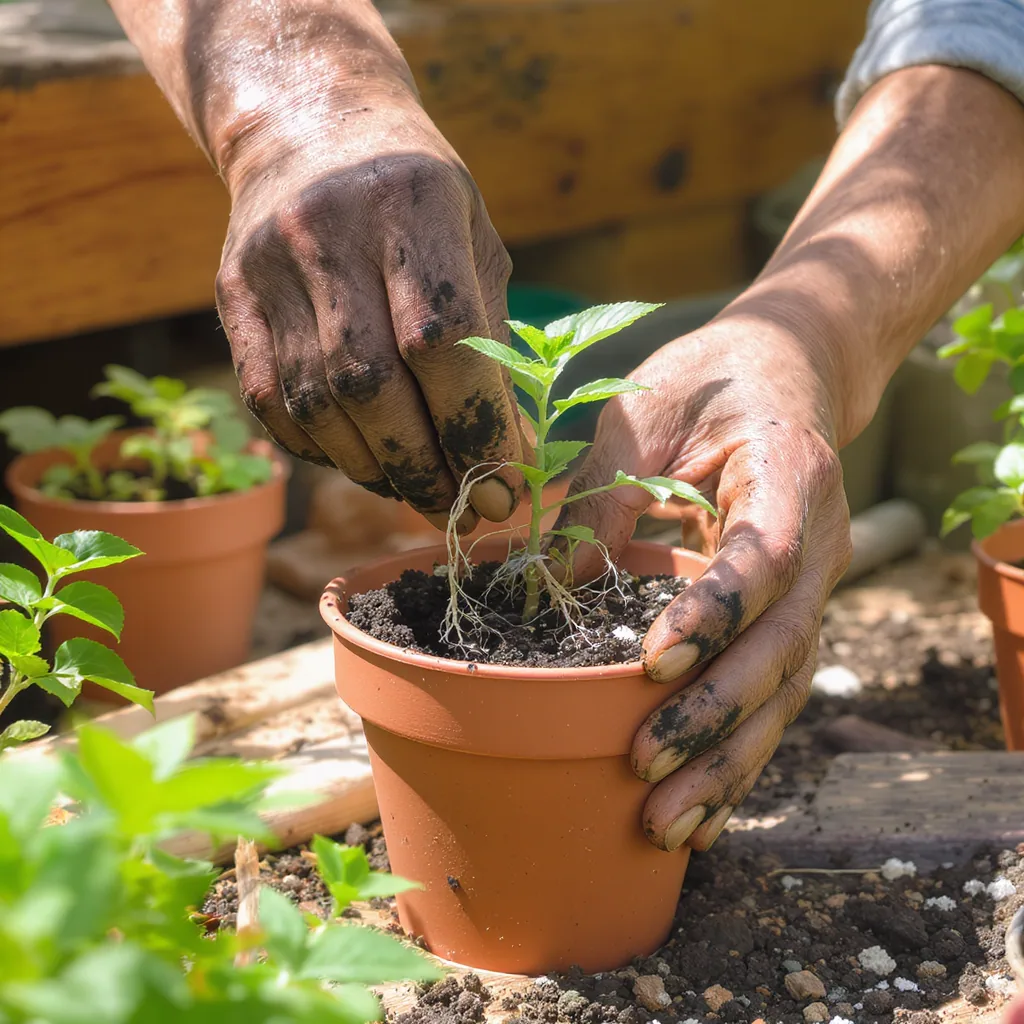
- Prepare the New Home First: Choose a pot only 1-2 inches larger in diameter than the root mass. A huge pot holds too much wet soil, risking root rot. Use a well-draining potting mix—a standard houseplant mix amended with extra perlite or orchid bark is perfect. Moisten the mix lightly so it’s damp but not soggy.
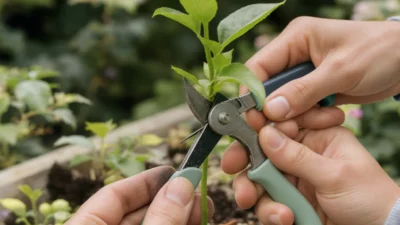
- Handle Roots with Care: Gently remove the cutting from water or propagation medium. If roots are tangled, rinse them lightly with room-temperature water. Avoid pulling or breaking them. This is not the time for vigorous untangling.
- Plant at the Correct Depth: Create a small hole in the center of your pre-moistened mix. Place the roots in, ensuring the base of the stem (where roots emerge) is just below the soil surface. Firm the mix gently around the stem for support, but don’t compact it tightly.
- The First Watering (The Settling Soak): Give your newly potted cutting a thorough, gentle watering until water flows freely from the drainage holes. This helps settle the soil around the roots and eliminates air pockets. After this, your propagation aftercare steps begin.
Critical Aftercare: The First Few Weeks
Potting up is a major event for a young plant. The care it needs now is different from your established routine. Think of this as a mandatory nursery period.
Light: Provide bright, indirect light. A north or east-facing window is ideal. Absolutely no direct, hot sun for at least 2-3 weeks, as the plant is extra susceptible to scorching and dehydration.
Moisture: Keep the soil consistently lightly moist, but never waterlogged. The first watering settled the soil; now, wait until the top inch feels dry before watering again. Overwatering is the fastest way to kill those new roots you worked so hard to grow.
Humidity: Higher humidity reduces stress on the leaves as the roots get established. You can place the pot on a pebble tray with water, group it with other plants, or loosely tent a clear plastic bag over it for a week or two (open it daily for air flow).
Fertilizer: Hold off. There are no nutrients in fresh roots, but there are usually enough in a quality potting mix. Fertilizing now can chemically burn tender roots. Wait at least a month, then begin with a very diluted, balanced fertilizer.
Common Mistakes That Undo Your Success
Even with a good checklist, it’s easy to slip up in the final stretch. Here are the critical errors to avoid:
- Impatience Potting: Potting up at the first sign of a root nub. The consequence is a stalled or dying cutting because the root system can’t sustain the plant. The correction: Enforce the 1-2 inch root length rule.
- Wrong Pot & Soil Combo: Using a pot that’s too large or soil that’s too dense and moisture-retentive. This creates a soggy environment perfect for root rot. The correction: Always use a small pot and a chunky, well-draining mix.
- Overwatering After Potting: Keeping the soil constantly wet out of fear. New roots need oxygen as much as water. The correction: Water thoroughly once, then let the top soil dry slightly between waterings.
- Light Shock: Moving the new plant to a dark corner or, conversely, into direct sunlight. Both extremes cause stress. The correction: That bright, indirect light spot is non-negotiable for the first few weeks.
From Guesswork to Green Thumb Confidence
This propagation success checklist isn’t about adding complexity—it’s about removing doubt. By verifying root readiness, watching for top growth, executing a gentle potting protocol, and providing diligent aftercare, you replace hope with a repeatable system. Each successful transition builds your confidence and turns propagation from a risky experiment into a reliable way to grow your plant collection. Use this framework, avoid the common pitfalls, and enjoy the deep satisfaction of nurturing a new plant from its very first roots.
For practical next steps, see Rooting Hormone.