You check on the cutting with hopeful anticipation, only to find the once-plump stem now limp, the promising green leaves edged with brown, and that vibrant node looking suspiciously dark. Just days ago, it was a picture of potential, snipped from a healthy parent plant with dreams of new growth. This moment of disappointment is a universal rite of passage for anyone who propagates plants, but it doesn’t have to be the end of the story. Propagation isn’t magic—it’s a biological process with clear requirements and predictable failure points. This propagation troubleshooting and recovery guide is your systematic protocol to move from frustration to action. We’ll shift the mindset from guesswork to diagnosis, providing you with a clear checkpoint to assess what went wrong and a targeted playbook of propagation recovery tips to rescue your project and turn that failing cutting into a learning victory.
To troubleshoot and recover a failing propagation, immediately assess the key pillars of success: light levels, humidity, temperature stability, and moisture of the growing medium. Identify the specific stressor—whether it’s rot from overwatering, desiccation from low humidity, or stagnation from poor conditions—and apply the corresponding recovery protocol to give your cutting a second chance. This systematic approach to fix propagation problems transforms a vague worry into a series of actionable checks and corrections, dramatically increasing your chances of a successful rescue.
The Propagation Protocol: Your Diagnostic Foundation
Before you can fix propagation problems, you need a framework for understanding them. Think of propagation not as a hopeful gamble, but as a controlled biological process with specific, non-negotiable inputs. A cutting is a wounded plant segment trying to survive and regenerate. Its success hinges on balancing a few critical pillars: adequate light for photosynthesis, high humidity to reduce water loss, stable warmth to encourage cellular activity, a supportive yet well-draining medium, and healthy initial plant material.
When one of these pillars is out of balance, the cutting exhibits specific, telltale symptoms. A wilting leaf points to a humidity or root issue. A mushy stem screams of excess moisture and rot. By learning this cause-and-effect relationship, you move from guessing to diagnosing. This protocol mindset is the cornerstone of effective propagation problem diagnosis, turning a frustrating failure into a solvable equation.
Step 1: The Rapid Health Assessment Checkpoint
When you notice a propagation looking sad, don’t panic—systematize. Follow this ordered checklist to gather data before taking any action. This methodical approach prevents you from applying the wrong fix and making things worse.
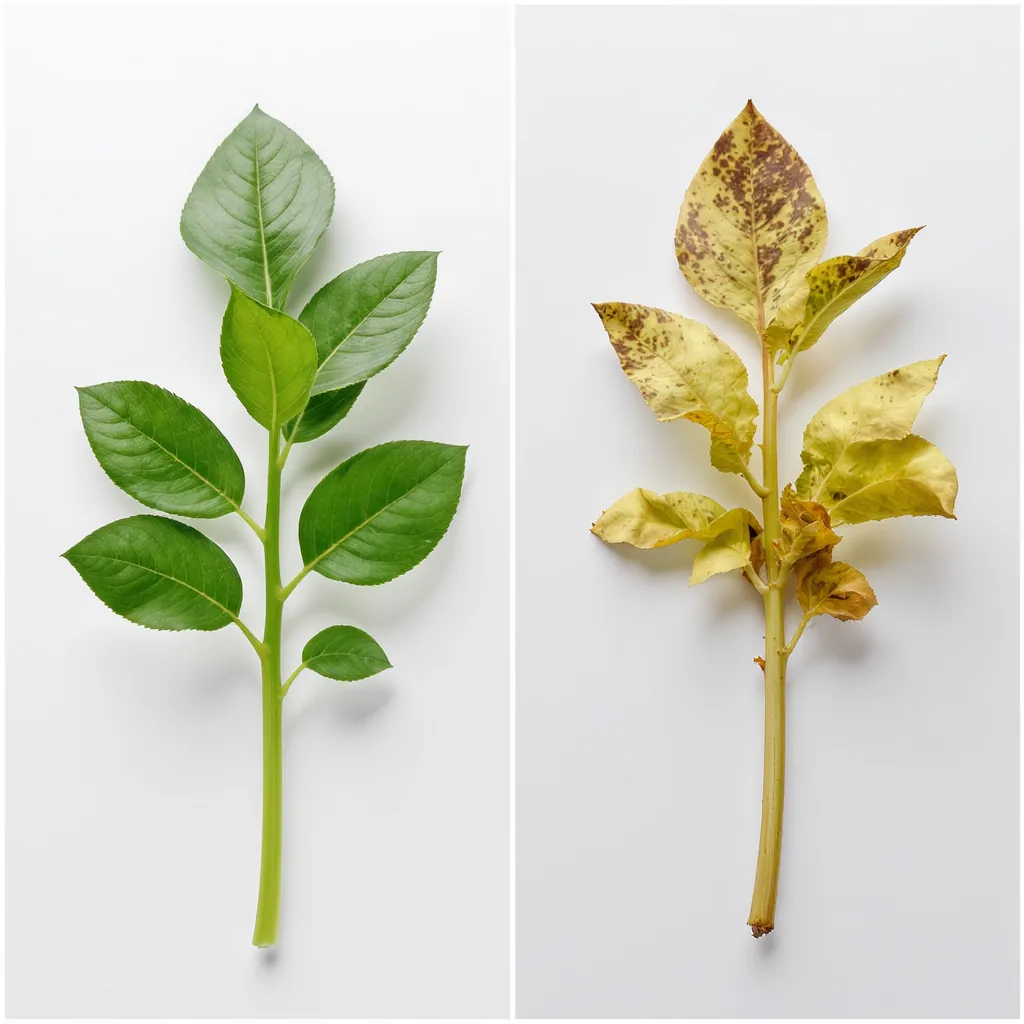
1. Inspect the Cutting Itself
Stem & Node: Gently remove the cutting from its medium. Is the stem firm or mushy? Is the cut end or a node black, brown, or slimy? Healthy tissue should be firm and may show a white, knobby callus. Soft, discolored stems indicate rot.
Leaves: Are they plump and turgid, or wrinkled, crispy, or yellowing? Wrinkling suggests dehydration from excessive transpiration. Yellowing can signal stress, overwatering, or nutrient draw from the stem’s reserves.
2. Evaluate the Propagation Medium
Moisture: Is it sopping wet, bone dry, or evenly damp? Soggy medium suffocates stems and invites pathogens. A completely dry medium means the cutting has no access to water at all.
Condition: Look for signs of algae (green film) or mold (white fuzz) on the surface. This indicates stagnant, overly moist conditions with poor air circulation.
3. Audit the Environment
Humidity: If using a dome or bag, is there consistent condensation on the sides? No condensation often means humidity is too low for leafy cuttings.
Temperature: Is the setup in a drafty window or on a cold surface? Most cuttings prefer steady warmth (65-75°F). Cold drastically slows root development.
Light: Is it in direct, scorching sun (causing cook-out) or deep shade (slowing energy production)? Bright, indirect light is the universal sweet spot.
Matching Symptoms to Solutions: Your Recovery Playbook
Once your assessment points to a primary issue, use this targeted playbook. The goal is to correct the immediate stressor and reset the cutting into optimal conditions. These are your core propagation recovery tips in action.

For Mushy Stem/Rot (Bacterial or Fungal)
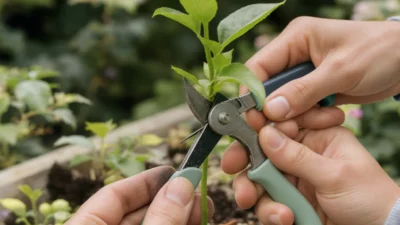
Immediate Action: This is a race against the spread. Using sterilized shears (wipe with rubbing alcohol), cut the stem at least half an inch above any visible discoloration until you see only clean, healthy, white or green tissue. If the rot has traveled past the last node, recovery may not be possible.
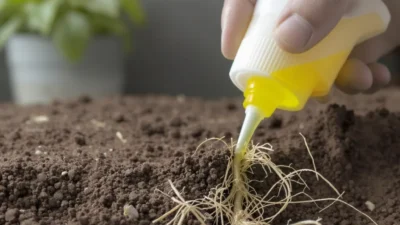
Reset: Dip the fresh cut in rooting hormone (which often contains antifungal properties) and immediately place it into a new, clean, barely moist medium—never reuse the old, contaminated one. Water sparingly and ensure excellent drainage.
For Wrinkled, Wilting Leaves (Dehydration/Transpiration)
Immediate Action: Do not drown the medium. The cutting has no roots to uptake that water. Instead, increase ambient humidity dramatically. Enclose the pot in a clear plastic bag or under a dome. Mist the inside of the bag, not the plant directly, to create a mini-greenhouse effect.
Reset: Ensure the medium is lightly damp. Place the setup in bright, indirect light where heat won’t build up excessively under the cover. Open the cover for 10 minutes daily to allow fresh air exchange and prevent mold.
For Mold on Medium (High Humidity, Low Airflow)
Immediate Action: Gently scrape off any visible surface mold. Increase air circulation by propping open the humidity dome or creating more ventilation holes in your plastic bag.
Reset: Allow the top layer of the medium to dry out slightly between waterings. You can lightly sprinkle a thin layer of cinnamon, a natural antifungal, on the medium’s surface. Ensure the setup isn’t in a stagnant, dark corner.
For No Progress & General Stagnation
Immediate Action: Reassess the temperature and light. Move the propagation to a consistently warmer location (like the top of a refrigerator or with a heat mat set to low). Ensure it receives ample bright, indirect light.
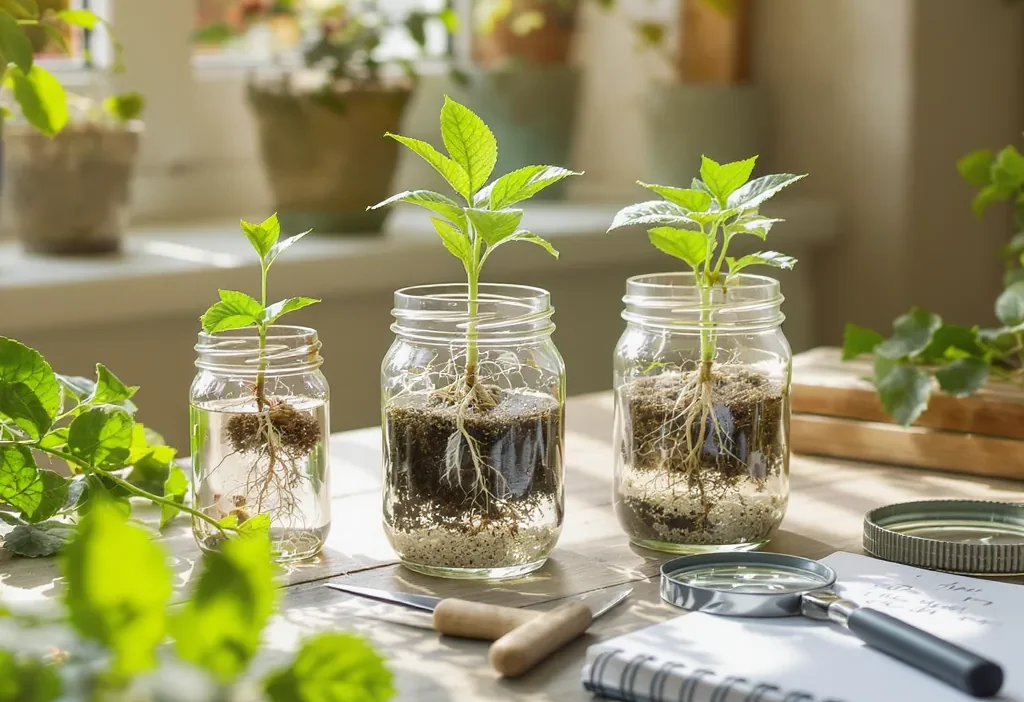
Reset: Consider changing the medium. Some cuttings root better in water, perlite, or sphagnum moss than in soil. For a stubborn cutting, a switch can provide the stimulus needed. Patience is key, but only if conditions are right.
The Science Corner: Why Cuttings Fail (And How That Informs Recovery)
Understanding a bit of the “why” makes the “how” of recovery intuitive. A leaf-covered cutting is in a race against time: it loses water through transpiration but has no root system to replace it. That’s why high humidity is non-negotiable—it drastically slows water loss, buying time for roots to form. When you see wilting, you’re seeing transpiration win the race.
Rot occurs when the wounded stem tissue, rich in nutrients and moisture, is invaded by ever-present soil fungi or bacteria in overly wet, oxygen-poor conditions. Your recovery cut isn’t just removing rot; it’s creating a fresh wound in a cleaner zone, giving the plant a chance to callus (form a protective layer of cells) before pathogens take hold again. This is why using a well-draining medium and sterilized tools isn’t just good practice—it’s critical for keeping pathogens at bay while the plant is vulnerable.
Finally, a cutting survives on stored carbohydrates and hormones. A large cutting with many leaves may seem robust, but those leaves demand more water and energy than the stem can support without roots. This is why a moderately sized cutting with 2-3 leaves often strikes a better balance between energy reserves and demand, a key insight for preventing failure from the start.
Common Propagation Pitfalls and How to Sidestep Them
Even with the right steps, easy-to-overlook mistakes can derail your efforts. Here’s how to sidestep the most common traps.
1. Using Dull or Dirty Tools
A clean, sharp cut made with sterilized snips crushes less tissue and introduces fewer pathogens. A ragged, dirty cut is an open invitation for infection. Wipe blades with isopropyl alcohol between cuts, especially when moving between plants.
2. Neglecting Airflow in a Humid Setup
While high humidity is crucial, stagnant, 100% humid air is a mold incubator. The fix is simple: provide daily air exchange. Lift the dome or open the bag for 15-30 minutes to cycle the air. This balances humidity with the gas exchange the plant needs.
3. Choosing the Wrong Season or Plant Material
Taking cuttings from a dormant or stressed plant often leads to failure. The best material comes from healthy, actively growing plants in spring or early summer. Similarly, very woody stems or fully matured leaves are harder to root than semi-ripe, flexible growth.
4. The “Set and Forget” Mentality
Propagation isn’t a fire-and-forget process. It requires periodic check-ins—not to tug on the cutting, but to monitor moisture, humidity, and for early signs of trouble. A quick glance every few days lets you adjust conditions proactively, which is the essence of fixing propagation problems before they become fatal.
Becoming a Resilient Plant Propagator
Every wilted leaf or mushy stem is not a failure, but a data point. This propagation troubleshooting and recovery guide has armed you with the protocol to interpret that data and the playbook to act on it. You’re no longer just hoping for roots; you’re managing a biological process with clear levers to pull.
Remember, even the most experienced gardeners face propagation setbacks. The difference is that they don’t see them as dead ends, but as diagnostic puzzles. With this systematic approach, you can too. Each recovery attempt deepens your understanding of what plants need to thrive, making you a more confident and capable grower. So take a breath, assess with clarity, and apply your new knowledge. Your next successful propagation is waiting.
This guide provides a systematic framework for diagnosing and rescuing struggling plant propagations. The core protocol involves a rapid health assessment of the cutting, medium, and environment to identify the specific stressor—be it rot, dehydration, mold, or stagnation. The recovery playbook then offers targeted steps for each issue, such as sterilizing and re-cutting for rot or increasing humidity for wilting. Underlying this is an understanding of plant physiology, explaining why these fixes work. By sidestepping common pitfalls like using dirty tools or neglecting airflow, you can transform propagation failures into learning opportunities and successful recoveries.