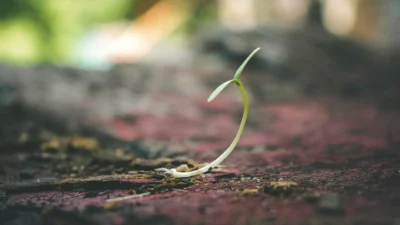
You’re holding a packet of seeds. The promise on the front is vivid—a cascade of blooms, a bounty of tomatoes—but the tiny, dormant specks inside feel like a mystery. That mix of excitement and slight intimidation is a universal feeling for gardeners, but here’s the truth: successful seed starting isn’t a complex alchemy reserved for experts with greenhouses. It’s a straightforward, replicable protocol. By understanding and providing a few key conditions, you unlock the fundamental skill of plant propagation from seed, turning those specks into thriving plants. This guide breaks down the seed starting basics for propagation into a clear, actionable playbook, demystifying the process so you can approach it with confidence, not hesitation.
Seed starting for propagation is a simple process focused on providing seeds with the right conditions to germinate: a proper growing medium, consistent warmth, adequate moisture, and sufficient light once they sprout. Mastering these four elements is the key to growing a wide variety of plants from seed. Think of it less as gardening magic and more as a reliable protocol—once you understand what seeds need to break dormancy, you can successfully propagate countless flowers, herbs, and vegetables indoors.
The Seed Starting Mindset: It’s a Protocol, Not Magic
Let’s clear something up right away: successful plant propagation from seed isn’t about having a green thumb. It’s about understanding and executing a simple, repeatable protocol. Think of a seed as a tiny, dormant computer program. Your job isn’t to write the code; it’s to provide the right inputs—moisture, warmth, and air—to hit “run.” When you frame it this way, the mystery evaporates, and you’re left with a clear, learnable process.
This mindset shift is the most powerful tool in your beginner seed starting kit. It turns anxiety into curiosity. If seeds don’t sprout, you don’t have a “black thumb.” Instead, you troubleshoot the protocol: Was the medium too wet? Was it not warm enough? This approach makes every attempt, successful or not, a valuable data point that makes you better. The goal isn’t perfection on the first try; it’s building a reliable system you can use to grow anything from tomatoes to zinnias.
Gathering Your Toolkit: The Essential Supplies
You don’t need a fancy, expensive setup to master seed sowing basics. Many of the best propagators use simple, functional gear. The goal is to control the environment, not to impress anyone. Here’s what you actually need to get started.
The Non-Negotiable Basics
- Containers: Anything with drainage holes works. Reused cell packs, yogurt cups with holes poked in the bottom, or dedicated seed trays are all fine. Depth matters more than material—aim for at least 2-3 inches for root development.
- Growing Medium: This is critical. Use a sterile, soilless “seed starting mix.” It’s light, fluffy, and holds moisture without becoming soggy. Do not use garden soil or regular potting mix indoors; they compact easily and can harbor diseases.
- Labels: Trust us, you will forget what you planted where. Use popsicle sticks, plastic markers, or anything waterproof. Write the plant name and date sown with a permanent marker.
- Water Source: A gentle watering can with a fine rose or a spray bottle for initial moistening is ideal. The key is to water without disturbing the seeds or compacting the medium.
The Game-Changer Upgrades
If you want to increase your success rate dramatically, especially with heat-loving plants, these two items are worth the investment:
- Heat Mat: A waterproof seedling heat pad placed under your trays provides consistent bottom warmth, which is the single biggest trigger for faster, more uniform germination for many seeds.
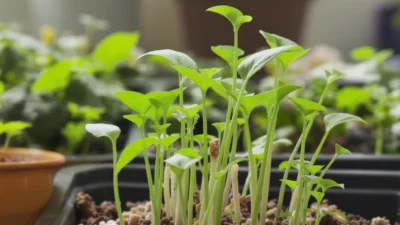
- Grow Lights: Once seeds sprout, a bright window is rarely enough. Inexpensive LED shop lights or dedicated grow lights placed just a few inches above the seedlings prevent them from becoming weak and leggy as they stretch for light.
The Seed Starting Protocol: Your 8-Step Playbook
This is your core starting seeds indoors guide. Follow these steps in order for a smooth, successful launch.

- Read the Seed Packet. This is your cheat sheet. It tells you when to sow indoors, planting depth, days to germination, and whether the seeds need light to germinate (surface-sown) or darkness (covered).
- Prepare Containers & Medium. Fill your clean containers with pre-moistened seed starting mix. Gently firm the surface, but don’t pack it down tightly.
- Sow Seeds at Proper Depth & Spacing. A general rule is to plant a seed at a depth twice its width. Tiny seeds (like lettuce) are often surface-sown. Follow packet instructions. Sow 2-3 seeds per cell if space allows, for a better chance of at least one sprout.
- Label Everything. Do this immediately after sowing each variety. Future-you will be grateful.
- Create a Humid Environment. Cover the tray with a clear plastic dome or a loosely tented plastic bag. This holds in moisture so you don’t have to water frequently during germination.
- Provide Bottom Heat. Place the covered tray on a heat mat set to the temperature recommended on the packet (often 70-75°F / 21-24°C is a safe bet). No mat? A warm, consistent spot like the top of a refrigerator works.
- Uncover and Provide Strong Light Upon Sprouting. The moment you see the first green hooks (cotyledons), remove the humidity cover and get the seedlings under bright light, within 2-3 inches of the source. This step is non-negotiable for strong growth.
- Water Carefully and Thin Seedlings. Water from the bottom by placing the tray in a shallow dish of water, allowing the medium to wick moisture up. Once true leaves appear, thin to the single strongest seedling per cell by snipping the others at the soil line.
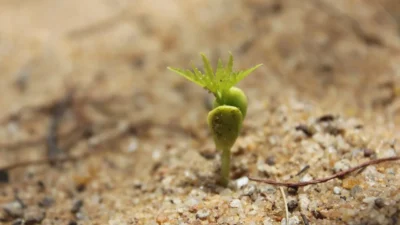
You might follow this protocol perfectly and still face a quiet, uneventful tray for a week. It’s easy to start second-guessing—did I water too much? Is it warm enough? The urge to poke around is strong, but patience is part of the process. Often, the seeds are simply following their own internal schedule, and a forest of sprouts will appear seemingly overnight, right when you were about to give up.
The Two Critical Transitions: Germination & Seedling Care
Understanding seed germination basics is one thing, but knowing how to pivot your care the moment it happens is what separates success from failure. These are two distinct phases with opposite needs.
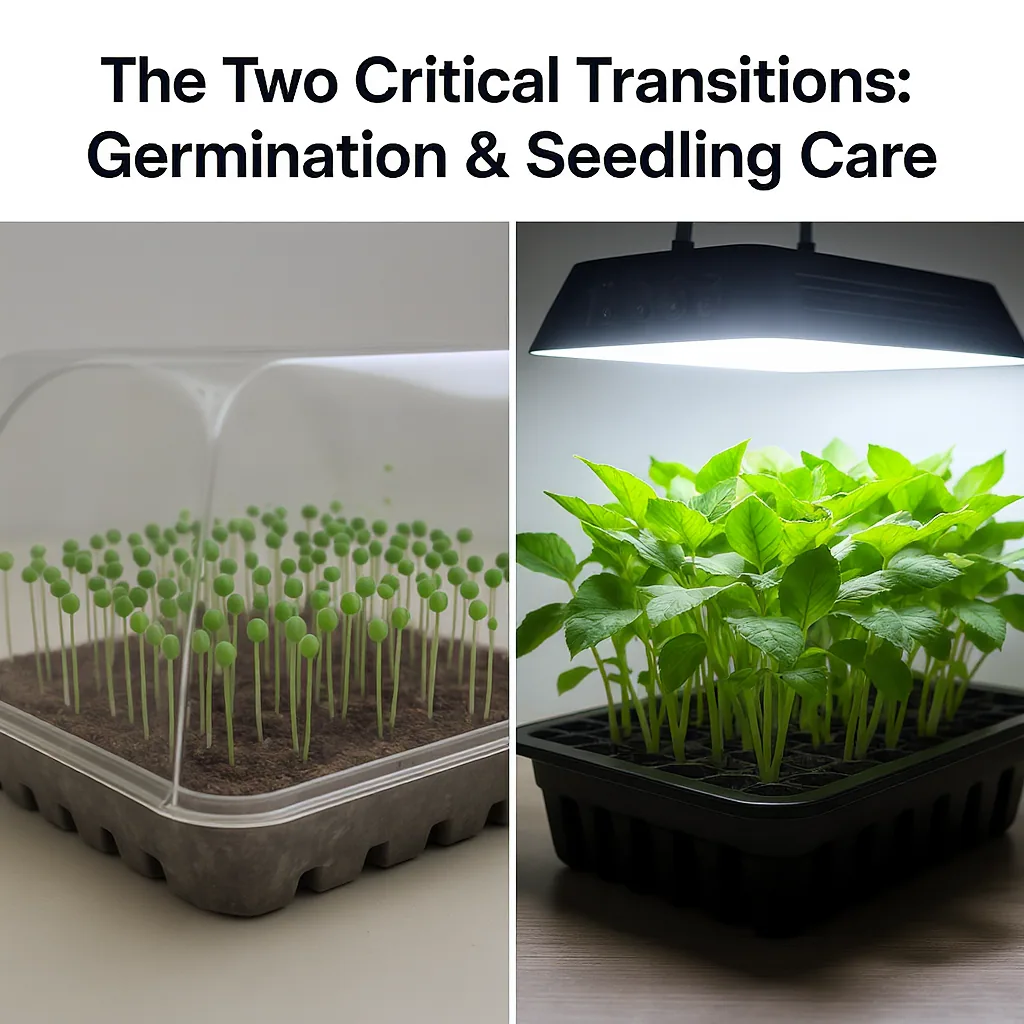
Phase 1: Germination (The Incubation Period)
During this phase, the seed is a closed system needing consistent moisture and warmth to activate. Think of it like an incubator. The covered tray and heat mat create this perfect, stable environment. Your job is mostly hands-off: check that the medium surface hasn’t dried out (a light mist if needed) and wait. Disturbing the tray can disrupt the process.
Phase 2: Seedling Care (The Growth Period)
The instant the seed coat breaks and the seedling emerges, its needs flip. Now it needs strong light, slightly drier conditions at the soil surface, and air circulation. The high humidity that helped it sprout can now encourage a fungal disease called “damping off,” which causes seedlings to collapse at the soil line. Removing the dome, providing direct light, and ensuring gentle air flow (a small fan on low nearby) are your primary defenses. Watering shifts from top-misting to bottom-watering to keep stems dry and encourage deep root growth.
Common Seed Starting Pitfalls (And How to Avoid Them)
Everyone makes mistakes when learning how to start seeds. The key is to recognize them early and adjust your protocol. Here are the most frequent stumbles and their simple solutions.
1. Insufficient Light (The “Leggy” Seedling)
The Mistake: Relying on a sunny windowsill, which often provides light from only one direction, causing seedlings to stretch weakly toward it.
The Fix: Use artificial grow lights positioned 2-4 inches above the seedlings, and raise them as the plants grow. A simple timer for 14-16 hours of light per day mimics ideal conditions.
2. Overwatering
The Mistake: Keeping the growing medium constantly soggy, which suffocates roots and invites rot and fungal disease.
The Fix: Let the surface of the medium dry slightly between waterings. Always water from the bottom. The container should feel lighter when it needs water.
3. Starting Too Early
The Mistake: Sowing seeds months before your last frost date, resulting in oversized, root-bound, and stressed seedlings by the time they can go outside.
The Fix: Check your seed packet for “weeks before last frost” and count backwards from your local frost date. Most annuals need just 6-8 weeks of indoor growth.
4. Skipping Hardening Off
The Mistake: Moving tender indoor seedlings directly into the full sun and wind of the garden, shocking and often killing them.
The Fix: Always follow a 7-10 day hardening off process to gradually acclimate plants to outdoor conditions. This step is non-negotiable.
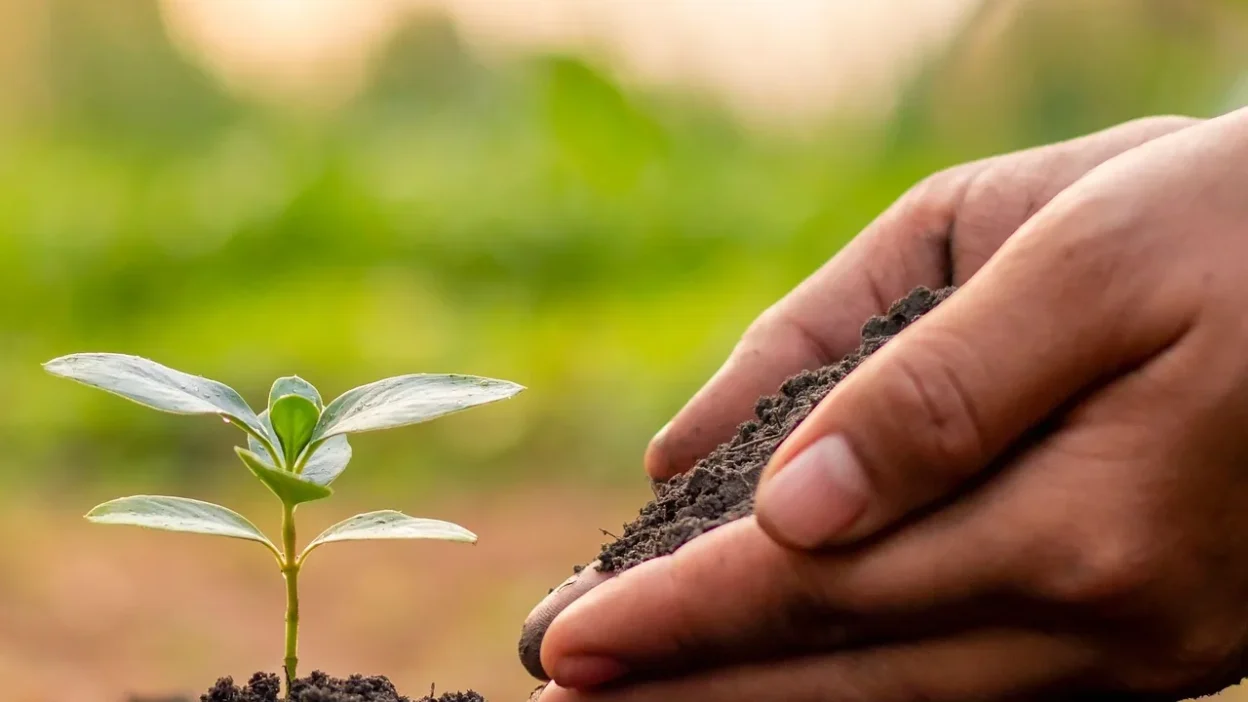
From Indoors to Outdoors: The Hardening Off Process
Hardening off is the final, critical step in your starting plants from seed journey. It’s the process of gradually acclimating your sheltered seedlings to the harsh realities of the outdoor world—direct sun, wind, and temperature fluctuations. Skipping this is like going from a climate-controlled office directly into a marathon; the shock can be fatal.
The protocol is simple but requires consistency. Over 7-10 days, place your seedlings in a sheltered, partially shaded spot outdoors for just 1-2 hours on the first day. Gradually increase their time outside by an hour or two each day, and slowly introduce them to more direct sunlight. Always bring them in at night if temperatures drop. By the end of the week, they should be tough enough to handle a full day (and night) outside, ready for transplanting into their final home. This patience pays off in vigorous plants that establish quickly without setback.
Your Seed Starting Journey Begins
Remember that gardener from the beginning, holding a packet of seeds with a mix of excitement and doubt? That was you before you had the protocol. Now, you have a clear map: the right mindset, a simple toolkit, an 8-step playbook, and the knowledge to navigate the critical transitions and common pitfalls.
This isn’t the end of learning; it’s the beginning of the most rewarding part—practice. Start small. Choose one packet of easy seeds you love, gather your supplies, and run the protocol. You’ll learn more from that one tray than from any article. Each seed that sprouts is a tiny victory, and each season you’ll grow more confident. You’re not just growing plants; you’re cultivating skill, patience, and the profound satisfaction of nurturing life from its very start. You’ve got this.
To successfully grow plants from seed, focus on mastering these four core pillars:
- The Protocol Mindset: Approach seed starting as a repeatable process of providing the right inputs (warmth, moisture, light) rather than relying on luck.
- The Essential Toolkit: You need containers with drainage, sterile seed starting mix, labels, and water. A heat mat and grow lights dramatically increase success rates.
- The 8-Step Playbook: Follow the sequence: read the packet, prepare medium, sow correctly, label, cover for humidity, provide bottom heat, uncover for strong light upon sprouting, and water from below.
- Navigate the Transitions: Understand that germination needs consistent warmth and moisture, while seedlings need strong light, air flow, and slightly drier soil to avoid disease.
Begin your home seed propagation journey by applying this framework to one easy crop, like basil or marigolds, and build from there.