You’ve nurtured your seedlings for weeks, watching them sprout and grow, and now they look ready for their big move to the garden or a larger pot. This is the moment where excitement meets a quiet anxiety—because transplanting a seedling that isn’t truly ready is one of the fastest ways to lose all that careful work. The plant might look fine on the surface, with lush green leaves, but hidden issues like weak roots, poor stem strength, or a lack of environmental hardening can cause it to fail spectacularly after the move, succumbing to transplant shock or stunted growth. This isn’t just about size; it’s about systemic readiness. To prevent that disappointment and ensure your plants thrive, you need a diagnostic tool. Think of this pre-transplant seedling care checklist as your essential, step-by-step health evaluation, designed to catch those unseen problems before they become fatal.
Before you move seedlings to their final home, a thorough check of their roots, stems, leaves, and hardening-off status is essential to prevent transplant shock. A proper pre-transplant checklist involves evaluating seedling health, root development, and environmental preparedness, not just size. This diagnostic process ensures they have the underlying strength to establish quickly and grow vigorously, turning a risky move into a confident step forward for your garden.
The Root of the Matter: A Below-Soil Health Check
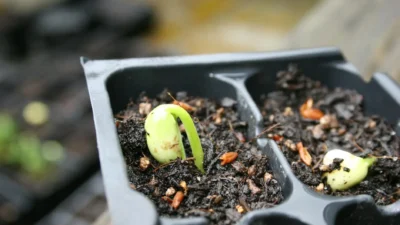
Your seedling’s visible growth is only half the story. The real test of readiness happens below the soil line. A healthy, well-developed root system is the single biggest predictor of a smooth transition. Before you even think about potting up or transplanting, you need to perform a gentle root inspection.
The best method is the “gentle squeeze and tip.” Carefully squeeze the sides of the seedling cell or cup to loosen the soil, then gently tip the entire plant and soil mass into your hand. A healthy root ball will hold together but not be a solid, impenetrable mass. Look for roots that are white or light tan in color—this is a sign of active, healthy growth. They should be visible at the edges of the soil but not yet forming a dense, tangled web that completely encircles the inside of the container.
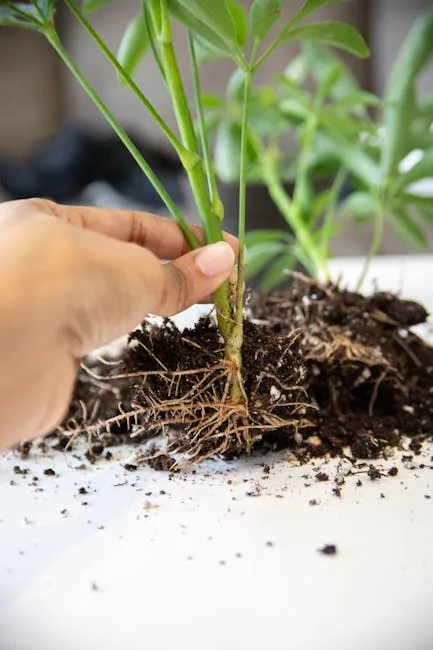
Photo by Prathyusha Mettupalle on Pexels
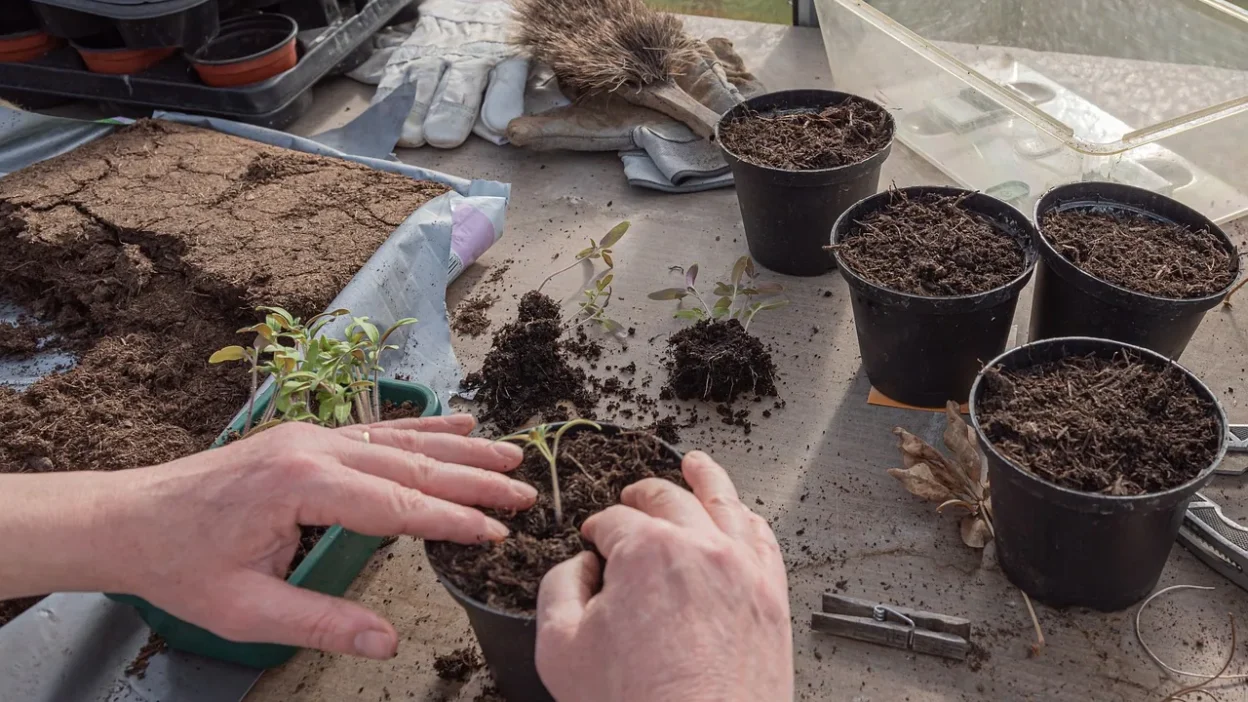
If the roots are brown, slimy, or smell foul, that’s a red flag for rot, often from overwatering. If they’re a dense, circling mat with little soil visible, the seedling is root-bound. A slightly root-bound plant can often be saved with careful handling during your potting up seedlings guide, but a severely bound or diseased root system means the plant isn’t ready and needs remedial care first. This below-soil check is a non-negotiable part of your seedling care checklist before transplanting.
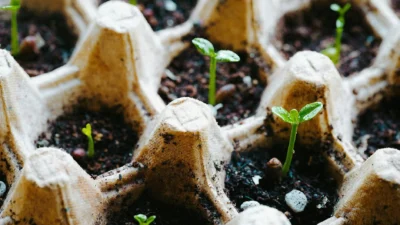
Above-Ground Vigor: Stem and Leaf Diagnostics
Once the roots pass inspection, evaluate what’s happening above ground. Strong stems and robust leaves indicate a seedling that has the stored energy to handle the stress of moving.
Do look for a sturdy, thick stem. Give it a very gentle wiggle; it should have some resistance and not flop over. The stem color should be vibrant green, not purple or yellowing. Don’t transplant leggy, weak seedlings with long, thin, pale stems stretching for light—they will almost certainly collapse. If you have a leggy seedling, it often needs more light and a gentle breeze (from a fan) to strengthen before it can be moved.
Next, check the leaves. The seed leaves (cotyledons) are fine, but a seedling isn’t truly ready until it has developed at least 2-4 sets of true leaves. These leaves should be a deep, uniform green. Pale green or yellow leaves can signal a nutrient deficiency, while purple or red tinges might indicate stress from cold or a lack of phosphorus. Spotty, curled, or wilted leaves can point to pest or disease issues that should be resolved before transplanting. A thorough seedling health check before moving catches these issues early.
Hardening Off: The Non-Negotiable Acclimation Phase
This is where many eager gardeners trip up. Hardening off is the process of gradually acclimating your tender, indoor-grown seedlings to the harsh realities of the outdoors: direct sun, wind, and fluctuating temperatures. Skipping or rushing this step is a top cause of transplant failure, resulting in scorched leaves, wilted stems, and severe shock.
Your hardening off prep should follow a gradual schedule over 5-7 days. Here’s a condensed mini-checklist to follow:
- Days 1-2: Place seedlings in a fully shaded, sheltered spot outdoors for 1-2 hours. Bring them back inside.
- Days 3-4: Increase to 3-4 hours of morning sun only (avoid the intense midday rays).
- Day 5: Give them 5-6 hours, including some gentle afternoon exposure.
- Days 6-7: Leave them out all day, bringing them in only if frost is forecasted. If they look strong, you can leave them out overnight on the final night before transplanting.
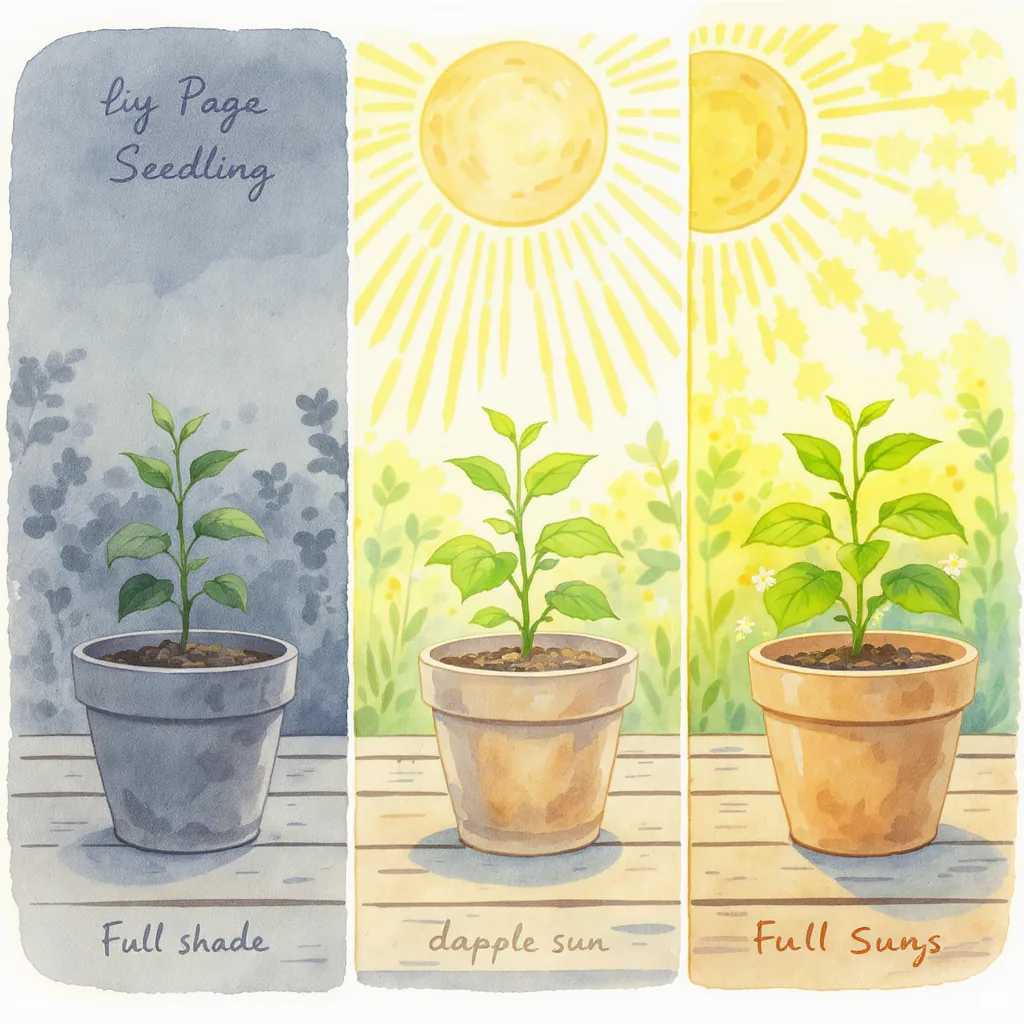
Always monitor for signs of stress (wilting, bleaching) and dial back the exposure if needed. This process thickens the plant’s cuticle and prepares it for life in the garden.
Common Pre-Transplant Pitfalls (And How to Avoid Them)
Even with a checklist, it’s easy to make a last-minute error. Here are the most common mistakes and how to steer clear of them.
Mistake 1: Transplanting based on size alone. A tall seedling isn’t necessarily a strong one. Why it’s bad: Leggy plants have weak stems and underdeveloped roots. The fix: Always pair size with the health checks for roots, stems, and leaf count outlined above.
Mistake 2: Being too rough during the root check. Yanking the plant or tearing the root ball causes immediate damage. Why it’s bad: It destroys the fine root hairs responsible for water uptake, guaranteeing transplant shock. The fix: Use the gentle squeeze-and-tip method. If the roots are stuck, soak the container briefly in water to loosen the soil.
Mistake 3: Incomplete or skipped hardening off. “They’ll be fine” is a famous last thought. Why it’s bad: Indoor leaves are like pale skin going to the beach without sunscreen—they burn and wither. The fix: Commit to the full 5-7 day schedule. There’s no safe shortcut.
Mistake 4: Transplanting at the wrong time of day. Moving plants during the hot, sunny midday is asking for trouble. Why it’s bad: The seedling is immediately hit with maximum stress while its roots are disturbed. The fix: Always transplant in the late afternoon or on a cloudy, calm day. This gives the plant the cool night to start recovering.
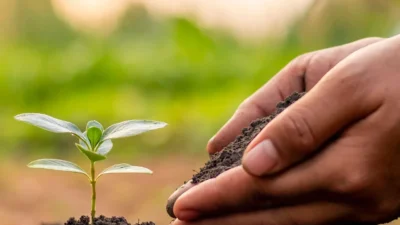
Transplant with Confidence
Following this systematic seedling care checklist before transplanting transforms the process from a gamble into a confident next step. You’re not just moving a plant; you’re ensuring it has the root strength, stem vigor, and environmental toughness to thrive in its new home. By taking the time to check below the soil, diagnose above it, and patiently harden them off, you dramatically increase your success rate and protect all those weeks of careful nurturing. Now, go ahead and make the move—your seedlings are ready.