You’ve read the guides, bought the rooting hormone, and maybe even invested in a fancy propagation station. Yet, your stem cuttings still wilt, rot, or stubbornly refuse to root. The problem isn’t a lack of magic potions; it’s that most advice skips the mundane, non-negotiable foundation. Real propagation success isn’t found in the extras—it’s built on a simple, three-part stem cutting propagation checklist executed with precision. Forget the complexity for a moment. The secret lies in mastering a surgical clean cut, a strategic approach to leaves, and exacting moisture control. Get these three fundamentals right, and you create the conditions where roots have no choice but to grow. This isn’t just another list of tips; it’s a proven protocol that turns the anxiety of propagating cuttings successfully into a reliable, repeatable process.
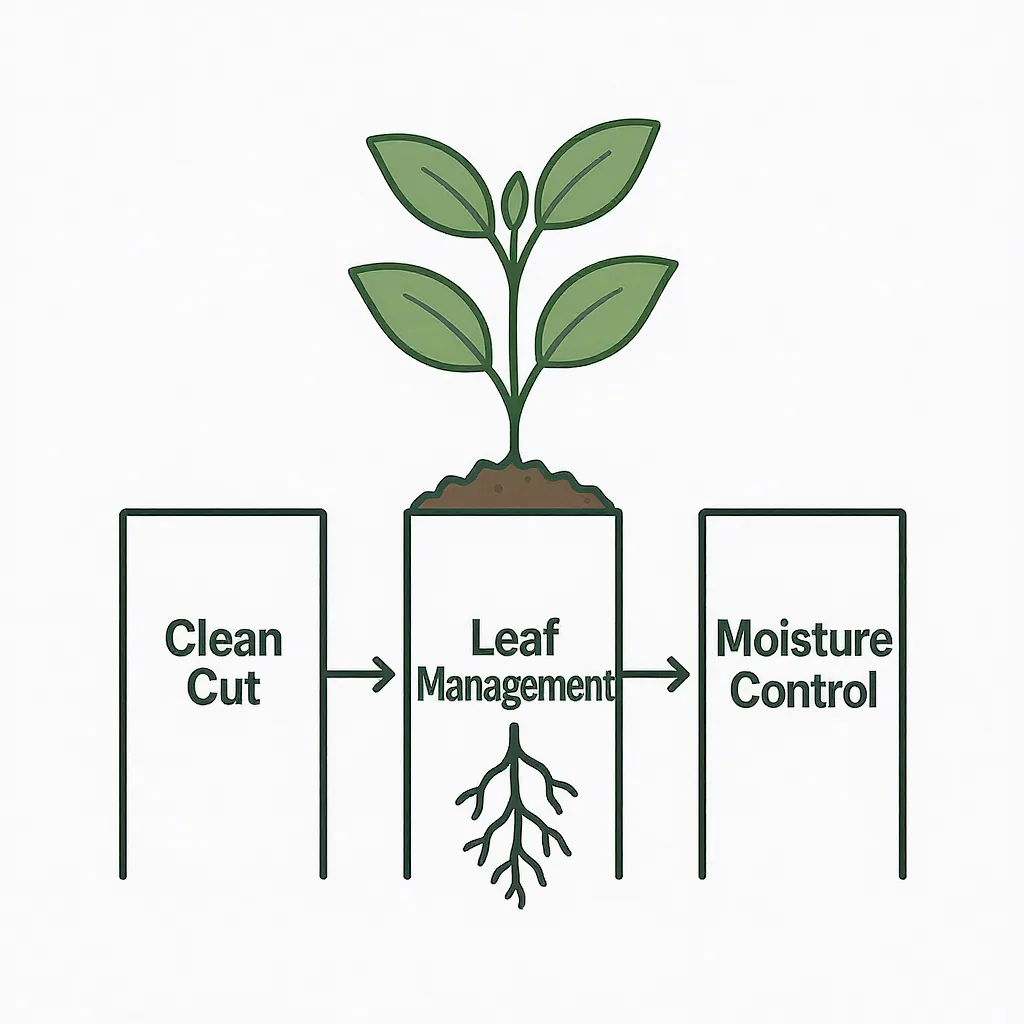
The core of a reliable stem cutting propagation checklist is mastering three fundamentals: a perfectly clean cut to prevent infection, strategic leaf management to sustain the cutting, and precise moisture control to encourage roots without rot. Success hinges on treating these not as separate steps, but as an interdependent system where each pillar supports the others. Focus your energy here first, and advanced techniques like hormones become helpful bonuses, not desperate fixes.
The Three-Pillar Protocol: Why This Checklist Works
Forget rooting hormones and heat mats for a moment. The real, non-negotiable foundation for propagating cuttings successfully is a mundane trio of fundamentals executed well. Think of them as an interdependent system: a clean cut, strategic leaf management, and precise moisture control. When these three pillars are solid, everything else—hormones, lighting, timing—becomes a helpful bonus rather than a desperate necessity.
Here’s the simple science behind the protocol: A surgically clean cut prevents pathogenic bacteria and fungi from invading the fresh wound, which is the single biggest cause of stem rot. The leaves you leave on are the cutting’s only energy factories, but too many cause it to lose moisture faster than it can absorb water, leading to collapse. Finally, the rooting medium must be consistently moist to trigger root cells to form, but soggy conditions suffocate them. Master these three, and you solve 90% of propagation failures before they start.
Pillar 1: The Art of the Clean Cut (Tools & Technique)
This is where your propagation journey truly begins, and rushing the cutting prep steps is the most common point of failure. Your goal is to create a perfect wound that can callus and root without infection. Follow this mini-checklist for the cutting process itself:
1. Sterilize Your Blade: Wipe your sharp pruning shears, knife, or razor blade with isopropyl alcohol or pass it through a flame. A dirty tool introduces rot directly into the plant’s vascular system.
2. Select the Right Growth: Choose a healthy, non-flowering stem with firm, green growth. Avoid woody, old stems or soft, new tips.
3. Cut Below a Node: Identify a leaf node (the bump where a leaf meets the stem). Your cut should be made about a quarter-inch below this node, as this area is rich in growth cells. For more on tool selection and technique, resources like the University of Minnesota Extension’s guide on tool care are invaluable.
4. Make a Sharp, Angled Cut: Use a single, confident motion. An angled cut increases the surface area for rooting and helps you remember which end is down.
5. Immediate Treatment: Have your rooting hormone (if using) and prepared medium ready. Dip the cut end promptly to prevent an air embolism from blocking the stem.
Pillar 2: Leaf Strategy – Less is More
This is the most counterintuitive part for new propagators. Your instinct is to leave all the leaves on for photosynthesis, but this often leads to a wilted, dead cutting. The cutting has no roots to replace lost water, so you must strike a delicate balance between energy production (photosynthesis) and water loss (transpiration).
Do: Remove all leaves from the lower portion of the stem that will be buried in the medium. Decaying leaves underground are a direct route to rot.
Don’t: Leave any foliage in contact with the moist rooting medium.
Do: Keep only 2 to 4 healthy leaves at the very top of the cutting. This is enough factory power.
Don’t: Keep every single leaf on a long stem. This overwhelms the cutting’s ability to stay hydrated.
Do: Cut large leaves (like on a fiddle leaf fig or monstera) in half horizontally. This dramatically reduces surface area for water loss without removing the entire photosynthetic engine.
Don’t: Let remaining leaves touch each other or the sides of a humidity dome, as this can promote fungal growth.
Pillar 3: Moisture Mastery – The Rooting Environment
The final pillar is about creating a supportive environment, not a swamp. “Moist” is the key word—think of a perfectly wrung-out sponge, not a dripping one. This consistent, gentle moisture tells the stem it’s time to make roots, while oxygen in the air pockets prevents rot.
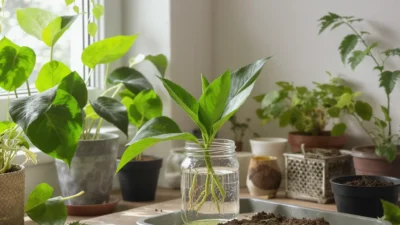
Photo by www.kaboompics.com on Pexels
Start with a well-draining medium. A 50/50 mix of perlite and potting soil, or straight perlite/vermiculite, works beautifully. Before inserting your cutting, pre-moisten the medium thoroughly until water runs out the bottom, then let it drain completely. To maintain humidity without overwatering, cover the pot with a clear plastic bag or place it in a propagation box. The condensation on the inside tells you the humidity is high. Check moisture by lifting the pot; if it feels light, water from the bottom. If it feels heavy, wait. Never let the medium dry out completely, but never let it sit in water.
Common Propagation Pitfalls (And How to Sidestep Them)
Even with a good guide, things go wrong. Here are the most frequent failures, each tied directly to a breakdown in one of the three pillars, and how the checklist corrects them.
Black, Mushy Stems (Rot)
Cause: Pillar 1 or 3 failure. An unclean cut introduced bacteria, or the medium was kept waterlogged, suffocating the stem.
Checklist Fix: Sterilize tools without fail. Use a sharply draining medium and water only when the pot feels light. Ensure your cover has some air circulation.
Cutting Wilts or Shrivels Despite Moist Medium
Cause: Pillar 2 failure. Too many leaves are transpiring water faster than the stem can absorb it.
Checklist Fix: Immediately remove more leaves, especially large ones, or cut remaining leaves in half. Increase humidity with a plastic cover to slow transpiration.
No Root Development After Weeks
Cause: Often a Pillar 3 issue. The medium may have dried out completely, halting root cell formation, or the cutting was taken from dormant, non-viable wood.
Checklist Fix: Re-moisten the medium consistently. For future attempts, ensure you’re taking cuttings from active, healthy growth during the plant’s growing season.
Cutting Just Sits There, Neither Dying Nor Rooting
Cause: Frequently a Pillar 1 issue with the cut location. Cutting too far from a node means missing the concentrated growth hormones.
Checklist Fix: Be precise. Always cut just below a node. On your next attempt, ensure you’re following the cutting prep steps exactly.
Your Turn to Propagate
Propagation isn’t a mysterious art reserved for experts with greenhouses. It’s an applied protocol. This stem cutting method works because it addresses the core physiological needs of a severed plant piece: protection, balanced energy, and the right environmental trigger.
The decisive next step is simple. Gather your basic tools—a sharp blade, some alcohol, a bag of perlite, and a pot. Pick a confident, easy-going plant like a pothos or tradescantia. Then, run through this three-pillar checklist just once, with intention. Make that clean cut, manage those leaves, and master the moisture. You’ll likely find that the process is far more reliable—and satisfying—than you ever imagined.