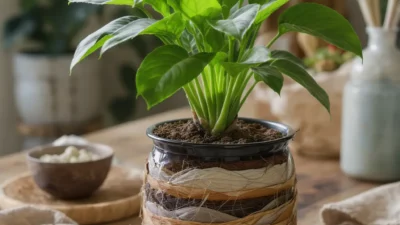
You’ve carefully wounded a stem, wrapped it in moss, and waited with anticipation, only to peel back the cover weeks later to find a disappointing scene: no delicate white roots, just a mushy, rotten stem or a hard, callused lump. This frustrating experience of layering stems not rooting is a common rite of passage for plant propagators, but it’s not a sign of a black thumb. More often than not, the failure boils down to two fundamental, interconnected issues that sabotage the process before it even begins: a failure to achieve true, intimate contact between the wounded stem and the rooting medium, and a misjudgment of the critical moisture balance. Understanding this delicate interplay is the key to turning propagation failures into reliable successes.
Layered stems fail to root primarily due to a lack of intimate contact between the wounded cambium layer and the rooting medium, which prevents the hormonal signals for root formation. Simultaneously, incorrect moisture—either stagnant wetness leading to rot or dry pockets causing desiccation—kills the delicate new root cells before they can establish. The fix involves ensuring constant, gap-free contact using techniques like a sphagnum bridge and secure binding, while maintaining a consistently moist (like a wrung-out sponge) environment, not a wet one.
The Root of the Problem: Why Contact is Non-Negotiable
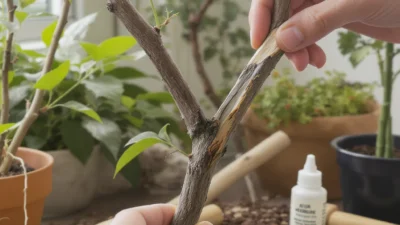
When you wound a stem for layering, you’re not just making a cut; you’re triggering a precise biological sequence. The goal is to redirect the plant’s energy from growing leaves to forming roots at that specific point. This process hinges on a plant hormone called auxin, which accumulates at the wound site. However, auxin alone isn’t enough. For root cells to actually begin dividing and forming, that hormonal signal needs to be in direct, intimate contact with a moist, dark environment—the rooting medium.
Think of it like setting a broken bone. The bone needs to be held perfectly still and in contact with a supportive cast to heal correctly. If there’s even a tiny gap, the body forms a hard callus instead of properly knitting the bone together. In stem propagation, an air gap—even a microscopic one—between the wounded cambium layer and the damp moss or soil has the same effect. The plant senses the air and light, interprets the wound as something to seal off, and forms a hard callus over the area. This callus effectively blocks any chance of roots emerging, which is a core reason for layered cuttings not rooting. The hormonal “message” to grow roots gets lost in transit. For a deeper dive into this plant physiology, resources from university extension services, like this page on plant propagation basics, can be very helpful.
The Moisture Tightrope: Between Rot and Dry-Out
While perfect contact sets the stage, moisture levels determine whether the show goes on or ends in tragedy. This is the second major factor in layering propagation problems. You are walking a tightrope between two equally destructive extremes.
On one side is excessive moisture. If the rooting medium is soggy or waterlogged, it suffocates the stem tissues by cutting off oxygen. This anaerobic environment is a playground for bacteria and fungi, leading to stem rot. You’ll typically see the stem turn slimy, black, or mushy. On the other side is insufficient moisture. If the medium has dry pockets or simply dries out, the delicate, newly-forming root initials desiccate and die before they can develop. The stem at the wound site will often look shriveled, dry, and brittle.
The sweet spot is “consistently moist.” A good benchmark is the feel of a thoroughly wrung-out sponge—it holds moisture but doesn’t drip water when squeezed. Maintaining this balance is where many stem propagation not working issues originate.
Photo by Gilmer Diaz Estela on Pexels
The Safer Contact Fix: Techniques for Intimate Connection
To solve the contact issue, you need to engineer a bridge that eliminates any gap. It’s about creating a microenvironment where the stem feels enveloped by the medium. Here are reliable techniques to ensure that intimate connection.
Bridge the Gap with a Fluffy Medium
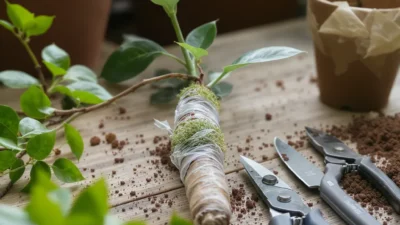
Never pack dry, chunky material around a wound. Always pre-moisten your medium—whether it’s sphagnum moss, coco coir, or a peat-perlite mix—until it’s fluffy and holds together. For air layering on thick stems, a classic trick is to use a toothpick or a small wad of moss as a literal bridge. Insert it into the wound to keep it slightly open and then pack the pre-moistened medium tightly around it, ensuring the inner layers of the stem are touching damp moss, not air.
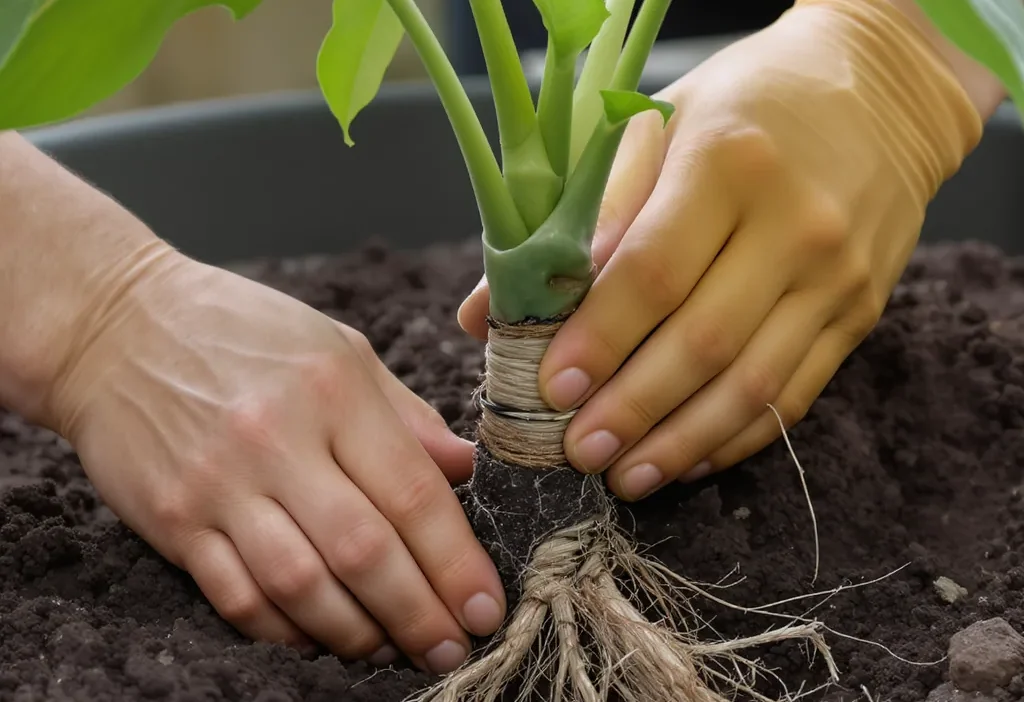
Secure and Bind with Care
Once the medium is in place, securing it is critical. Wrap it firmly but gently with plastic wrap or aluminum foil to hold the shape and moisture. The key is to then bind this package securely to the stem above and below the wound using soft plant ties, grafting tape, or even electrical tape. This prevents any shifting or settling that could create a new air pocket. The connection should be snug enough that the stem and medium move as one unit if lightly touched.
Mastering Moisture: Practical Systems for Consistency
Creating the perfect moist environment is less about guesswork and more about implementing a simple, closed system. Your goal is to establish a stable humid microclimate around the wound that requires minimal intervention.
Create a Humid Microclimate
The plastic wrap enclosure is your best tool. After wrapping the moist medium, seal the top and bottom edges well to slow evaporation. However, don’t make it completely airtight; a slight allowance for minimal gas exchange prevents the stagnant, soggy conditions that cause rot. Placing the layered section in bright, indirect light (not direct sun) also helps regulate the plant’s water use (transpiration), preventing the medium from drying out too quickly from internal heat.
Implement a Simple Check System
Instead of opening the wrap daily—which disturbs the contact and releases humidity—learn to check visually. With clear plastic, you can often see condensation. If it disappears and the medium looks lighter and shrunken, it’s time to add a little water. You can carefully inject a few milliliters of water with a syringe or baster. A safer method is the “poke test” for setups in pots: if the top inch of the surrounding soil is dry, water the pot lightly, allowing moisture to wick into the layering medium.

Take Control of Your Propagation Success
The frustration of layering propagation problems almost always boils down to two factors you can master: contact and moisture. It’s not about having a green thumb, but about understanding and controlling the physical environment you create for the stem. By ensuring intimate, gap-free contact and maintaining that consistently moist, sponge-like medium, you give your plant the clear signal and stable conditions it needs to produce roots.
Your decisive next step is this: examine your last failed attempt. Was the stem callused over (a contact issue) or rotten/dry (a moisture issue)? Diagnose the culprit, then immediately apply one of the safer fixes outlined here on a new, healthy stem. Propagation is a skill built on adjusted technique, not luck.