You carefully twist a plump, healthy leaf from your favorite succulent, lay it on some soil, and wait for the magic to happen. Days later, instead of tiny pink roots, you find a sad, translucent puddle where your promising cutting used to be. If your leaf propagation is turning mushy, you’re not alone—it’s the most common, frustrating hurdle for new propagators. That soft, rotten feeling isn’t a sign of a black thumb or bad luck; it’s a clear symptom of a specific, correctable mistake. This guide cuts through the disappointment to explain the exact biological reason your cuttings fail and provides the safer, foolproof drying and watering techniques that will turn your propagation tray from a graveyard into a nursery.
Leaf propagation turns mushy almost exclusively because the cutting is exposed to moisture before it has formed a protective callus or roots, allowing rot-causing bacteria and fungi to invade. The safest, most effective fix is to let your leaf cuttings dry completely in open air for several days until a firm, dry callus forms over the wound. Only after this critical drying phase should you introduce the slightest hint of moisture, using techniques like light misting or bottom-watering to encourage roots without re-soaking the vulnerable leaf.
The Real Reason Your Leaf Cuttings Turn to Mush
At its core, the problem of leaf propagation turning mushy is a simple biological mismatch. When you remove a leaf for propagation, you create an open wound. This wound is an entry point for bacteria and fungi that are ever-present in the air and soil. A healthy, rooted plant can defend itself, but a detached leaf has no such protection. of leaf propagation turning mushy
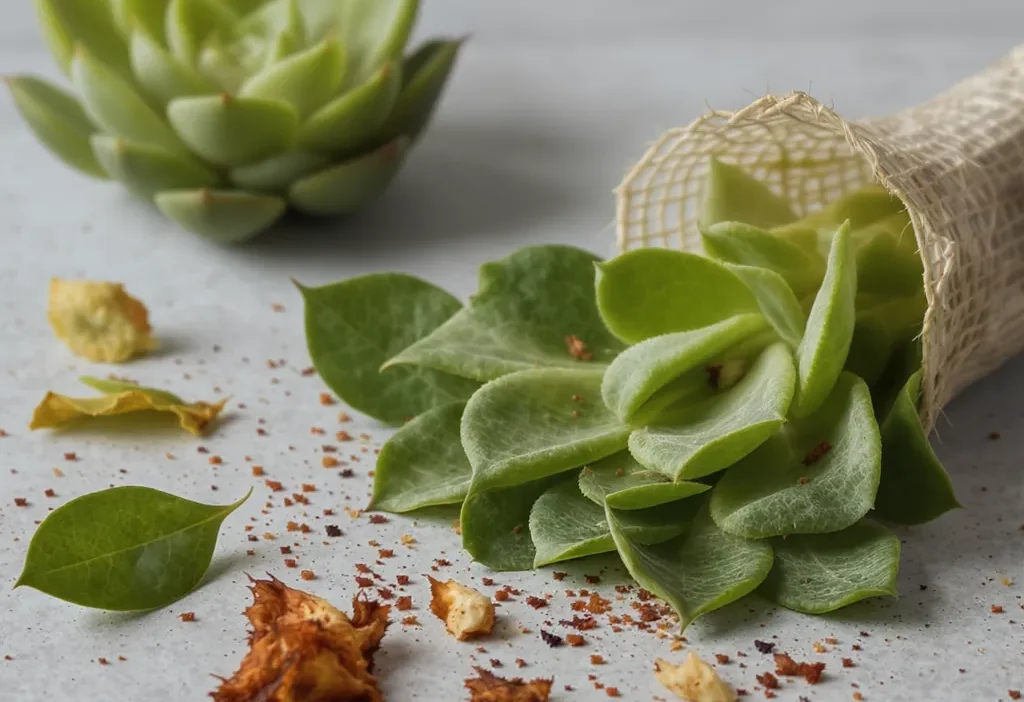
The only defense a cutting has is a callus—a layer of dried, hardened cells that forms over the wound, acting like a natural bandage. If moisture (from water, damp soil, or even high humidity) reaches the wound before this callus fully forms, those opportunistic pathogens invade. They feed on the moist plant tissue, causing it to decay from the inside out. By the time you see external mushiness or discoloration, the internal rot is often advanced. This is why succulent leaves rotting in propagation is such a common issue; their plump, water-filled leaves are especially vulnerable to these invaders. For a deeper dive into plant wound healing, resources from university extension services, like this one from the University of Minnesota Extension, explain the importance of this process.
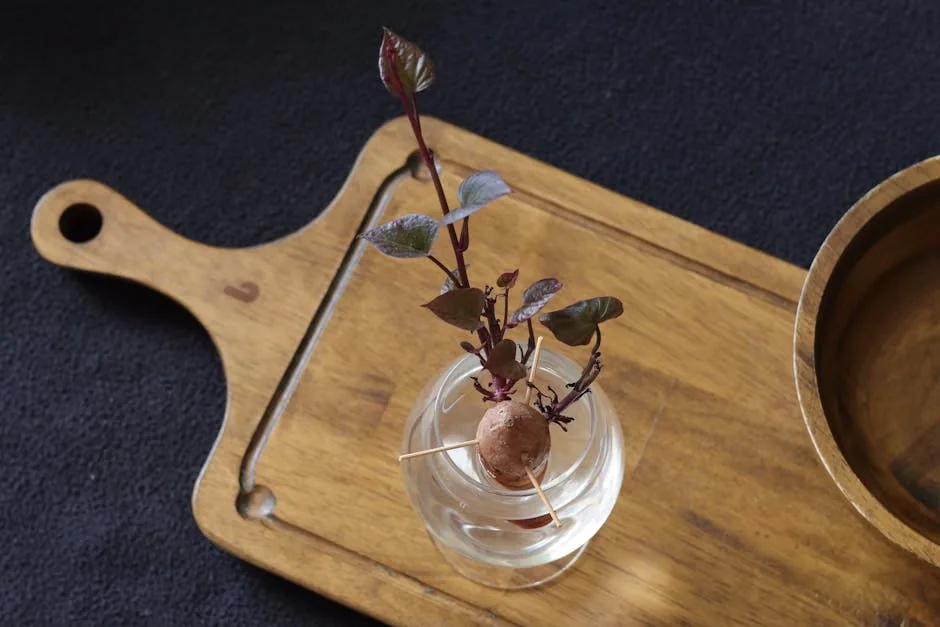
Photo by Phượng Lê on Pexels
The Critical Drying Phase: How to Callus Safely
This is your most important step to prevent leaf cuttings getting mushy. Rushing this phase is the number one cause of failure. The goal is a completely dry, hardened callus over the entire wound area.
Do This:
- Let it sit in dry, open air. Place your leaf cuttings on a dry paper towel, tray, or empty pot. Leave them in a spot with bright, indirect light and good airflow for 2-7 days (thicker leaves take longer).
- Wait for visual confirmation. The end where the leaf was attached should look completely dry, slightly shriveled, and may have a whitish or tan scab. No raw, green tissue should be visible.
- Ignore the schedule, trust the callus. Humidity and temperature affect drying time. A leaf in a dry climate may callus in 2 days; one in a humid bathroom might need a full week. The leaf is ready when it looks ready.
Don’t Do This:
- Don’t place cuttings on or in soil immediately. Even “dry” potting mix retains microscopic moisture that can wick into the wound.
- Don’t mist or water during this phase. Any introduced moisture defeats the purpose. The leaf has no roots to absorb it, so the water just sits against the vulnerable tissue.
- Don’t use a humidity dome or plastic cover for succulent leaves. These are for tropical cuttings that root quickly; they create a rot-friendly environment for slow-forming succulent props.
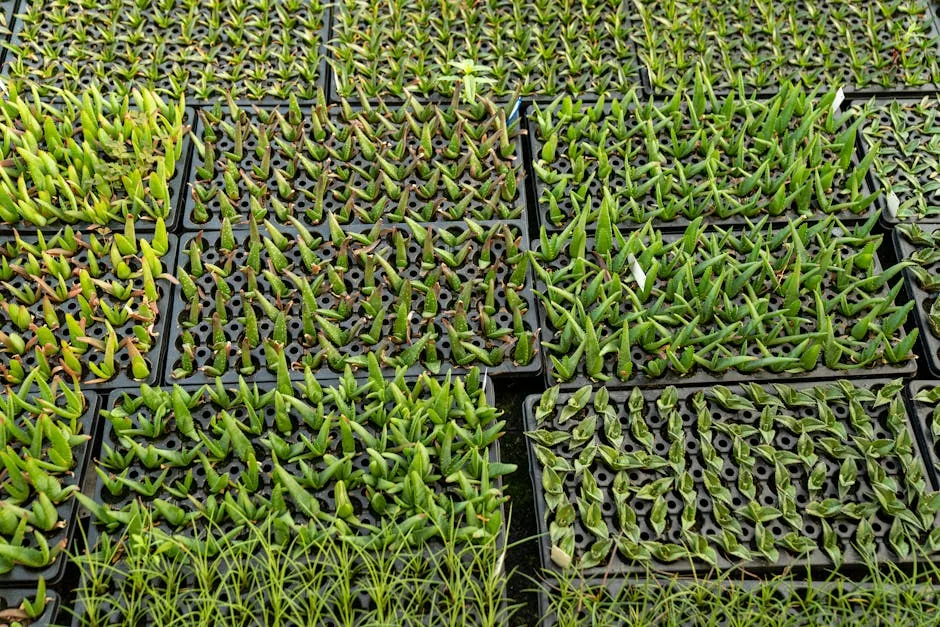
Photo by Mark Stebnicki on Pexels
Watering After Callusing: The Delicate Balance
Once your leaf has a solid callus, you can place it on dry soil. Now the question becomes: when and how to water? The fear of underwatering often leads to the fatal error of overwatering leaf cuttings.
Introducing Moisture the Safe Way
Do not water the soil immediately. First, wait for roots to appear. You may see tiny pink or white threads emerging from the callus. Once roots are present, the game changes. The safest method is bottom-watering or targeted misting. Lightly mist the soil around the roots (not the leaf itself) or place the pot in a shallow dish of water for 10-15 minutes, allowing the soil to draw moisture upward. This encourages roots to grow downward in search of water.
Reading the Signs
The parent leaf will start to shrivel as the new plantlet uses its stored energy. This is normal and a sign things are working. If the leaf turns translucent, yellow, or mushy, you’ve added water too soon or too much. Let the soil dry out completely before even thinking about water again. Remember, these are drought-adapted plants; they are built to endure dry spells. Underwatering at this stage is a delay; overwatering is a death sentence.
Common Mistakes That Lead to Mushy Leaves
Let’s quickly review the specific pitfalls that directly cause propagating leaves turning soft. Avoiding these will drastically increase your success rate.
- Misting or watering before callusing. This introduces moisture directly to the open wound, the primary cause of rot.
- Using a humidity dome for succulents. It traps stagnant, moist air around the cutting, creating a perfect environment for fungal growth.
- Planting the cutting in damp soil. Even slightly moist soil can transfer enough moisture to the wound to start the rotting process.
- Not allowing enough drying time. Impatience is the propagator’s enemy. A callus that feels dry on the surface might still be tender underneath. Give it extra time.
- Choosing unhealthy parent leaves. Propagating from a leaf that is already damaged, diseased, or dehydrated has a much lower chance of success from the start.
Patience is Your Best Propagation Tool
Success in leaf propagation isn’t about having a green thumb—it’s about mastering the dry start. When you understand that a cutting needs to heal before it can drink, you shift from following a rigid watering schedule to observing your plant’s cues. That disappointing mushiness is simply a signal that moisture arrived too early.
Armed with the knowledge of proper callusing and cautious watering, your next attempt will be different. Trust the process, give your cuttings the dry, quiet time they need to build their defenses, and you’ll be rewarded with sturdy new roots and plantlets. Don’t be discouraged by past failures; every propagator has a tray of mushy leaves in their history. Now you know how to avoid adding to it.