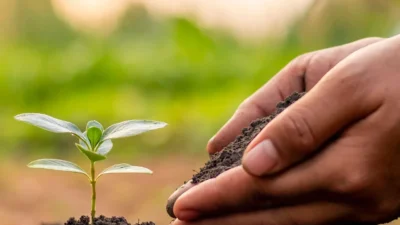
You’ve carefully filled your seed tray, planted each tiny promise at the perfect depth, and placed it in a sunny spot. You’ve watered faithfully, checking every morning with that quiet hope. But after two weeks, you’re just staring at bare soil, wondering why your seeds are not germinating. That feeling of confusion—and a touch of frustration—is something every gardener faces. The good news is that this is almost always a solvable puzzle, not a sign of a black thumb. Seeds are resilient but specific; they simply need the right combination of conditions to wake up. Before you assume the worst or start digging everything up, let’s troubleshoot the most common seed germination problems with the safest, least disruptive fixes first.
If your seeds aren’t germinating, the safest first step is to check soil temperature and moisture—most failures are due to conditions being too cold, too wet, or too dry. Avoid digging up seeds immediately; instead, adjust these two factors and wait a few more days. A simple soil thermometer can reveal if your setup is outside the ideal 65-75°F range most common vegetable seeds prefer, while a gentle finger test can tell you if the medium is consistently damp like a wrung-out sponge, not soggy or crusted over.
The Seed Germination Checklist: Start Here
Before you panic or start poking around in the soil, remember that seeds are like sleeping babies—they need just three specific conditions to wake up. If your seeds aren’t sprouting, the problem almost always comes down to one of these three non-negotiables. Run through this quick checklist first to establish your diagnostic baseline.

- Consistent Moisture: Seeds must stay evenly moist to trigger the biochemical process of germination. “Moist” is the key word—think of a wrung-out sponge, not a soggy, waterlogged mess. Letting the surface dry out for even a day can halt the process.
- Correct Temperature: This is the most common culprit. Every seed type has an ideal soil temperature range. For example, most common vegetable seeds (like tomatoes, peppers, and lettuce) need soil between 65°F and 75°F (18°C–24°C) to germinate reliably. Cool soil dramatically slows or stops growth.
- Oxygen (Air): Seeds need to breathe. Overly compacted, heavy, or constantly saturated soil creates an anaerobic environment where seeds suffocate and rot instead of sprouting. A light, fluffy seed-starting mix provides the perfect balance of moisture and air pockets.
The Safest First Fixes (Before You Dig Anything Up)
Your instinct might be to dig up a seed to see what’s happening. Resist it! Disturbing the soil can disrupt any progress and is the least helpful step. Instead, start with these safe, non-invasive actions that address the most likely seed germination problems.
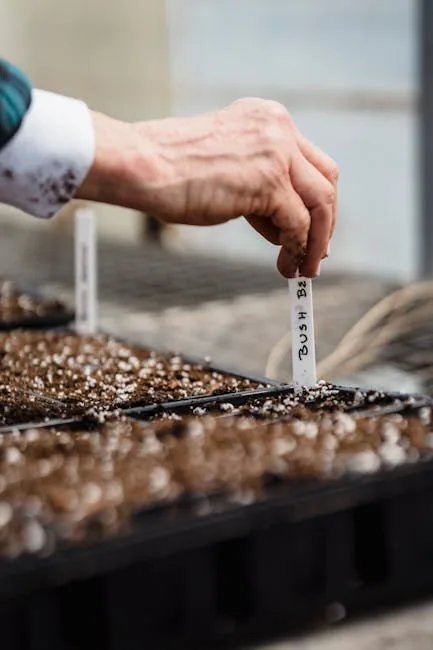
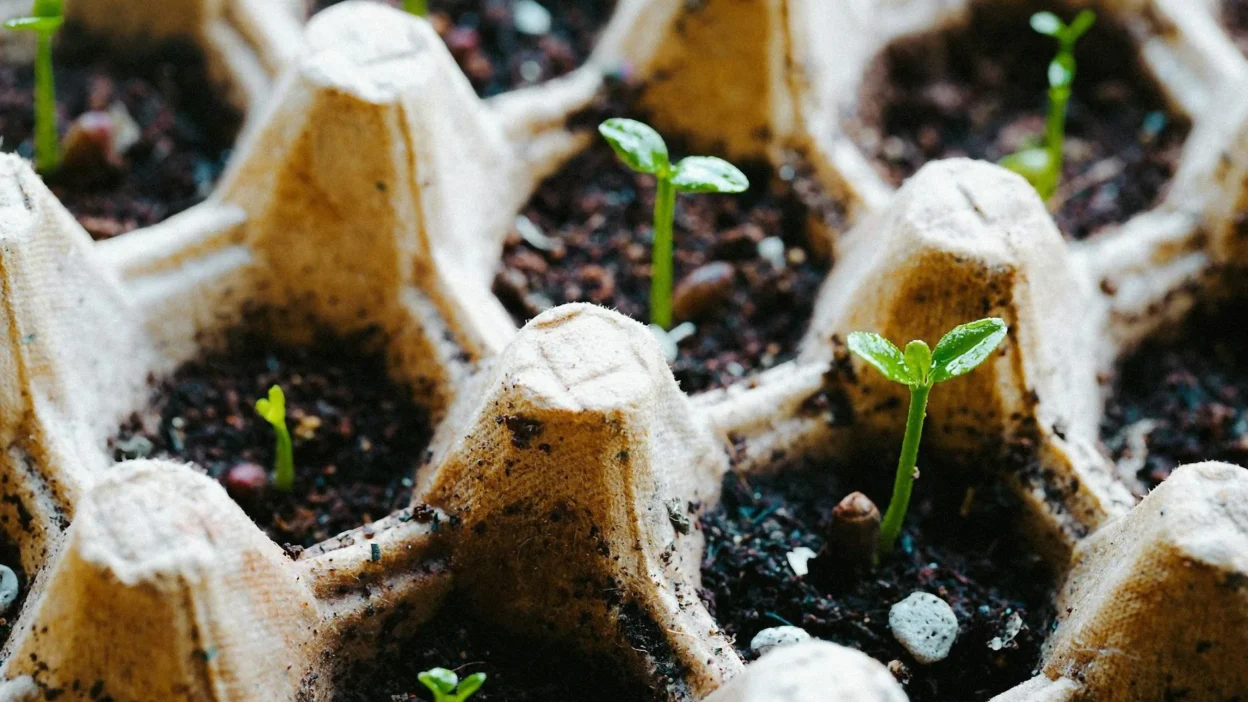
Photo by Greta Hoffman on Pexels
1. Check and Regulate Soil Temperature
Air temperature is not soil temperature. On a cool spring day, the soil in your tray or garden bed can be 10–15 degrees colder than the air. The safest, most informative first fix is to use a simple soil thermometer. Insert it about an inch deep. If it’s below the seed’s ideal range, move your tray to a warmer location—on top of a refrigerator, near a heat vent, or using a specialized seedling heat mat. This single change often solves the mystery of why seeds are not germinating.
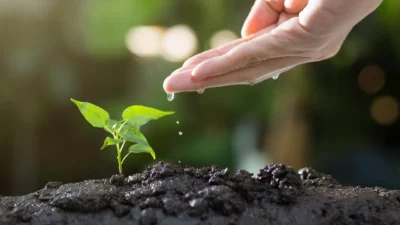
2. Gently Assess Moisture Level
Don’t just water on a schedule. Do the “knuckle test”: gently poke your finger into the soil up to your first knuckle. It should feel cool and damp, not wet or dry. If it’s dry, water gently from the bottom by placing your tray in a shallow dish of water until the surface glistens, then remove it. If it’s soggy, stop watering immediately and improve air circulation to help it dry slightly. The goal is consistent, gentle moisture.
After making these two adjustments, be patient. Give your seeds another 3–5 days. Many seeds not sprouting fixes are this straightforward.
Common Mistakes That Stop Seeds in Their Tracks
Often, germination failure is due to a simple, easy-to-overlook error. Here are the most frequent missteps and their simple corrections.
- Planting Too Deep: A classic error. As a rule, plant a seed only 2–3 times its width deep. Tiny seeds like lettuce or petunia need just a light dusting of soil. If buried too deep, the seedling exhausts its energy before reaching the light. Fix: Next time, sow shallower.
- Overwatering (The “Love Drown”): Enthusiasm leads to constant watering, which pushes out oxygen and causes seeds to rot. You’ll see mold or simply nothing. Fix: Water thoroughly once at planting, then only to maintain consistent moisture, not saturation.
- Using Old or Poorly Stored Seeds: Seed viability decreases over time. Seeds stored in a hot garage or humid bathroom lose vigor quickly. Fix: Check packet dates and do a simple viability test by sprouting a few between damp paper towels before planting the rest.
- Wrong Season (Soil Too Cold/Hot): Planting according to the calendar instead of soil temperature is a major cause of failed seed starting. Peas won’t germinate in summer heat, and basil won’t in cool spring soil. Fix: Always check the ideal soil temperature for your crop and measure it.
When to Wait, When to Start Over
So you’ve checked conditions and corrected mistakes, but still see bare soil. Now you need a decision framework. Patience is a virtue in gardening, but so is knowing when to cut your losses.
When to Wait: Some seeds are naturally slower. Parsley, carrots, and peppers can take 2–3 weeks. If your soil temperature and moisture are now ideal, give them the full expected time plus about 50% more. For a seed packet that says “7–14 days,” it’s reasonable to wait up to 21 days under perfect conditions before declaring failure.
When to Start Over: If you’ve hit the extended wait mark with no signs of life, and you’ve ruled out old seeds or extreme planting depth, it’s time to resow. Gently scratch the surface where you planted. If the seed is still there, soft and mushy, it rotted. If it’s gone or looks exactly like it did on day one (and it’s not a hard-coated seed needing scarification), it’s likely a dud. The good news? Your second attempt, armed with this knowledge, has a much higher chance of success. Sow a few new seeds right away—you’ve already done the hardest part: troubleshooting.
Turning Frustration into Future Success
Figuring out why seeds are not germinating is a fundamental gardening skill. Remember the core mantra: check conditions first—temperature and moisture. These safe, initial fixes solve most problems without any risk to your seeds.
To prevent future frustration, turn this troubleshooting experience into a proactive plan. Next season, perform a quick paper towel germination test on old seeds, invest in a soil thermometer, and keep simple notes on planting dates and varieties. Gardening is a partnership with nature, and sometimes nature needs a specific invitation. With these seeds not sprouting fixes in your toolkit, you’re well-equipped to extend that invitation successfully, season after season.